32
Setting-up Angular Routing From Scratch
According to Wikipedia Routing in layman's language is -
"... the process of selecting a path for traffic …".
If we talk in Angular context, in a large application there will be multiple components combined together to form a feature (e.g. login, dashboard, user profile etc.). But we cannot show all the feature to the user at the same time. Depending on a particular case we will be displaying a specific feature to the user. This process of selecting and displaying a specific feature for a specific path is known as routing. Angular implements routing using a separate module called RoutingModule. So lets quickly dive into how we can set up angular routing in our project.
Step 1 - Creating an angular project
Create an angular project by typing in the below command
ng new learn-angular-routing-setupYou would be prompted with a question like below -


Step 2 - Create components to be displayed on each route
Now lets create two components by using the below command -
First Component
ng generate component componentOneSecond Component
ng generate component componentTwoStep 3 - Creating the application routing module
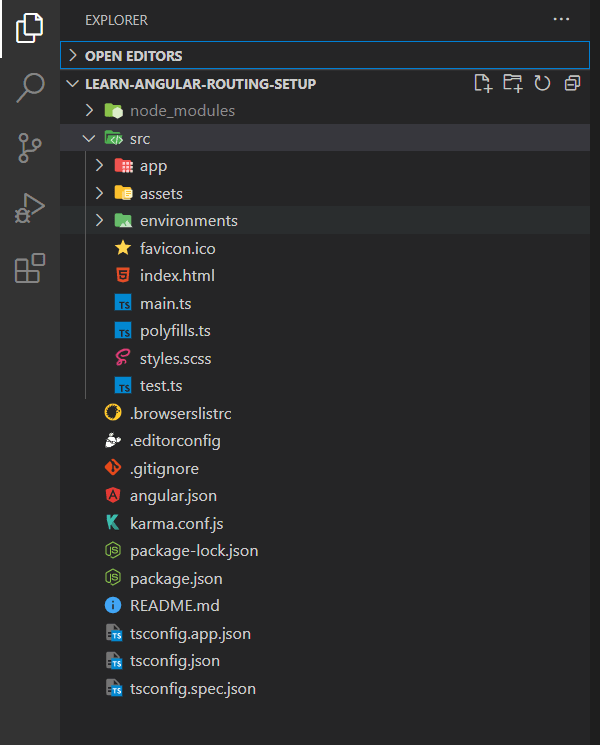
Inside the app folder create a file named -
app-routing.module.ts
Step 4 - Setting up the routing module
import { NgModule } from "@angular/core";
import { RouterModule, Routes } from '@angular/router';
import { ComponentOneComponent }
        from "./component-one/component-one.component";
import { ComponentTwoComponent }
        from "./component-two/component-two.component";

const routes: Routes = [
    {
        path: 'one',
        component: ComponentOneComponent
    },
    {
        path: 'two',
        component: ComponentTwoComponent
    }
];

@NgModule({
    declarations: [],
    imports: [
        RouterModule.forRoot(routes)
    ],
    providers: [],
    exports: [
        RouterModule
    ],
    bootstrap: []
})
export class AppRoutingModule { }
So, now lets understand the above code piece by piece.
a. We are declaring and exporting a class AppRoutingModule.
b. Decorating the class with NgModule decorator
c. Declaring a constant routes array. It contains all the various routes you need in your application. Every route object will contain primarily two items (I would say as of now)
i. path-to be displayed in the url of the browser
ii. component-the component to be displayed when the URL is hit
d. In the import array of the NgModule decorator we pass the routes we declared in the step c using
RouterModule.forRoot(routes)
e. In the exports array we pass the RouterModule so that it can be consumed/ imported by the appModule
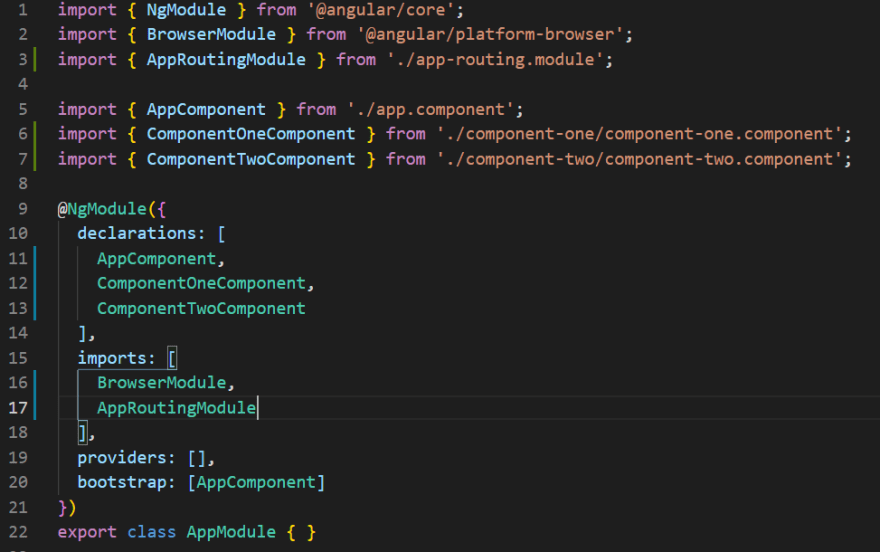
Step 4 - Add the router module in the application module
Next we open the app.module.ts file and import the Routing Module we created just now.
Step 5 Create a placeholder to display the component
So we have done the setup, but we need a placeholder where the component will sit when the particular URL is hit. For this we create a placeholder in our app.component.html by adding the below code.
<router-outlet></router-outlet>& that's it. We are done!!!
Now let's start the application by using npm start. By default the application will open in localhost port 4200. So open your favorite browser and type in http://localhost:4200/one
You will see the below output -

So you have successfully setup your routing.
Cheers...
Happy Coding
32

