
24
Deploying and Hosting a Custom Domain on Vercel
Navigate to Namecheap's sign up and register a new account and confirm your account registration.
Once the account registration is completed, purchase your preferred domain on Namecheap.
Goto Github registration page and register an account with them (if you don't already have one).
- Create a new repository and call it any name you want. I'll name mine
my-resume. - Clone the repository into your machine where you have your code and then push it to your newly created repo.

On successfully pushing your code to Github, we'll have to create an account with Vercel for our code deployment
- On successful registration, click on the new Project option
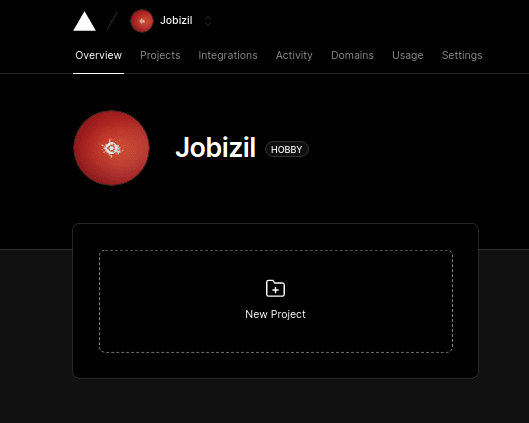

Select your vercel Scope (Account type ) usually it's single unless you are deploying for a team.

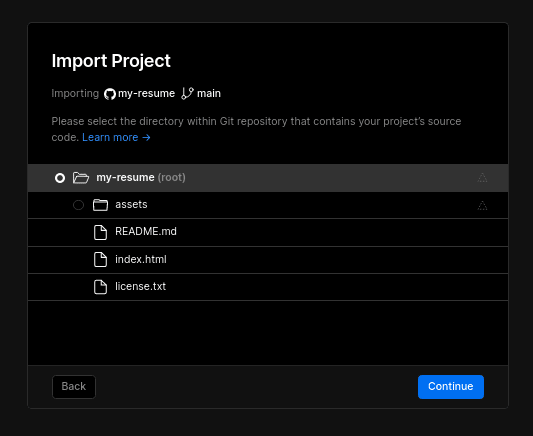
- Select the project root folder

Once your project has been deployed, you can visit it with the URL provided (so you see what you have deployed). Afterall, we'll use our custom domain from Namecheap.
In your vercel app, click the open dashboard option to see an overview of your project.
Select the View Domains option and inset the domain name you registered on namecheap

Edit button on one of the domains inserted to view its configuration
View DNS Records and copy either the nameserver or the A Records provided 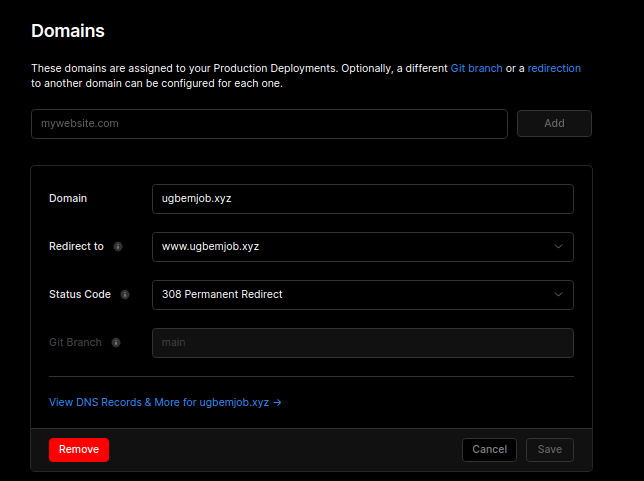
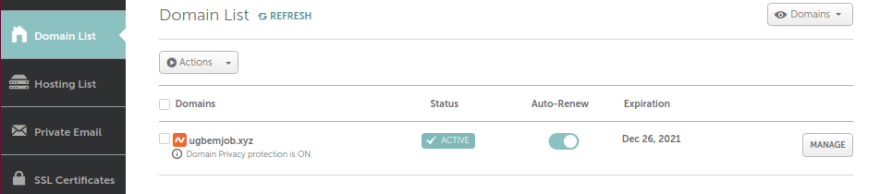
Domain List and click on manage
Advanced DNS and in the Host Records input the A Record and CNAME Record details from Vercel. 
It Works!!! ✅✅✅
24