
31
Build an Angular & Amazon IVS player app in less than 15 minutes!!
Video & Streaming don't have to be complicated for the web anymore! in this tutorial we will build an Angular app using Amazon IVS & Video.js in less than 15 minutes!!
Amazon IVS (Amazon Interactive Video Service) is a fully managed live streaming solution: simply stream to Amazon IVS, and the service does everything you need to make low-latency live video available to any viewer around the globe. Amazon IVS handles the ingestion, transcoding, packaging, and delivery of your live content, using the same battle-tested technology that powers Twitch.
For more information on Amazon IVS check https://ivs.rocks
Check the twitch stream of this tutorial: https://www.youtube.com/watch?v=xCsh88xNkKE
I have a personal quest of making infrastructure and development approachable, accessible and friendly regardless of your level of expertise. For that reason, I am happy to present you with a library that will simplify the process of building a player with Angular and Amazon IVS in less than 15 minutes!!
If you’re wondering how it’s possible to create an Angular project or app in less than 10 mins, it’s partially thanks to its very sophisticated and developer-centric CLI. If you haven’t already, please install the CLI globally. That ensures you have all necessary dependencies to quickly generate a new app.
npm install -g @angular/cliNow we are ready to generate a fully functional base Angular application.
We create a new app by typing and executing
ng new <APP-NAME>In my case,
ng new angular-ivscd angular-ivsTo install it, move into the root directory of the angular app you just created, and execute
npm install @cotufa82/ng-ivs --saveAmazon IVS SDK supports Javascript only. This means that there are no type declarations. Since Angular projects are written in Typescript, and the typescript compiler is strict, we need to disable the mechanisms that will validate imported types, upon compilation:
...
  "compilerOptions": {
    "skipLibCheck": true,
  ...
  }
...
Now we will add the player to our application default component. In order to do that let's edit
app.component.html,<vjs-ivs-player
[options]="options"
[appChanEndpoint]="'https://fcc3ddae59ed.us-west-2.playback.live-video.net/api/video/v1/us-west-2.893648527354.channel.DmumNckWFTqz.m3u8'"
></vjs-ivs-player>For this tutorial I am using a test stream url from the Amazon IVS Samples repository. The awesome thing about this is that you can pass this URL directly in the component or trough
options.source or using the environments from Angular.Now, let's import our
NgIvsModule module in app.module.ts. Your code should look like this:import { NgModule } from '@angular/core';
import { BrowserModule } from '@angular/platform-browser';
import { NgIvsModule } from '@cotufa82/ng-ivs';
import { AppComponent } from './app.component';
@NgModule({
declarations: [
AppComponent
],
imports: [
BrowserModule,
NgIvsModule
],
providers: [],
bootstrap: [AppComponent]
})
export class AppModule { }Then, create an interface to set configurations and options for the player in
app.component.ts:import { Component } from '@angular/core';
@Component({
selector: 'app-root',
templateUrl: './app.component.html',
styleUrls: ['./app.component.css']
})
export class AppComponent {
title = 'Angular-IVS';
options ={
sources: [{
src: 'https://fcc3ddae59ed.us-west-2.playback.live-video.net/api/video/v1/us-west-2.893648527354.channel.DmumNckWFTqz.m3u8',
type: 'application/x-mpegURL'
}],
fluid: true,
aspectRatio: '16:9',
autoplay: true,
controls: true,
}
}These options are standard options for Video.js and you can find more information in the docs.
At this point we have a functional player app, you can customise the CSS for your player or just use the default options by adding this to the head tag of
index.html<link href="https://vjs.zencdn.net/7.11.4/video-js.css" rel="stylesheet" />Ready to celebrate? Let's startup a server and see our app live in the browser! The angular CLI allows us to both build and serve our app on a default port, by executing
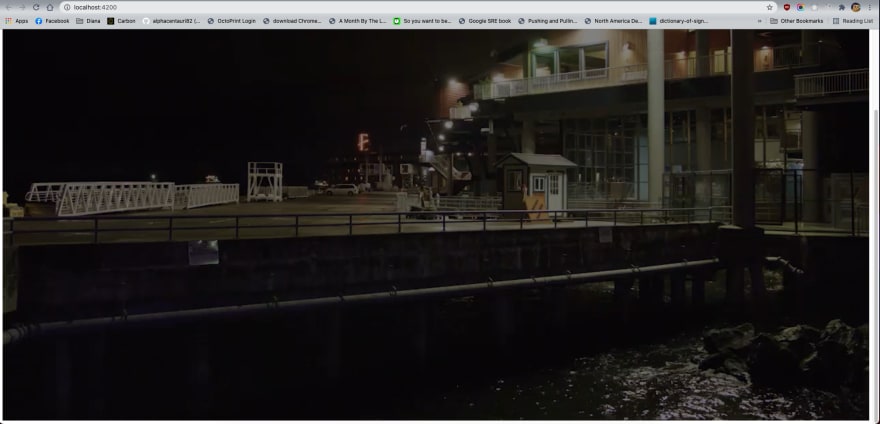
ng serve --openYou should see something like this:
And that's all folks!! A fully functional player app implementing Angular and Amazon IVS!
Can't wait to read your comments and see what you can create!!!
31