30
Rapidly Build Prototypes With Your Team Using Repl.it, Airtable, and Sequin
In this tutorial, you'll learn how to build a product catalog using Airtable, Sequin, and Replit. You’ll build a Python Flask web application that runs on Repl.it to call your Postgres database. This setup is perfect for teams that want to quickly build an e-commerce application or proof of concept that could then grow into a scalable, production-ready store.
You can jump to the final result of this tutorial by forking this Repl →
For this project, we are going to use the Product Catalog Template available from Airtable. Click "Use template" to import it into your Airtable account.
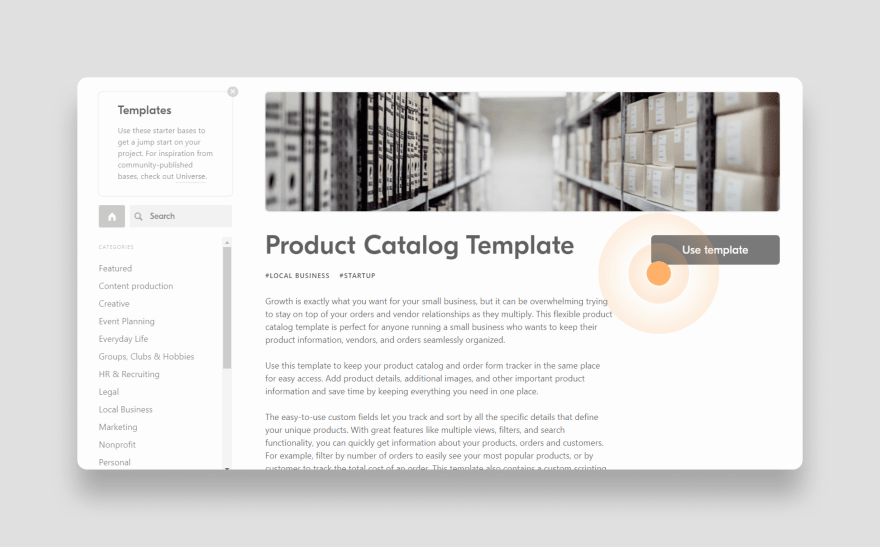
This template includes a base with 7 tables:
For the purposes of this tutorial, we will focus on Furniture, the table that contains the products that you want to show in your app.

As you can see, you can quickly search, add, edit, or delete items in Airtable without writing any code. This allows you to iterate on your data model very quickly as you figure out what data you need for your product catalog.
Unfortunately, Airtable has some limitations. First, it doesn’t provide granular permissions for resources in your base, so you’d have to use the Airtable API to handle this.Second, Airtable limits you to 5 requests per second, making its API less than ideal for production workloads.
In the following sections, you'll overcome these limitations by connecting your Airtable base to Sequin to build a Python application.
With your Airtable base ready, connect Airtable to Sequin to get a PostgreSQL database synced with Airtable data.
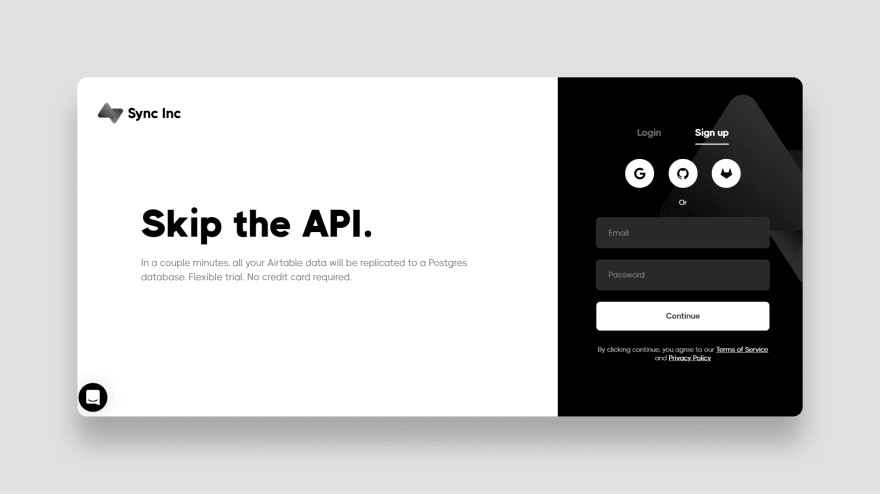
First, create a new Sequin account.
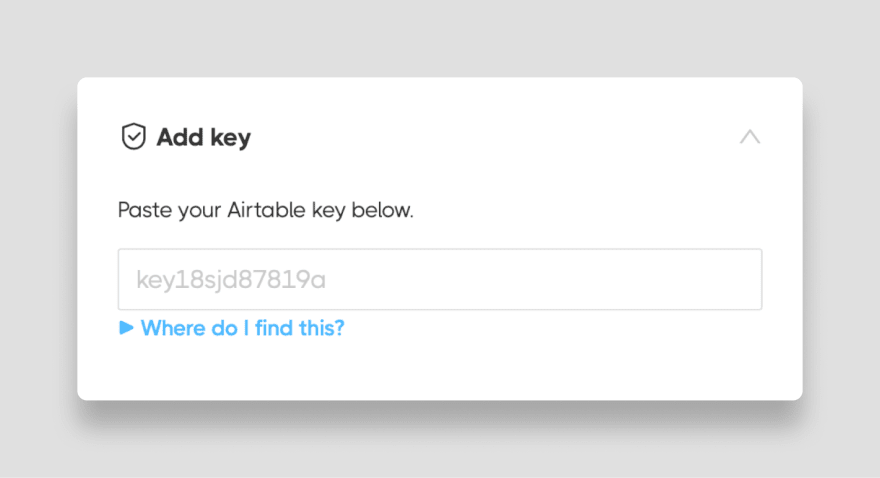
Paste your Airtable API key in the Add key section. Click the Where do I find this? link if you need help finding your API key in your Airtable account.
Next, select the Product Catalog base you just added to your Airtable workspace. By default, all tables are synced.
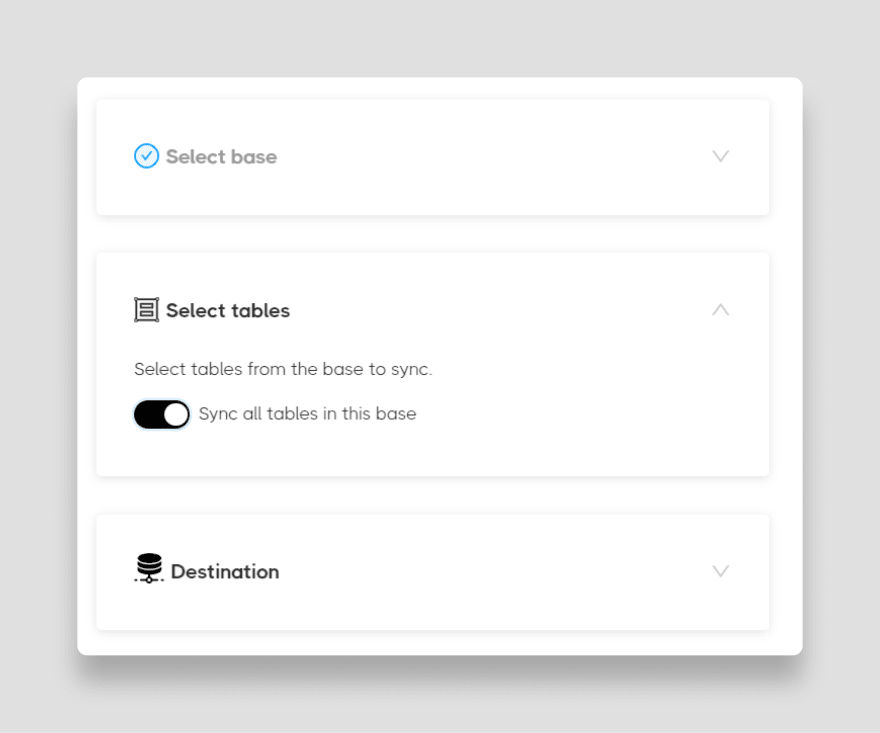
Click Start syncing. This will immediately connect to your Airtable and start syncing the base. A small base like the template project we’re using should take less than 30 seconds to sync.
Once done, you are presented with the credentials for your database as shown below:
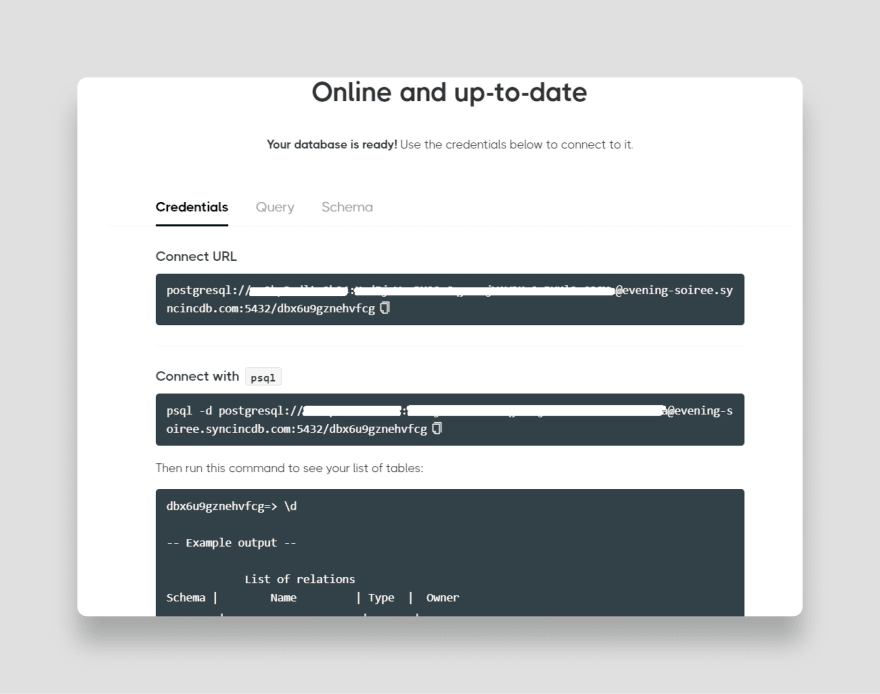
You are now ready to build a scalable product catalog application on top of your Airtable base without running into Airtable’s built-in rate limits.
With your database ready, you can create the Python web application that will display your products to users.
First, sign up for Repl.it if you don’t already have an account.
Create a new Repl by clicking on the blue + New repl on the top left of your dashboard.
Choose Multi-page Flask Template in the template selector to start with a pre-built template that includes sample code. Name the new Repl ProductCatalog:

Repl.it will take you to their browser-based development environment where you can start editing code.
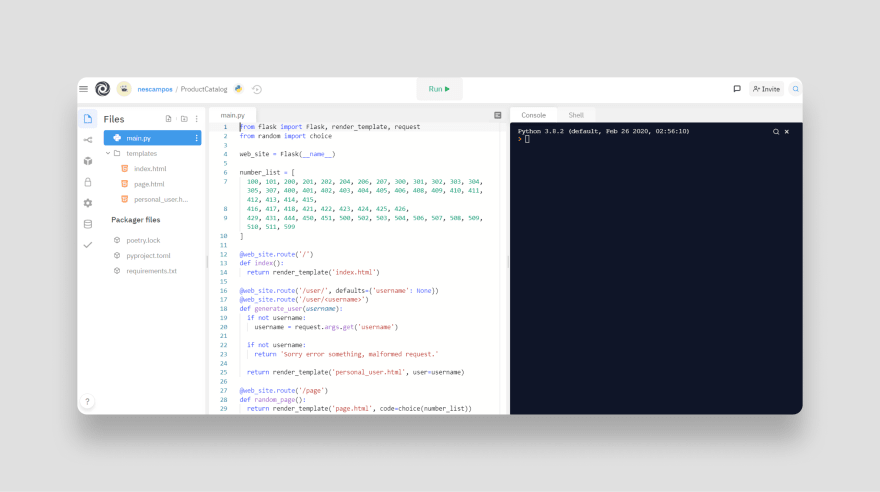
With your Repl set up, you can add your database connection information to the Python application.
First, set up the dependencies for your application.
This application will use SQLAlchemy (flask_sqlalchemy) to connect to the database, so you must add it and pg8000 to the requirements.txt file. This ensures the necessary drivers are installed to connect to your Sequin PostgreSQL databases. You also need the Python Requests library to call the Airtable API to delete a product.

Now, add environment variables (a.k.a Secrets in Replit jargon) to store your Sequin and Airtable API credentials. To do so, select the Secrets tab on the right bar. Create a new secret. For the key enter
db_url and for the value enter the connection string that Sequin provided earlier. Then click the Add new secret button: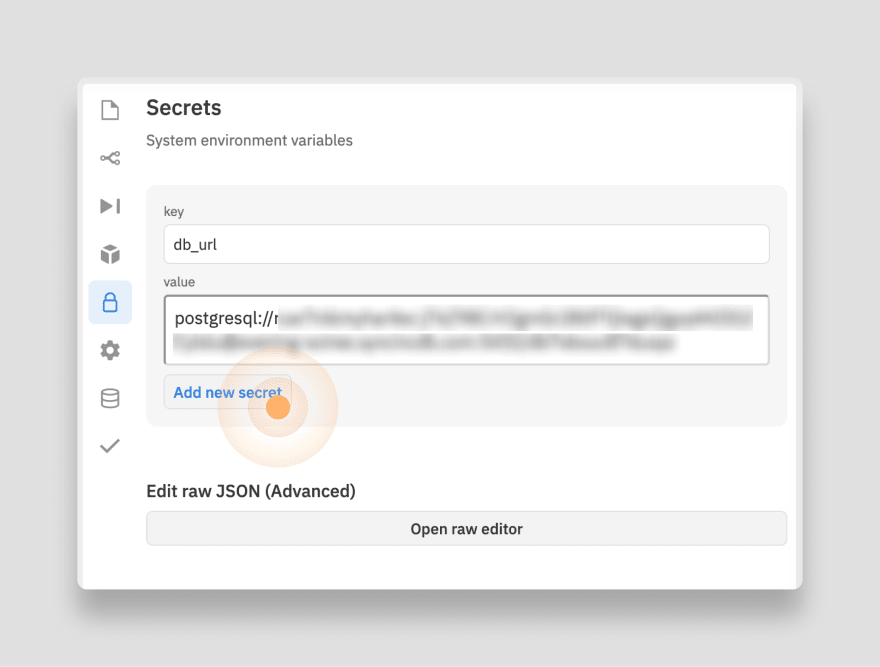
You can easily retrieve the string for your Sequin database by opening the Sequin Console and clicking the Connect button on your Product Catalogue resource).
Repeat these steps to add secrets for your
airtable_api_key (which you retrieved earlier) and your airtable_base_id (which you can find in the Airtable API docs by selecting your base).You’re now ready to add your application code. Replace the code in the template
main.py with the following:from flask import Flask, render_template, redirect, url_for
from flask_sqlalchemy import SQLAlchemy
import requests
import json
import os
web_site = Flask(__name__)
web_site.config[
'SQLALCHEMY_DATABASE_URI'] = os.environ['db_url']
db = SQLAlchemy(web_site)This first set of code instantiates the Flask app and configures SQLAlchemy to connect to your Sequin database (hence the
os.environ['db_url']).Next, you need a model class. Each attribute on the model corresponds to a field in your Airtable base, and you’ll use this to query the Postgres database in each endpoint of your application.
Add the following to your
main.py file:...
class Furniture(db.Model):
id = db.Column(db.Integer, primary_key=True)
unit_cost = db.Column(db.Float, unique=False, nullable=False)
in_stock = db.Column(db.Boolean, unique=False, nullable=True)
name = db.Column(db.String(100), unique=True, nullable=False)
images = db.Column(db.ARRAY(db.String), unique=False, nullable=False)
description = db.Column(db.String(400), unique=False, nullable=False)
def __repr__(self):
return '<Product %r>' % self.nameFlask uses routes to separate various pages on your site. In this case, add three routes to your
main.py file.One to display all the products:
@web_site.route('/')
def index():
  products = Furniture.query.all()
  return render_template('index.html',products=products)
Another to display a single product:
@web_site.route('/product/<productid>')
def view_product(productid):
  product = Furniture.query.filter_by(id=productid).first()
  return render_template('product.html', product=product)
And a third to delete a single product. For this endpoint, you will call the Sequin Airtable Proxy API, which in turn calls the Airtable web service. Sequin is read-only, so any alteration to the data must be done through the Airtable API using Sequin as a proxy.
@web_site.route('/delete/<productid>')
def delete_product(productid):
    headers = {
        'Content-Type': 'application/json',
        'Authorization': 'Bearer {0}'.format(os.environ['airtable_api_key'])
    }
    response = requests.delete(
        "https://proxy.sequin.io/api.airtable.com/v0/{base_id}/Furniture/{product_id}".format(
            base_id = os.environ['airtable_base_id'],
            product_id = productid),
        headers=headers)
    print(response.content)
    return redirect(url_for('index'))
Finally, add the following line to the end of your
main.py file to run the webserver on localhost:8080:if __name__ == '__main__':
web_site.run(host='0.0.0.0', port=8080)Now that your Python application can connect to the Sequin database and Airtable API, you can move on to the presentation portion of your app.
For the frontend, you'll use jinja2 as a simple template language for inserting python objects and loops into the HTML. For styling, we'll take a shortcut by using Bootstrap5.
The home page of your application will display a list of products in a table and include a link to view each in more detail on the single product page.
Replace the example code in your
Replace the example code in your
index.html file with the following:<!DOCTYPE html>
<html>
<head>
<title>Product Catalog from Airtable</title>
<meta charset="utf-8" />
<meta name="viewport" content="width=device-width, initial-scale=1" />
<link
href="https://cdn.jsdelivr.net/npm/bootstrap@5.0.1/dist/css/bootstrap.min.css"
rel="stylesheet"
integrity="sha384-+0n0xVW2eSR5OomGNYDnhzAbDsOXxcvSN1TPprVMTNDbiYZCxYbOOl7+AMvyTG2x"
crossorigin="anonymous"
/>
<script
src="https://cdn.jsdelivr.net/npm/bootstrap@5.0.1/dist/js/bootstrap.bundle.min.js"
integrity="sha384-gtEjrD/SeCtmISkJkNUaaKMoLD0//ElJ19smozuHV6z3Iehds+3Ulb9Bn9Plx0x4"
crossorigin="anonymous"
></script>
</head>
<body>
<div class="container">
<h1>Welcome to this product catalog demo from Airtable</h1>
{% for product in products %}
<div class="row">
<div class="col-md-4">
<img
src="{{product.images[0]}}"
alt="{{product.name}}"
width="100px;"
/>
</div>
<div class="col-md-2">Name: {{product.name}}</div>
<div class="col-md-2">Unit cost: $ {{product.unit_cost}}</div>
<div class="col-md-2">
<a href="/product/{{product.id}}" class="btn btn-success"
>View details</a
>
</div>
</div>
<br />
<br />
{% endfor %}
</div>
</body>
</html>The other page you need to create is the single product page. Create a new HTML file called
product.html and add the following:<!DOCTYPE html>
<html>
<head>
<title>Product</title>
<meta charset="utf-8" />
<meta name="viewport" content="width=device-width, initial-scale=1" />
<link
href="https://cdn.jsdelivr.net/npm/bootstrap@5.0.1/dist/css/bootstrap.min.css"
rel="stylesheet"
integrity="sha384-+0n0xVW2eSR5OomGNYDnhzAbDsOXxcvSN1TPprVMTNDbiYZCxYbOOl7+AMvyTG2x"
crossorigin="anonymous"
/>
<script
src="https://cdn.jsdelivr.net/npm/bootstrap@5.0.1/dist/js/bootstrap.bundle.min.js"
integrity="sha384-gtEjrD/SeCtmISkJkNUaaKMoLD0//ElJ19smozuHV6z3Iehds+3Ulb9Bn9Plx0x4"
crossorigin="anonymous"
></script>
</head>
<body>
<div class="container">
<div class="jumbotron">
<h1>{{product.name}}</h1>
<p class="lead">{{product.description}}</p>
</div>
<div class="row">
<div class="col-md-5">
{% for image in product.images %}
<img src="{{image}}" alt="image" class="img-fluid" />
{% endfor %}
</div>
<div class="col-md-6">
<p>Unit cost: <span>$ {{product.unit_cost}}</span></p>
<p>Is in stock?: <span>{{product.in_stock}}</span></p>
</div>
</div>
<a href="/" class="btn btn-primary"> Back </a>
<a href="/delete/{{product.id}}" class="btn btn-danger"> Delete </a>
</div>
</body>
</html>This view shows more product details and includes a Delete button that will execute the removal of the product from your Airtable base and Sequin database. In your final release, you will probably want to hide the Delete button for unauthenticated users, but this project is meant to demonstrate building a simple prototype.
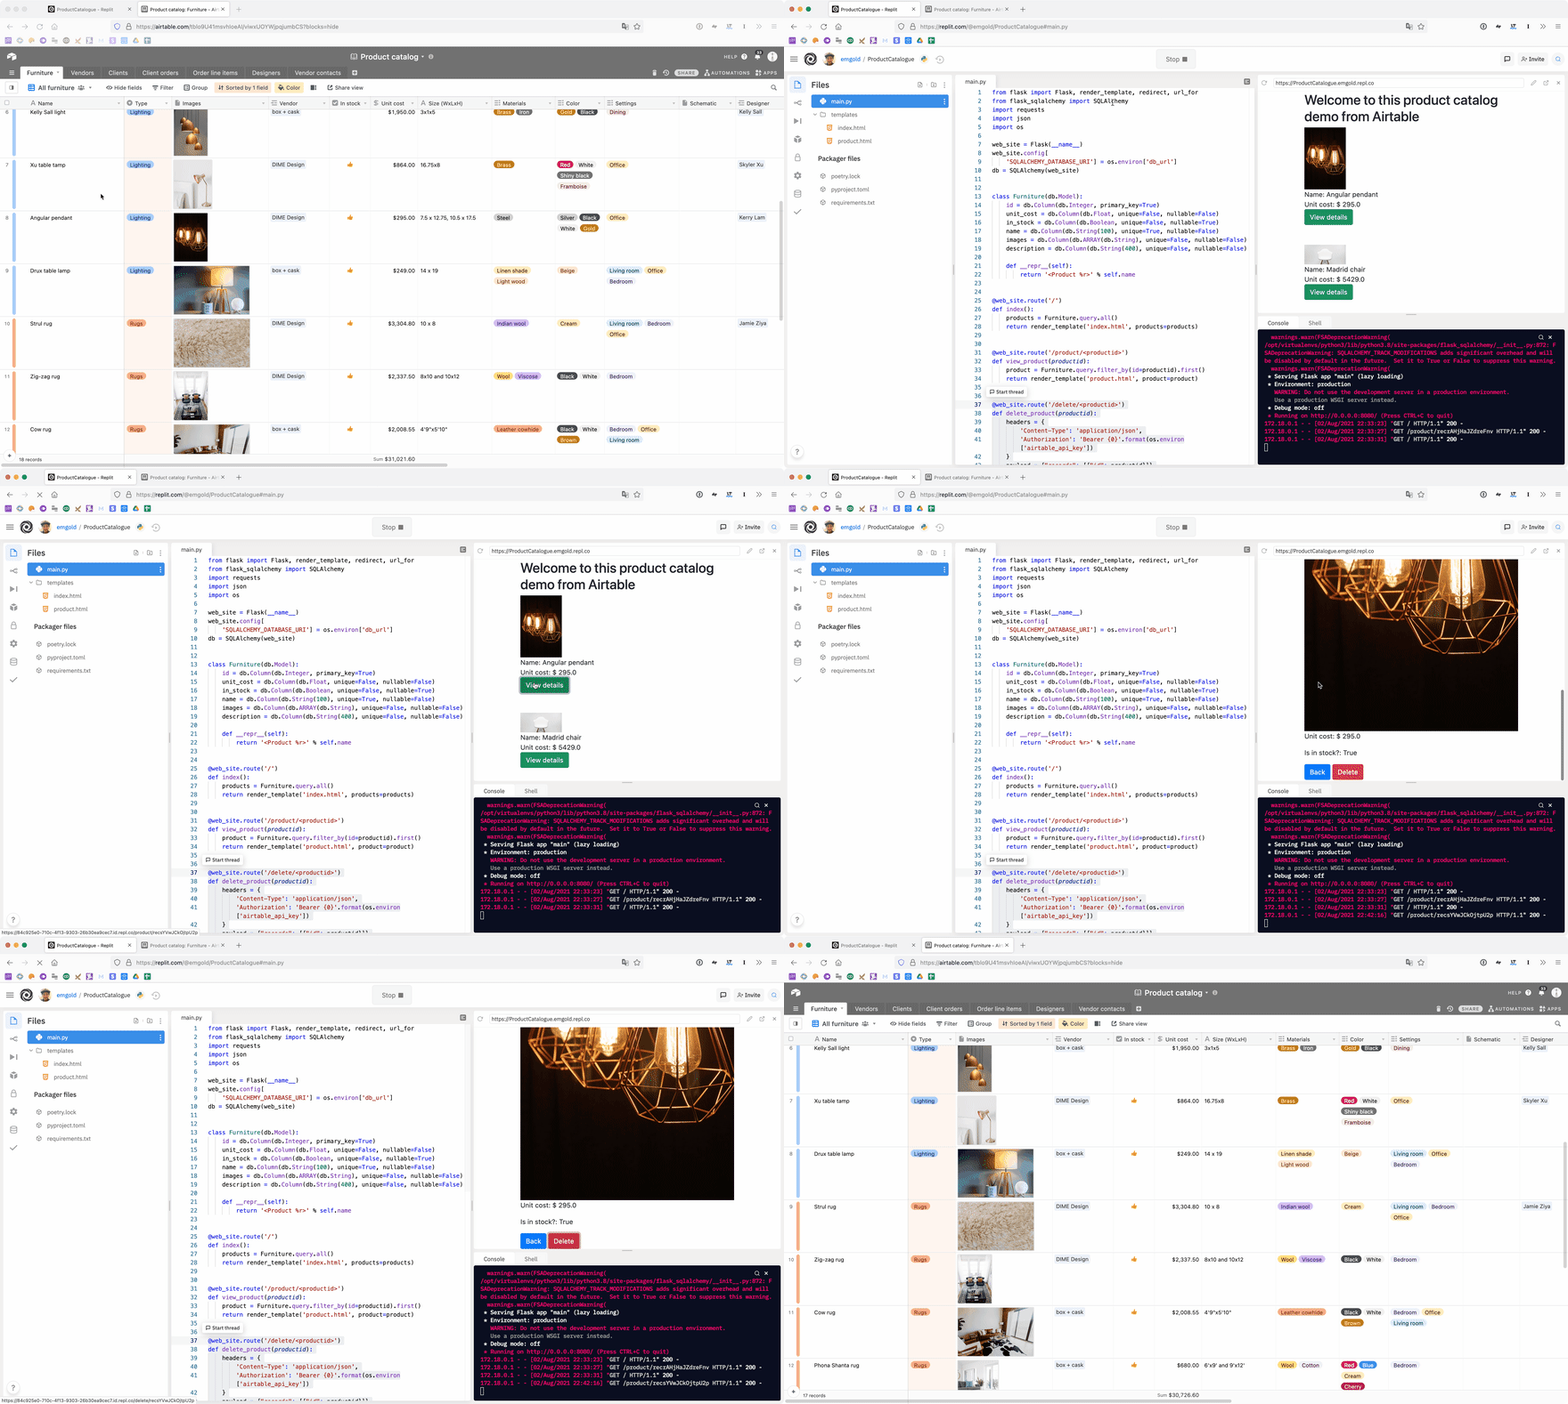
Your web application is ready. Press the Run button to deploy it:
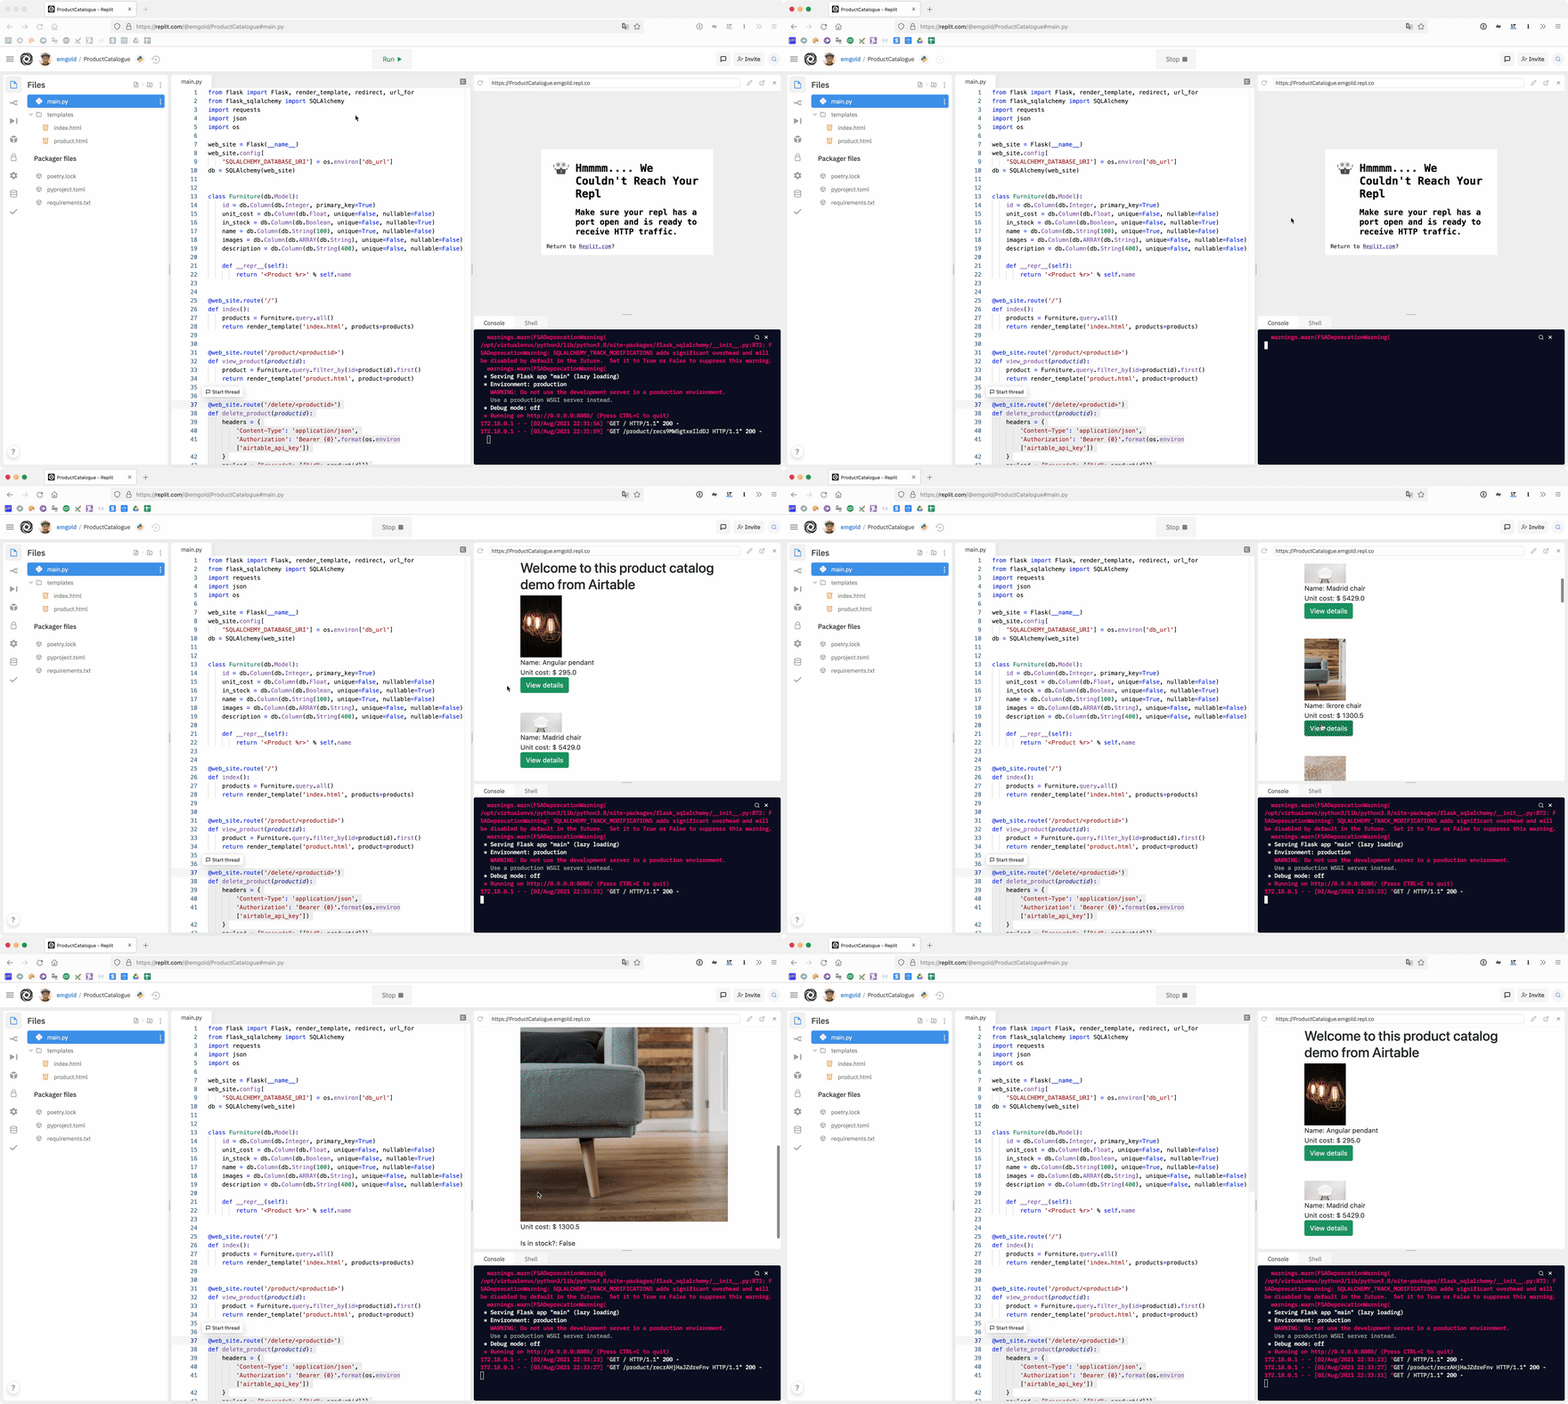
With one click, you deploy you application. How cool is that!
And if you are fast, you'll see that when you click the delete button - the product is immediately removed from Airtable and the Sequin database:
In this tutorial, you’ve seen that in just a few minutes, you can create and deploy a working product catalog. Using Airtable as a structured data source and Sequin to expose your data through a scalable PostgreSQL database, you can now write raw SQL or use an ORM to retrieve products. By deploying a Python Flask application on Repl.it, you can rapidly work on this application with your team without having to do a lot of environmental configuration.
Written for Sequin by Néstor Campos
30
