
25
Dockerize a Django Application
In this article, we will see how to dockerize a Django Python application.
What is the advantage of Dockerizing your Python application?
The last one can sound trivial for pure Python developers but think about a big system made by microservices and using 3/4 different languages with different versions.
We just want to run our application, and probably with different commands for development and production.
Accordingly to their own definition, Python is a programming language:
Its design emphasizes code readability with its use of significant indentation (no semicolons).
Its language constructs as well as its object-oriented approach aim to help programmers write clear and logical code.
Django is a high-level Python web framework. It’s free and open source.
Docker is a platform to build run and share applications using the idea of containers.
Prerequisites:
Steps:
python --versionIn some cases, you need to add a 3 at the end of Python:

verify that pip is installed
pip --version
verify that docker is installed
docker version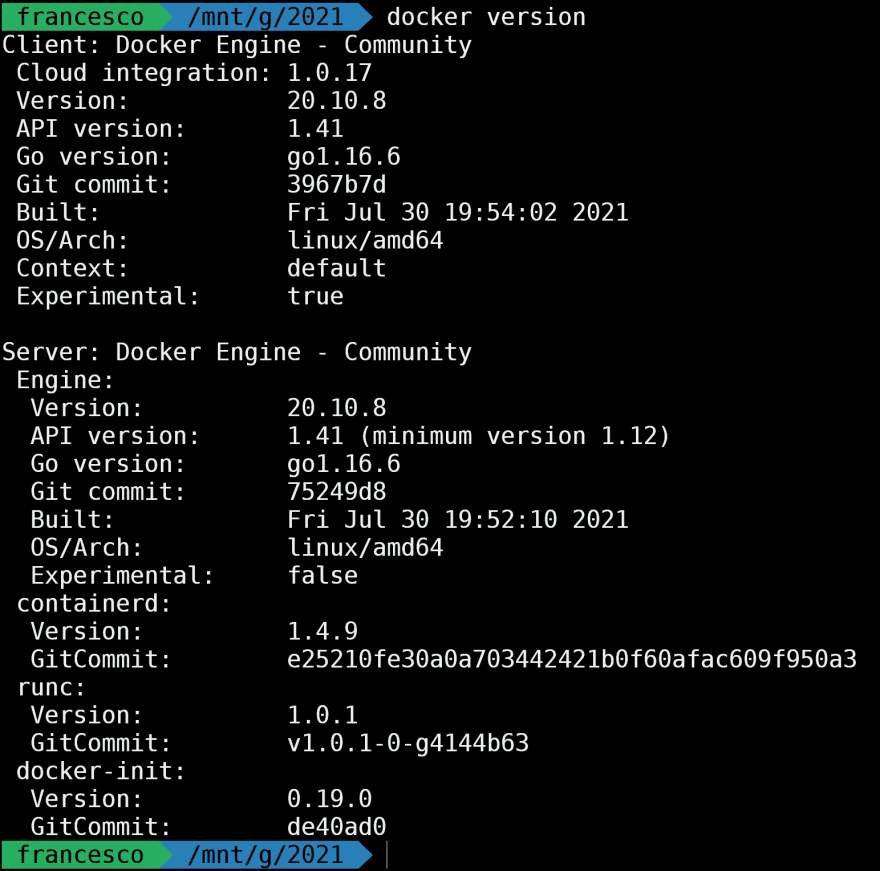
install django-admin using pip
pip install django-adminuse django-admin to create your Django application, using this command:
django-admin startproject python_dockerget into the folder:
cd python_dockerand open it using your favorite IDE. For example, if you use Yosual Studio Code, you can type
code .and your project should look like this:

Run your Django project locally without docker using this command:
python manage.py runserver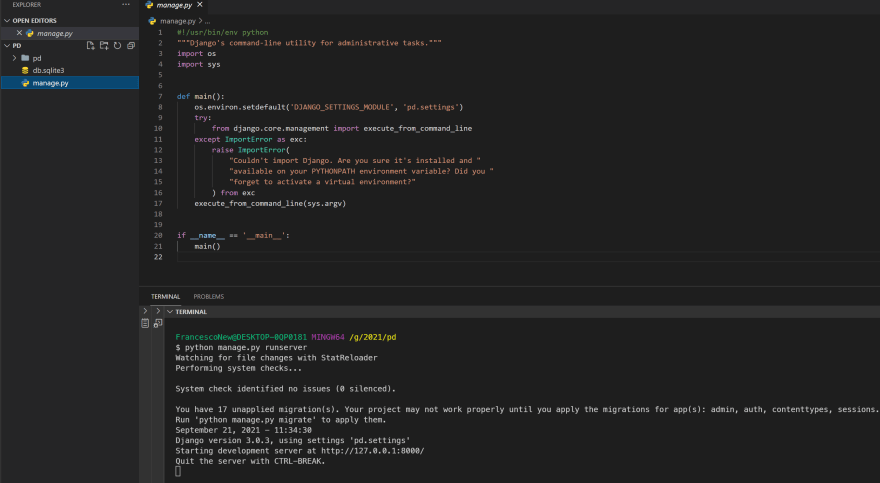
(replace with python3 if you have that version)
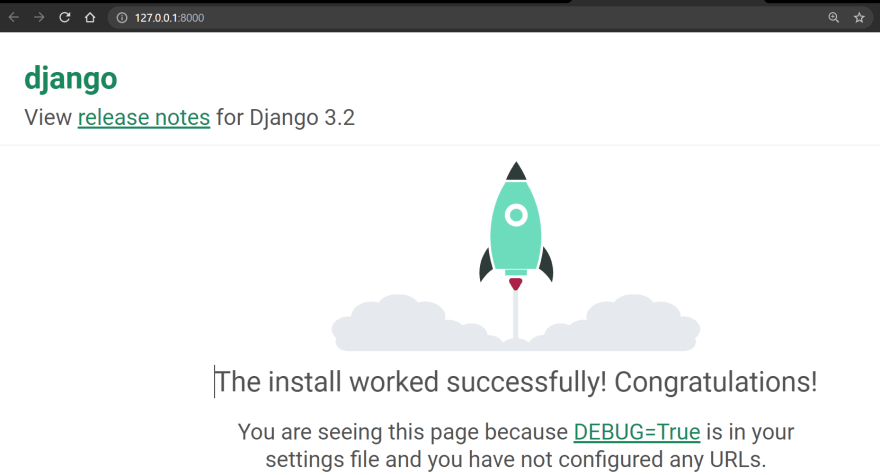
Now visit localhost:8000 on your browser:
Before creating the Docker image, let's create a requirements.txt file for this project.
For simplicity, we will use the command pip freeze and redirect the output to a file called requirements.txt
pip freeze -l > requirements.txtthe -l option (short for --local) is to install only the local dependencies.
Note that the best way to do this is to create a virtual environment first, here is a link
https://docs.python.org/3/library/venv.html
https://docs.python.org/3/library/venv.html

Let's start the process of containerization for our Python application.
in the same folder, create a file called .dockerignore (starts with a dot)
this file, in a way similar to .gitignore, is to ignore some file when we will copy files inside the Docker image. For example, we don't want the .git folder in our image, so we can populate the .dockerignore file with
.git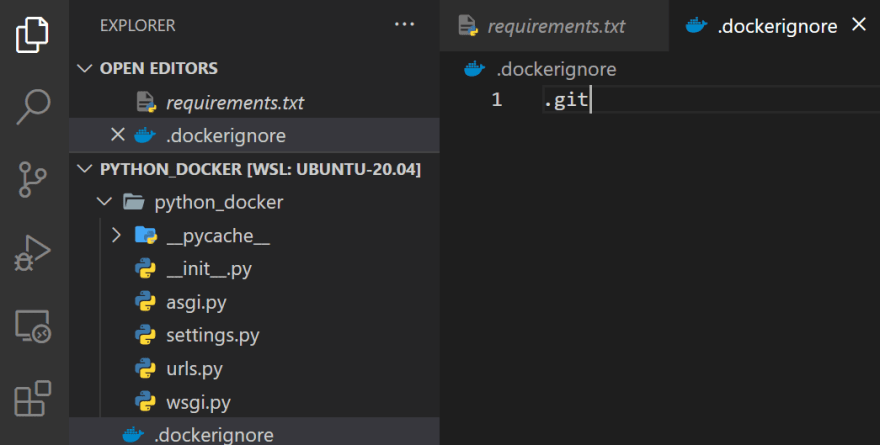
now let's create a file called Dockerfile (capital D).
A Dockerfile is a simple yet powerful text file, with the format:
KEY value
KEY value
KEY value
Let's populate the Dockerfile like this:
FROM python:3

ENV PYTHONUNBUFFERED=1

WORKDIR /code

COPY requirements.txt .

RUN pip install -r requirements.txt

COPY . .

EXPOSE 8000

CMD ["python","manage.py","runserver","0.0.0.0:8000"]
Let's explain line by line what's happening here:
FROM python:3 FROM is to set the base image, in this case python:3 in a production-ready environment we can use a more fine-grained version
ENV PYTHONUNBUFFERED=1 We are setting an environment variable with a key=PYTHONUNBUFFERED to 1. Setting PYTHONUNBUFFERED to a non-empty value ensures that the python output is sent straight to the terminal without being first buffered, so you can see the output of your application in real-time.
WORKDIR /code We are setting the default directory for the subsequent COPY and CMD commands. This line is not mandatory but is to avoid the app being at the root level of the Docker Image filesystem
COPY requirements.txt . This will copy the requirements.txt file in the folder defined as workdir
RUN pip install -r requirements.txt This will install the python dependencies INSIDE the Docker Image
COPY . . This command will copy all the file and folders (included the Dockerfile) in the Image filesystem. al files and folders included in the .dockerignore file will be ignored
EXPOSE 8000 This command is to inform Docker that you will use the port 8000 as an external note. (Note: this command is not mandatory, as long as you publish the port when you run the container)
CMD ["python","manage.py","runserver","0.0.0.0:8000"] this will set the default command to run when we will run the container based on this image. this replaces the command we previously used, and it makes transparent for the deployment (you don't have to memorize which was the command to run the python application)
An easy and comfortable way to run our hello world application is to use Docker Compose, even if we have just a small app. In case we add a database or another service later, we are set already!
Create a docker-compose.yml file and populate it like this:
version: "3.9"

services:
  django:
    image: django-hello-world:0.0.1
    build: .
    ports:
      - "8000:8000"
Here we are defining:
That's it. Very simple but it allows us to avoid long docker build command on the command line
Your folder structure should look like this

Now some magic. Just run
docker compose up --buildthe --build option is to force to recreate the image if it's not available already. It's not really needed the first time, since the image is not available, but it's useful during development to just make some changes and to test if everything works test

Now visit 127.0.0.1:8000 (ignore the log message it can be deceiving)

Thank you for reading, you can follow me on Twitter here: https://twitter.com/intent/follow?screen_name=FrancescoCiull4
GitHub Repository
https://github.com/FrancescoXX/python-docker
https://github.com/FrancescoXX/python-docker
25