38
WordPress REST API as a Back-end with React and Docker (Part 1)
About a month ago, I was faced with a challenge. At my workplace I was asked to work on a project as a single developer, responsible for the complete technical development of the entire thing, and what’s even better, I was offered a very strict schedule. A little under a month in fact. At first it seemed like a stretch, but it was definitely doable, so I complied. Taking into account the scope of the project and the amount of time I had on my hands I made some snappy decisions about the technologies I was going to use. Here are some of the features I needed to implement:
Those all lead to the conclusion, that what was needed is a basic CMS (Content Management System). There are multiple routes to take in this situation, like picking a huge, popular CMS, written by a team of experienced developers, or looking at some cool open source Flavour of the Month style project, usually written in Node JS and Express, or thirdly I could have gone and created my own from scratch, using one of the many languages and back-end technologies that I am proficient in, like Java with Spring Boot, or GoLang and the Gin framework. Assuming that the scope will stay relatively similar to the initial proposal and realising I did not really have time to learn a new CMS or develop my own from scratch, I decided to go the first route and pick the dreaded WordPress platform. I already could do most of what I needed with little to no modifications, it has great support, official forms, a massive community, a third of the Internet using it, and last but not least a convenient RESTful API, covering most, if not all functionality, meaning I could take advantage of the admin user interface, while being able to deliver something cool and unique to the people using the front-facing interfaces.
So I needed to decide on two more things. What should I do about the front-end and how should I ensure that my development process stays smooth throughout? The answer to the first one was React because I ❤️ React, and have been an absolute fan for a long while now, which means I can deliver applications using React as a base very quickly. In terms of development environment I decided to go with Docker. Again, I absolutely 🐋 the simplicity Docker provides, while also reducing overhead by allowing for development and deployment, using the same exact stack.
In my original project I could not take advantage of Docker once development was done, due to the customer’s reluctancy to deploy with it.
We will get as far as installing WordPress using a portable Docker Compose setup and looking at how to handle modifications to our installation, being able to modify each file we need.
First of all I wanted to set up the development environment, before I took a look at any code. The current version of WordPress requires PHP version 5.4, but it is no longer supported, so PHP v7+ is probably a better choice to go with. I also needed to have a MySQL-compliant database, like MySQL Server or MariaDB. To keep things in sync and working within the same virtual network, I decided to use Docker Compose, which is a nice little utility built on top of Docker, that helps organising and connecting images that are related. Compose uses YAML as the format of its configuration, which is sort of easy to work with and is pretty clear on what it does. It follows Docker’s naming convention for most things. At this point I also decided to work with the basic
wordpress image from DockerHub, which is a community where you can get a ton of pre-made images from. For the data image I picked the mysql image.version: '3'
services:
db:
image: mysql:5.7
volumes:
- ./db_data:/var/lib/mysql
restart: always
environment:
MYSQL_ROOT_PASSWORD: wordpress123
MYSQL_DATABASE: wordpress
MYSQL_USER: wordpress
MYSQL_PASSWORD: wordpress
wordpress:
depends_on:
- db
image: wordpress:latest
ports:
- '80:80'
restart: always
environment:
WORDPRESS_DB_HOST: db:3306
WORDPRESS_DB_USER: wordpress
WORDPRESS_DB_PASSWORD: wordpress
volumes: db_data:In this config file, we see that we are deploying two services:
db and wordpress. The important thing to note here is the way Docker Compose wires together the virtual network. It provides domains to the services with the names of the service, for example out MySQL Server will be available at mysql://db:3306, while our WordPress would be reachable at http://wordpress. Of course outside of the network (which is where we actually are) we can’t see that, so what we need to do is what you’d do with Docker: expose port 80, which is taken by the Apache running within the container to some of our ports, in this example port 8000. This means that we’ll be able to see our WordPress installation at http://localhost:8000 or in cases where Docker is running within a container (like on Windows), we need to use our $DOCKER_IP variable or something similar.Another thing to note is that the
db image has its working folder mapped to a local folder called db_data. For this to work, we need to create this folder. If there is no such folder, nothing will happen, however it is handy to have all development data saved locally also.We can start up this configuration by entering the following command in the directory, where our
docker-compose.yml is saved.docker-compose up -dThe -d flag is handy as it will start the containers in detached mode, meaning we can get log output by using docker-compose logs.
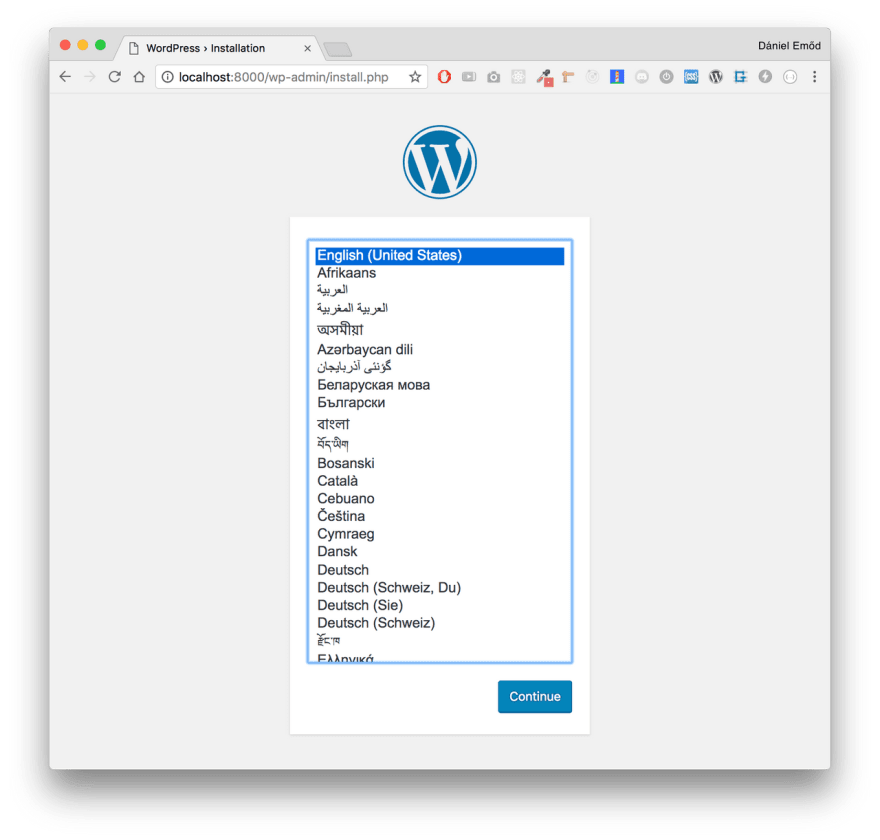
Upon visiting
http://localhost:8000, we should see the following screen:
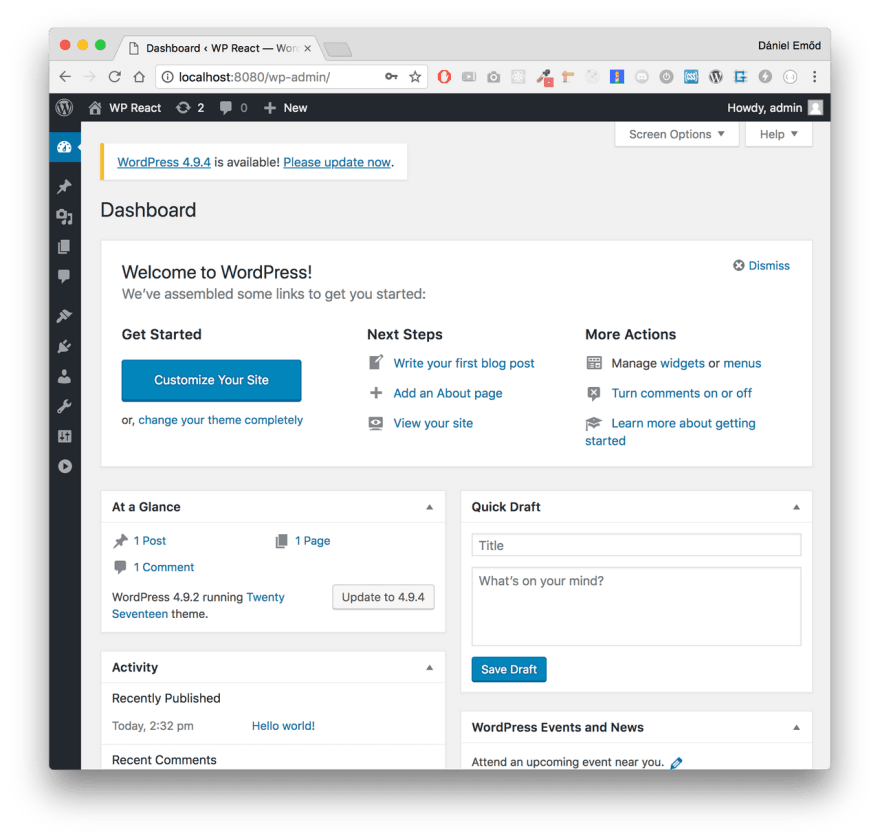
What’s more, upon completing the famous 5 second install process, whereby giving our credentials, such as username and password both set to
admin (please do not do this in actual production builds), we should be greeted with the below screen upon logging in. Note that if you’ve mounted the volume db_data to an actual folder, you should see MySQL server spitting out files related to our new WordPress installation. This is cool because you can just bundle this up at a later point and install it under an actual instance of MySQL Server or another Docker image and it will work fine with the same WordPress configurations.
The next thing we should probably do is making it so that we can actually change the files that are served via WordPress. This helps because we do want to touch our
functions.php for our own theme, to add custom post types later on.For this all we need to do is add the following two lines to our
docker-compose.yml:volumes:
- ./wordpress:/var/www/htmlLike we did with the MySQL service, we also need to add this directory to our workspace, otherwise this will not work.
Refer to the
db service config if you’re unsure which lines to put this on. We also need to restart our Docker Compose network for these changes to take effect. To do that, run:docker-compose down; docker-compose up -dNote that there is a
docker-compose restart, but that will not reload configurations sadly.A perk of this approach is that because WordPress runs on PHP, which is a run-time evaluated per-invokation scripting language, we can simply update any of the PHP files and press refresh in our browser for immediate effect. This is actually what we’ll be taking advantage of in the next part, where we’ll install plugins, slim down the overall installation size and also start our React project with the REST API.
38
