
40
Manjaro - Laravel Dev Setup
I think its fair to say i have a bit of an addiction to Linux distro's.... over the last few months i have tried and tested a number of them and also blogged about a few... here is a brief list of distro's I've tested in the last 3 months.
And that's probably missing a few... yes I'm a distro wh*re...
The absolute beauty of Linux Distro's is you can get up and running with what you need really fast. In my case i can get my Laravel development environment setup in less than 30 minutes on Ubuntu based distro and that would include sorting out my ssh access and GitHub keys...
With the exception of Fedora, all of the distributions above all have Ubuntu in common so the commands are all the same... so if you have followed my Elementary OS Dev setup it will work on all Debian based OS's
But recently, I've tested out Manjaro KDE (Also Gnome) and so far... i love it! Although based on Arch its really easy to setup and fairly easy to use for software installation similar to Ubuntu...
So the idea for this tutorial is to setup a few things and get Laravel Dev Environment setup done!. I will try to explain these commands as we go along to help sort of compare them to Debian based commands as best i can.
So lets get started!
I'm not a fan of Firefox (just a personal preference) so i always install Chrome on any installation of Linux i do. Do do this in Manjaro you can use the terminal or you can enable AUR (Arch User Repository)... This is a community driven report to help users with Arch based Linux setups with software installs.
AUR doesn't come enabled as standard but its SUPER easy to enable.
Press your Super/Windows key and type "Add/Remove Software" and open the program. When in here you need to do the following.


And that's it for enabling AUR.... now all you need to do is close the preferences window and search for chrome in the software search and it should be the top result.

One great thing about Manjaro is, it comes with ZSH / OhMyZsh pre installed so there is zero config to do, it has the 3 plugins i use and love already
You can add some more if you need but.... its not necessary. Another cool thing i like about Manjaro KDE is there is two terminal applications out of the box... You have Konsole and then Yakuake... Now i spend a lot of time with a terminal window open but occasionally I'll just need to run something quickly without having to open from the program menu etc. With Yakuake you just need to press F12 and you get a beautiful drop down terminal! this uses the same configs as you main terminal so no extra setup required.... NEAT!
Next... Lets start on building our Dev environment
As with any new software installation, its always good practice to update/upgrade your packages and repo's... With Manjaro's Pacman this is done with one command
sudo pacman -SyyuWhat this command essentially does is combine the sudo apt update && sudo apt upgrade into a single command. All in all it does the same thing. It checks the remote repo's for updates, synchronises with local repo then updates it and your system. If this is the first time you have run this command it could take up to 5 minutes to run.
Mine was update already so i got the below screen.

As I'm a Laravel Developer, i want to Have PHP, Nginx and MySQL running as a base standard. In Manjaro's favour there is a fair bit installed out of the box which cuts the setup down slightly.
Super easy... The following command will install Git for you
sudo pacman -S gitand then to check its installed correctly just run the version check
git --version

// Result - git version 2.34.0
Done!
This next bit may turn some peoples stomachs as its a "lazy method"... although were going to install Valet Linux shortly which uses Nginx, were going to install PHP-APACHE now as it comes bundled with a number of packages which we will use. We will disable Apache later on in the tutorial.
sudo pacman -S php php-apacheInstallation Complete, Now lets edit the php.ini
sudo nano /etc/php/php.iniFind and uncomment the following extensions:
Ctrl + X, Y and enter to save the changes and your done with PHP.... Easy right!
I've always used the normal MySQL install for my local environment, but for some reason its a pain to get installed on Arch based systems and as such the recommendation is to use MariaDB which functions exactly the same to us developers but does require a few more steps to get installed. so first off lets install MariaDB
sudo pacman -S mariadbNow this is where i got confused most doc's say this is enough to get it going... i have found this isn't the case so far and you need to Initialise the MySQL Directory, this can be done with the following command:
sudo mysql_install_db --user=mysql --basedir=<span class="hljs-regexp">/usr --datadir=/var/lib/mysql
</span>
Next lets ensure the MySQL service starts when you reboot or startup your machine.
sudo systemctl start mysqldNext lets setup MySQL for use!
sudo mysql_secure_installation
To check its installed and working just open up mysql command prompt with
sudo mysqlIf you see the following prompt, You're good to go!
MariaDB [(<span class="hljs-literal">none)]>
</span>
you can install composer real easy like so
curl -sS https://getcomposer.org/installer | phpAnd that should be it... if you type composer --version in your terminal now it should show you the current version installed.
If it doesn't show the version, Try running the following command :
sudo mv composer.phar /usr/local/bin/composer
And adding the next 2 lines to the bottom of the manjaro-zsh-config
sudo nano /usr/share/zsh/manjaro-zsh-configAnd
PATH=$HOME/.config/composer/vendor/bin:~/.composer/vendor/bin:$PATH
export PATH
Now the composer --version should work fine.
Valet Linux - Prerequisites and install
Run the following command to ensure Valet Linux has the correct software installed for it to work
sudo pacman -S nss jq xsel networkmanagerNext, install Valet Linux. Under NO CIRCUMSTANCES should you run this command as sudo, it will require a complete removal and restart if you do... (when i did it i ended up just rebuilding my OS from scratch....)
composer global require cpriego/valet-linuxAnd then
valet installNext were going to make a directory and park valet in it so it knows to serve from that directory.
mkdir ~/www
cd ~/www
valet park
The directory can be called what ever you want, www is just something i have always used. Next were going to assign a domain tld so its not .test
this can be what ever you want, but i always go with .vm
valet domain vmDone.
Another easy one to do, simply type the following command
composer global require laravel/installernext CD to your www directory and test the Laravel install is working correctly by creating a test project
cd ~/www
laravel new test
As long as its all gone to plan you should see the Laravel logo in terminal and then a shed load of dependencies being dragged down for the application.
That's Laravel globally accessible to you now.
So remember earlier when i mentioned we were installing Apache PHP for ease of installing packages... well its time to disable that and stop it from loading at system boot... If we don't Nginx wont work and neither will our dev environment. to do this we run the following command.
sudo systemctl disable apache2 && sudo systemctl stop apache2and then we need to make sure Nginx starts up with the next command.
sudo systemctl enable nginxNow, the first command is a bit odd... I've installed Manjaro a few times now, through VM's for testing and onto the machine I'm using now. The strange bit is sometimes installing the Apache2 doesn't start it but other times it does.... so it may not be necessary but doesn't hurt to run it.
Now in Laravel your definitely going to use NPM so lets install it. Again another single command and its done.
sudo pacman -S nodejs npmYou can install Node/npm with SNAP but you have to enable that and its not always the "cleanest" way of doing things.
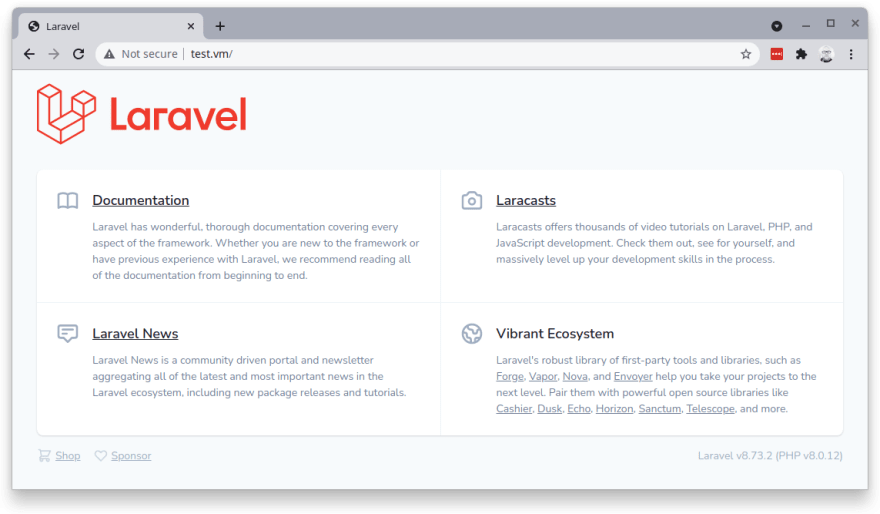
Before jumping into your browser and being disappointed when test.vm doesn't work, Reboot your machine and when its back up and running you can hit the test.vm URL and it will work.
Finally install your IDE Of choice (i use PHPstorm and Datagrip) and start coding! I hope this has been helpful!
Raspada-Blog
Raspada-Blog
40