29
What is Create React App? Part 2 (package.json,README & node_modules)
In part 1 of this series, we learned how to install React using Create React App.
In part 2, I will breakdown the following files and folders:
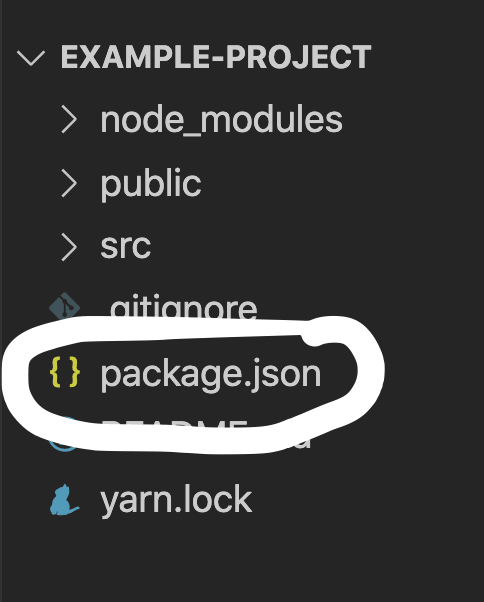
This is a JSON(JavaScript Object Notation) file that includes key information concerning your project. This is a required file that is needed to run any React project.
This file includes metadata such as
name, author and version as well as starter scripts and dependencies used in the project. DO NOT DELETE THIS FILE.
Open up your project in your favorite code editor, and you will see the
package.json file in the root directory. "The root directory, or root folder, is the top-level directory of a file system." - Source: Tech Terms
Click on that file and you should see this data in it.
{
  "name": "example-project",
  "version": "0.1.0",
  "private": true,
  "dependencies": {
    "@testing-library/jest-dom": "^5.11.4",
    "@testing-library/react": "^11.1.0",
    "@testing-library/user-event": "^12.1.10",
    "react": "^17.0.2",
    "react-dom": "^17.0.2",
    "react-scripts": "4.0.3",
    "web-vitals": "^1.0.1"
  },
  "scripts": {
    "start": "react-scripts start",
    "build": "react-scripts build",
    "test": "react-scripts test",
    "eject": "react-scripts eject"
  },
  "eslintConfig": {
    "extends": [
      "react-app",
      "react-app/jest"
    ]
  },
  "browserslist": {
    "production": [
      ">0.2%",
      "not dead",
      "not op_mini all"
    ],
    "development": [
      "last 1 chrome version",
      "last 1 firefox version",
      "last 1 safari version"
    ]
  }
}
Let's break down what all of this means.
The
name field is for the name of your project."name": "example-project",If you need to change the name of your project, then you can update it in this field. You will also need to make sure to update it in the
package-lock.json file. In the command line of your project folder, run
npm install which will update the name of your project in the package-lock.json file. The
version field is the current version number for your software project."version": "0.1.0",If you were to publish this package to the
npm registry, then this field is important. If you make major changes to the package, it is encouraged that you release a new version so other developers will understand what the new updates are. If you want to learn more about publishing, then please read through the documentation.
The
private field has the value of a boolean (true or false) that is automatically set to true. This means that npm will not publish your project."private": true,If you want to publish your project on the
npm registry, then you will need to change that field to false. This is an object filled with all of the packages that are currently being used in your project.
"dependencies": {
    "@testing-library/jest-dom": "^5.11.4",
    "@testing-library/react": "^11.1.0",
    "@testing-library/user-event": "^12.1.10",
    "react": "^17.0.2",
    "react-dom": "^17.0.2",
    "react-scripts": "4.0.3",
    "web-vitals": "^1.0.1"
  },
Since this is a React project, you need to have
react and react-dom to run your application.The
react-scripts allow you to run the project in your local server and will automatically restart the server every time you make changes to a file. web-vitals provides metrics concerning the user experience for your website. Create React App comes with built in code to help you track the metrics of your site and see the user performance analytics. Create React App also comes with
jest and the react-testing-library. This allows you to write tests to ensure that your application is running smoothly. The
package.json file comes with an object filled with four different scripts."scripts": {
"start": "react-scripts start",
"build": "react-scripts build",
"test": "react-scripts test",
"eject": "react-scripts eject"
},The
start script, allows you to run your application in the local server (http://localhost:3000/). You would use the command npm start in the command line of the project folder. Or you would use
yarn start if you installed React using Yarn. The
build script is used to create an optimized build folder when you are ready to deploy your project to production.You would run
npm build or yarn build to create that build folder. The
test script allows you to start the test runner in the command line and perform any tests that you have written for your project. You would run
npm test or yarn test to launch the test runner. The
eject script is for those developers that want to further customize their build and dependency configurations. This will remove the single build dependency where you are free to configure your React project to your liking.If you are just starting out, there is zero reason to use this option.
Even React has this warning in their default README file.
Note: this is a one-way operation. Once you
Note: this is a one-way operation. Once you
eject, you can’t go back!If you are seasoned developer that is comfortable with this option, then you can run
npm eject or yarn eject.ESLint is a linter that helps you find and fix syntax errors in your code and adheres to the ECMAScript/JavaScript standards.
This is the config object that extends to the
react-app and jest."eslintConfig": {
"extends": [
"react-app",
"react-app/jest"
]
},In this section, you can specify which browsers are supported by your React application.
"browserslist": {
    "production": [
      ">0.2%",
      "not dead",
      "not op_mini all"
    ],
    "development": [
      "last 1 chrome version",
      "last 1 firefox version",
      "last 1 safari version"
    ]
  }
In development, you want to specify that you want to use the latest versions of popular browsers. That will also ensure that you can use ES6 features in your code and it will be supported.
In production, you can specify the following:
If you want to learn more about the
browserslist, then please visit their GitHub repository.That is a brief description for all of the current data in your starter
package.json file. If you want to learn more about the
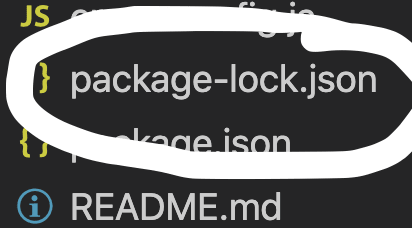
package.json file, then please read through the documentation.This is a file that is automatically generated when you make changes to the
package.json file or node_modules folder. If you installed React using Yarn, then this file is called
yarn.lock. This file is located in the root directory of your project.


This file contain thousands of lines of code and it lists out the exact versions for all of the dependencies needed for your project.
You should not be changing this file directly because that is being handled for you by NPM(Node Package Manager).
The
README.md file is also located in the root directory for your project.
This is a place for you to describe your project to other developers. Create React App comes with a default template for the
README.md file. This information goes over the React starter scripts and other helpful information concerning Create React App.
It is highly encouraged that you customize your
README.md file, so people will know what your project is all about. You can include the following information:
This information is really helpful for other developers that are interested in contributing to your project if it is an open source project.
It is also really helpful for potential employers to learn about your project.
To learn more about how to create good README files, then please read through this article.
The
.md tells the computer that it is a Markdown file. Markdown is a language you can use to format your documents. Here is a cheat sheet you can use to help you with the Markdown syntax.
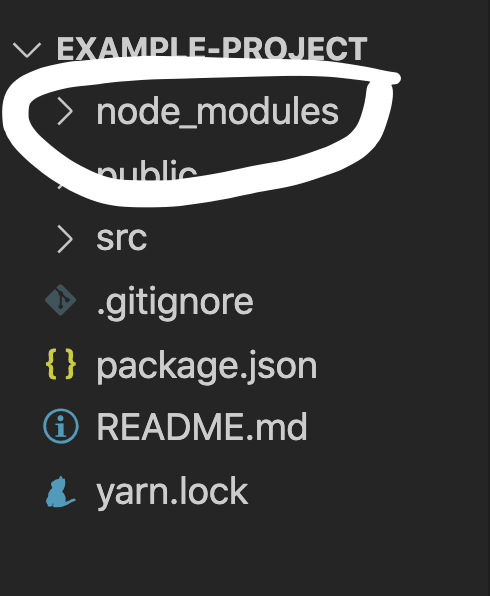
This contains hundreds of folders and files that represents the modules needed to run your project.

It is important to remember to never commit your
node_modules folder to GitHub. If this folder is included in production, then it can slow down your website.I remember making this mistake when I built my first website. Luckily, there was a nice developer on Twitter who reached out to me and let me know how to remove it.
You don't have to worry about committing your
node_modules folder to GitHub, because Create React App has already taken care of that for you. We will learn more about why in part 3 of this series. That concludes part 2 of the What is Create React App series.
In part 3, will will learn about the
.gitignore file and public folder. 29

