
41
Let’s Give Your Realm-Powered Ionic Web App the Native Treatment on iOS and Android!
The Ionic team posted a fantastic article on how you can use Ionic with Realm to build a React Web app quickly, taking advantage of Realm to easily persist your data in a MongoDB Atlas Database.
After cloning the repo and running
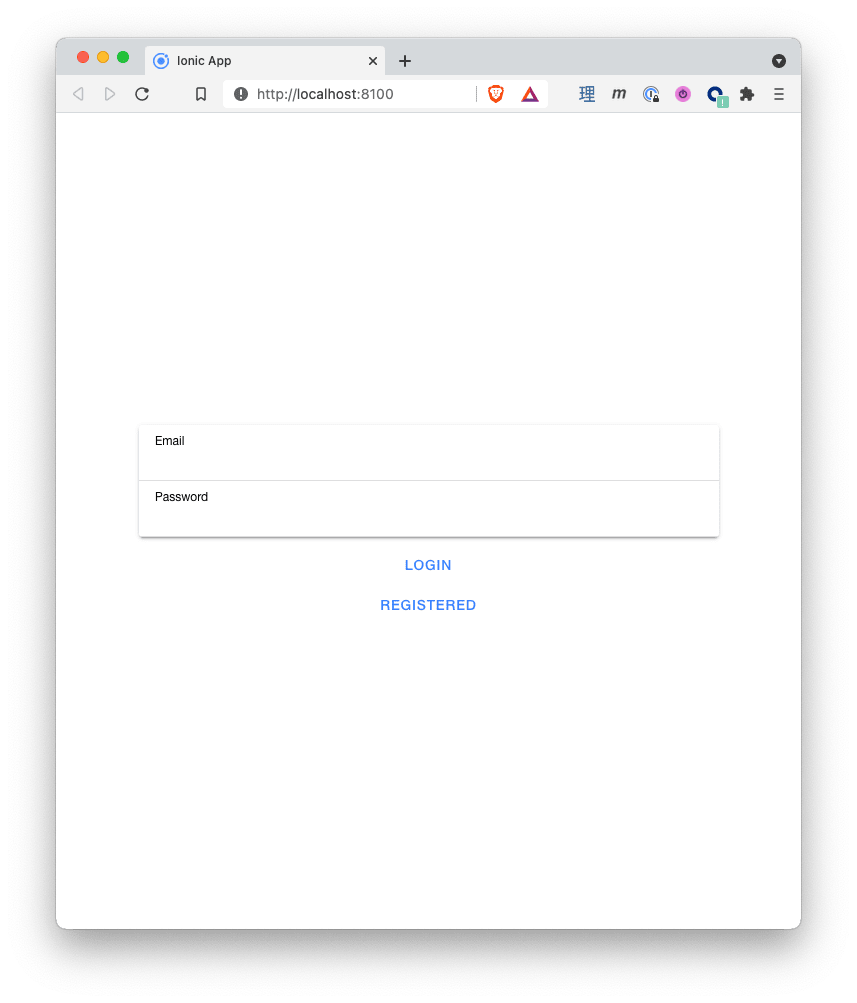
ionic serve, you'll have a really simple task management web application. You can register (using any user/password combination, Realm takes care of your onboarding needs). You can log in, have a look at your tasks, and add new tasks.| Login in the Web App | Browsing Tasks |
|---|---|
 |
 |
Let’s build on what the Ionic team created for the web, and expand it by building a mobile app for iOS and Android using one of the best features Ionic has: the “Write Once, Run Anywhere” approach to coding. I’ll start with an iOS app.
To follow along this post, you’ll need five things:
npm install -g @ionic/cli
src/App.tsx, in the line:export const APP_ID = '<Put your Realm App Id here>';Once your
APP_ID is set, run:$ npm run buildTo add iOS capabilities to our existing app, we need to open a terminal and run:
$ ionic cap add iosThis will create the iOS Xcode Project native developers know and love, with the code from our Ionic app. I ran into a problem doing that and it was that the version of Capacitor used in the repo was 3.1.2, but for iOS, I needed at least 3.2.0. So, I just changed
package.json and ran npm install to update Capacitor.package.json fragment:...
"dependencies": {
"@apollo/client": "^3.4.5",
"@capacitor/android": "3.2.2",
"@capacitor/app": "1.0.2",
"@capacitor/core": "3.2.0",
"@capacitor/haptics": "1.0.2",
"@capacitor/ios": "3.2.2",
...Now we have a new
ios directory. If we enter that folder, we’ll see an App directory that has a CocoaPods-powered iOS app. To run this iOS app, we need to:cd ios. You’ll find an App directory. cd App
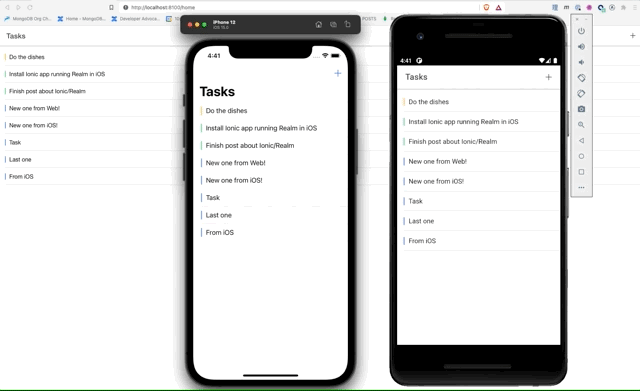
pod repo update && pod install, as usual in a native iOS project. This updates all libraries’ caches for CocoaPods and then installs the required libraries and dependencies in your project.App.xcworkspace file with Xcode. From Terminal, you can just type open App.xcworkspace.| Login in the iOS App | Browsing Tasks |
|---|---|
 |
 |
That’s it. Apart from updating Capacitor, we only needed to run one command to get our Ionic web project running on iOS!
How hard can it be to build our Ionic app for Android now that we have done it for iOS? Well, it turns out to be super-simple. Just
cd back to the root of the project and type in a terminal:ionic cap androidThis will create the Android project. Once has finished, launch your app using:
ionic capacitor run android -l --host=10.0.1.81In this case,
10.0.1.81 is my own IP address. As you can see, if you have more than one Emulator or even a plugged-in Android phone, you can select where you want to run the Ionic app.
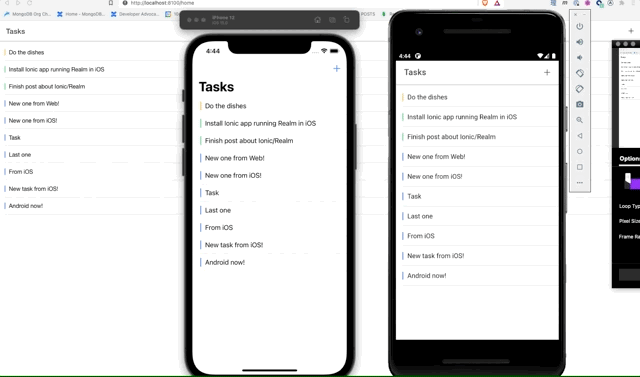
Once running, you can register, log in, and add tasks in Android, just like you can do in the web and iOS apps.
| Adding a task in Android | Browsing Tasks in Android |
|---|---|
 |
 |
The best part is that thanks to the synchronization happening in the MongoDB Realm app, every time we add a new task locally, it gets uploaded to the cloud to a MongoDB Atlas database behind the scenes. And all other apps accessing the same MongoDB Realm app can show that data!

But in this example, we access data using the Apollo GraphQL Client for React. Using this client, we can log into our Realm app and run GraphQL Queries—although as designed for the web, we don’t have access to the hard drive to store a .realm file. It’s just a simpler way to use the otherwise awesome Apollo GraphQL Client with Realm, so we don’t have synchronization implemented. But luckily, Apollo GraphQL queries can automatically refresh themselves just passing a
pollInterval argument. I told you it was awesome. You set the time interval in milliseconds to refresh the data.So, in
useTasks.ts, our function to get all tasks will look like this, auto-refreshing our data every half second.function useAllTasksInProject(project: any) {
const { data, loading, error } = useQuery(
gql`
query GetAllTasksForProject($partition: String!) {
tasks(query: { _partition: $partition }) {
_id
name
status
}
}
`,
{ variables: { partition: project.partition }, pollInterval: 500 }
);
if (error) {
throw new Error(`Failed to fetch tasks: ${error.message}`);
}
// If the query has finished, return the tasks from the result data
// Otherwise, return an empty list
const tasks = data?.tasks ?? [];
return { tasks, loading };
}
Adding automatic refresh is nice, but in mobile apps, we’re used to also refreshing lists of data just by pulling them. To get this, we’ll need to add the Ionic component
IonRefresher to our Home component:<IonPage>
<IonHeader>
<IonToolbar>
<IonTitle>Tasks</IonTitle>
<IonButtons slot="end">
<IonButton onClick={addNewTask}>
<IonIcon slot="icon-only" icon={add}></IonIcon>
</IonButton>
</IonButtons>
</IonToolbar>
</IonHeader>
<IonContent fullscreen>
<IonRefresher slot="fixed" onIonRefresh={doRefresh}>
   <IonRefresherContent></IonRefresherContent>
</IonRefresher>
<IonHeader collapse="condense">
<IonToolbar>
<IonTitle size="large">Tasks</IonTitle>
</IonToolbar>
</IonHeader>
<IonList>
{loading ? <IonLoading isOpen={loading} /> : null}
{tasks.map((task: any) => (
<TaskItem key={parseInt(task._id)} {...task}></TaskItem>
))}
</IonList>
</IonContent>
</IonPage>As we can see, an
IonRefresher component will add the pull-to-refresh functionality with an included loading indicator tailored for each platform.<IonRefresher slot="fixed" onIonRefresh={doRefresh}>
<IonRefresherContent></IonRefresherContent>
</IonRefresher>To refresh, we call
doRefresh and there, we just reload the whole page.const doRefresh = (event: CustomEvent<RefresherEventDetail>) => {
window.location.reload(); // reload the whole page
event.detail.complete(); // we signal the loading indicator to hide
};Right now, we can swipe tasks from right to left to change the status of our tasks. But I wanted to also add a left to right swipe so we can delete tasks. We just need to add the swiping control to the already existing
IonItemSliding control. In this case, we want a swipe from the start of the control. This way, we avoid any ambiguities with right-to-left vs. left-to-right languages. When the user taps on the new “Delete” button (which will appear red as we’re using the danger color), deleteTaskSelected is called.<IonItemSliding ref={slidingRef} className={'status-' + task.status}>
<IonItem>
<IonLabel>{task.name}</IonLabel>
</IonItem>
<IonItemOptions side="end">
<IonItemOption onClick={toggleStatus}>Status</IonItemOption>
</IonItemOptions>
<IonItemOptions side="start">
<IonItemOption onClick={deleteTaskSelected} color="danger">Delete</IonItemOption>
</IonItemOptions>
</IonItemSliding>To delete the task, we use a GraphQL mutation defined in
useTaskMutations.ts:const deleteTaskSelected = () => {
slidingRef.current?.close(); // close sliding menu
deleteTask(task); // delete task
};
In this post, we’ve seen how easy it is to start with an Ionic React web application and, with only a few lines of code, turn it into a mobile app running on iOS and Android. Then, we easily added some functionality to the three apps at the same time. Ionic makes it super simple to run your Realm-powered apps everywhere!
$ git clone https://github.com/mongodb-developer/ionic-realm-demo
$ git checkout observe-changes
But this is not the only way to integrate Realm in your Ionic apps. Using Capacitor and our native SDKs, we’ll show you how to use Realm from Ionic in a future follow-up post.
41