
58
React-Navigation : Navigate with Stack
The community solution to navigation is a standalone library that allows developers to set up the screens of an app with a few lines of code.
A Single screen mobile application is uncommon. For managing multiple screens and their behaviour, react-native provides React-Navigation library.
In this series of articles, I will try to explain about various navigation options.
Enough talking, let's get stared.

This part will cover how to move from one screen to another, how to pass data, and different customisation options.
I hope you have followed the installation process for the react-navigation library.
First we have to wrap our app with
NavigationContainer. We need to wrap the whole app in NavigationContainer. Usually you'd do this in your entry file, such as index.js or App.jsNavigationContainer
BackHandler API in Android Application from react-native
Let's have a look at the above code snippet.
createNativeStackNavigator: is a function that returns an object containing 2 properties: Screen and Navigator
Stack.Navigator: is a component that takes route configuration as its children with additional props for configuration and renders our content.
Stack.Screen: The Screen component accepts a name prop which corresponds to the name of the route we will use to navigate and a component prop which corresponds to the component it'll render. In aforementioned code the NewsFeed route corresponds to the NewsFeedScreen component.
initialRouteName: We can define the initial route by using the initialRouteName prop. In this example, we're using the Login route.
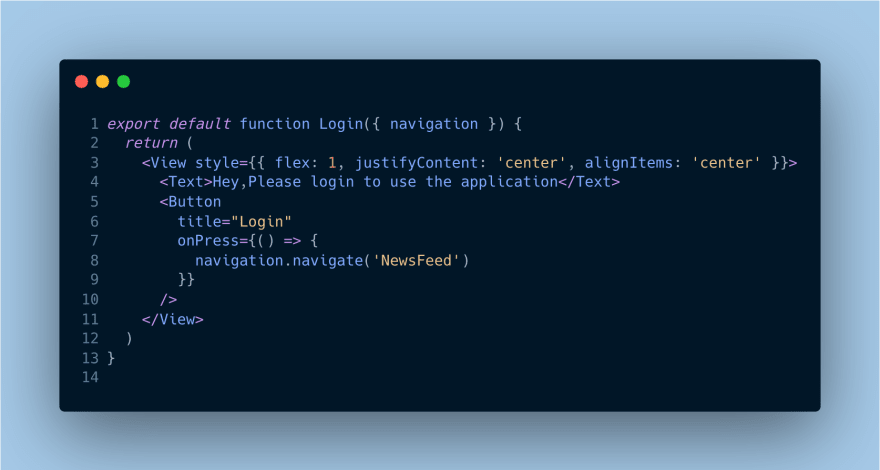
navigation is a prop that is passed to the component in the native stack navigator. If you're wondering what functions are used to dispatch navigation actions, you've come to the right place. Let's keep track of them.
navigate() is a function that pushes a new route to the native stack navigator if it's not already in the stack, otherwise it jumps to that screen.goBack() is a function that we can use to navigate back to previous screen.push() action adds a route on top of the stack and navigates forward to it.For more details about
navigation follow this documentWe can pass the data to the route by putting them in an object as second parameter to the navigate function.
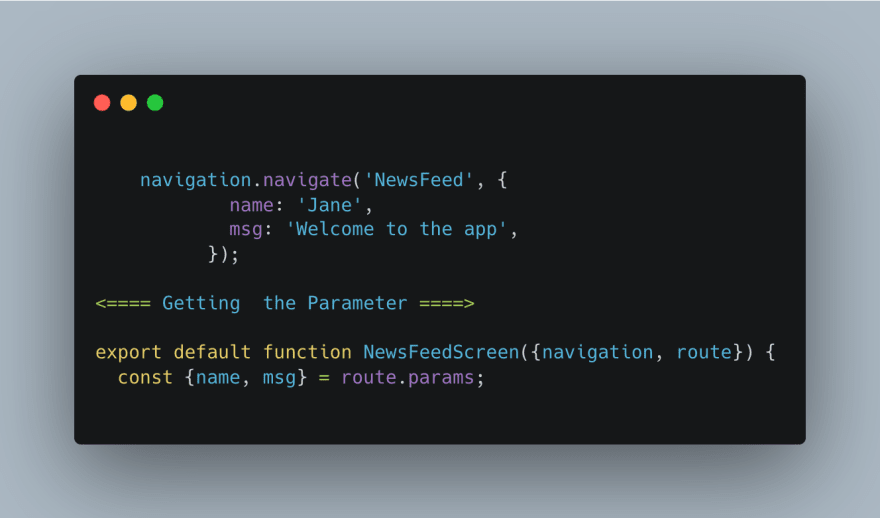
For getting the parameter to second screen we can use the
route.paramsFor sending the data back to previous screen. We can use
navigate function and pass the data.
And getting it to the parent screen, we can use React
useEffect hook. I have added an article for useEffect
The header provided by the native stack navigator automatically contains the back functionality. There are few methods by which you can trigger back functionality manually.
navigation.goBack()navigation.navigate('Route') can also be used for navigating back to any specific screen.We can customise header by using the
options prop. Below are the properties which can be used for customising header.
headerStyle :Style object for the header.headerTitle : Title for the header.headerTitleStyle :Style object for the title of the header.headerTintColor : Color of the header.headerBackTitle :Title for the back button.headerBackTitleVisible: Visibility of the back button.There are many more, please refer this document
NavigationContainer is the root component of the app.navigation.navigate('RouteName') pushes a new route to the native stack navigator if it's not already in the stack, otherwise it jumps to that screen.navigation.push('RouteName') will add a new screen onto the stack . It does not check if the screen is already on the stack. Push will always add on top, so a route can be present multiple times.route.params inside a screennavigation.setParams
popToTop() pops all the screens off the stack and go back to the login screen.replace allows to replace a route in the navigation state.
Thank you so much for reading this article! Happy coding!
Please feel free to make suggestions or corrections. Let's connect on Twitter.

58