40
Next.js & MDX w/ code highlighting
A walkthrough on how to configure Next.js to render MDX files with code highlighting.
I use this as a quick way to write documentation for small projects. It can also be useful for creating nicely formatted PDFs with code highlighting built in.
Let's get started!
Assuming you have a fresh Next.js project - begin by installing the Next.js MDX package:
npm install @next/mdx @mdx-js/loaderIn next.config.js, configure Next.js to handle MDX files:
// next.config.js
const withMDX = require('@next/mdx')({
    extension: /\.mdx?$/,
});

module.exports = withMDX({
    pageExtensions: ['js', 'jsx', 'mdx'],
});
This means we can now create a MDX file in the pages directory and Next will magically do the routing and rendering for us. Let's try it. In the pages folder, create a new onions.mdx file:
# Onions

Layers. Onions have layers. Ogres have layers. Onions have layers. You get it? We both have layers.

Oh, you both have layers. Oh. You know, not everybody like onions.

```js
const year = "2001";
const movie = "Shrek";

console.log(`${movie}, ${year}`);
Run the project with npm run dev and navigate to /onions to see the rendered MDX page:

Currently our code block has no highlighting - let's change that!
Install the remark-prism package. Then update next.config.js to include the plugin:
// next.config.js
const withMDX = require("@next/mdx")({
  extension: /\.mdx?$/,
  options: {
    remarkPlugins: [require("remark-prism")],
  },
});

module.exports = withMDX({
  pageExtensions: ["js", "jsx", "mdx"],
});
Then find a Prism highlighting theme to use - it's essentially a CSS file. As a starting point, check out this prism-theme repository for a list of options.
I'm a fan of the Dracular theme. I will add it to the project by creating a _document.js file and linking to the stylesheet in the head:
import Document, { Html, Head, Main, NextScript } from "next/document";

class MyDocument extends Document {
  render() {
    return (
      <Html>
        <Head>
          <link
            rel="stylesheet"
            href="https://unpkg.com/dracula-prism/dist/css/dracula-prism.css"
          ></link>
        </Head>
        <body>
          <Main />
          <NextScript />
        </body>
      </Html>
    );
  }
}

export default MyDocument;
Restart the dev server. The code block should now be highlighted!

As an added bonus, I like to add a few quick styles. Water.css provides a great default stylesheet and saves us having to write our own. This can be added to the _document.js file as a stylesheet:
<link rel="stylesheet" href="https://cdn.jsdelivr.net/npm/water.css@2/out/dark.css"></link>By default, the generated Next.js styles/globals.css file sets all padding and margin to zero. I also remove these rules to get some padding and margin back.
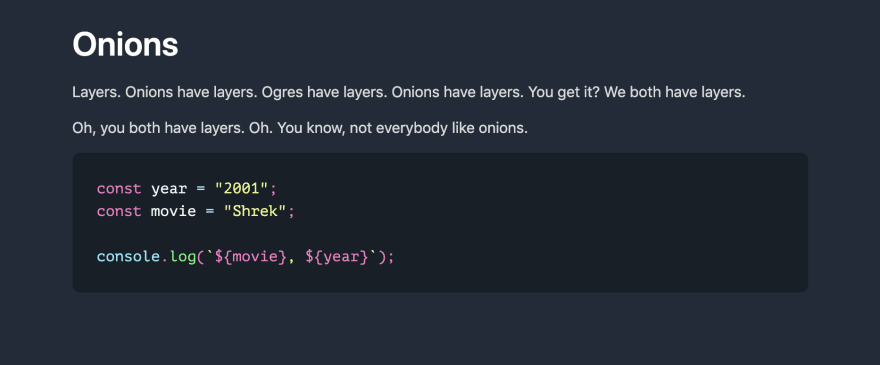
The end result should look something like:

🎉
Aside from hosting the project and sharing the URL - you can also print the page and set the destination as a PDF. This will produce a nicely formatted PDF file to share with others.
Here's an example of everything covered above!
Thanks to Dee @ Copper and Wild on Unsplash for the cover photo.
40
