
30
Creating Your First Chrome Extension.
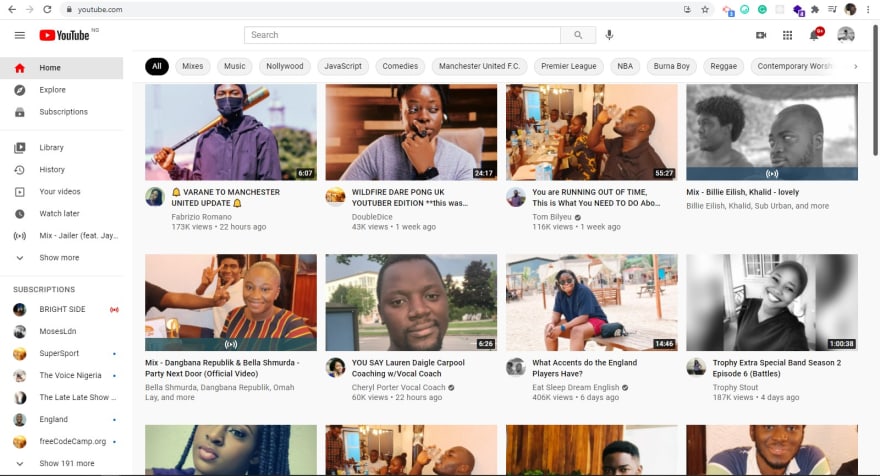
Every four seconds, this chrome extension replaces images on any webpage I visit, with random pictures of some of my friends and family.
Totally enjoyed the building process.
Here's what it looks like when activated on YouTube 👀.
...
A fairly solid understanding of the DOM [Document Object Model] goes a long way when building browser extensions, as you would have to do lots of DOM manipulation.
The project folder contains two files; manifest.json and content.js
Project Folder/
manifest.json
content.js
...
manifest.json
This is the entry point of every chrome extension. It handles permissions, routes, and holds necessary information like the extension name, version, description, icons, etc.
{

    "manifest_version": 2,
    "name": "FriendsFX",
    "version": "1.0.1",
    "description": "Converts every image on a webpage to random pictures of some of my friends",
    "content_scripts": [
        {
            "matches": ["<all_urls>"],
            "js": ["content.js"]
        }
    ]

}
Most of the keys in the snippet above are self-explanatory, but let's talk about the "content_scripts" key.
It holds an array of one object - containing two key elements; "matches" and "js", with values of ["<all_urls>"] and ["content.js"] respectively.
["<all_urls>"] basically matches any URL that starts with a permitted scheme; http:, https:, file:, ftp:, or chrome-extension:.
These permissions are required if your code wants to interact with the code running on webpages.
...
content.js
Here goes the code that replaces every image on a webpage with the selected pictures.
Step 1:
I had uploaded the pictures to cloudinary, a tool that automatically optimizes and delivers media files.
NOTE: You do not have to use cloudinary. Your friends' pictures must be somewhere on the internet, so you can just grab the links whenever you need them
Below, I created an array - imagesLinks, containing links to those pictures.
// An array of pictures to randomly select from
// You can have as many links/pictures as you want

const imagesLinks = [
    "https://res.cloudinary.com/dd3hmuucq/image/upload/v1625511199/friendsFX/IMG20201223190841_1_gsz2dc.jpg",
    "https://res.cloudinary.com/dd3hmuucq/image/upload/v1625511198/friendsFX/IMG20201223184904_tj8u3d.jpg",
    "https://res.cloudinary.com/dd3hmuucq/image/upload/v1625511192/friendsFX/IMG20201223182200_xglqvv.jpg",
    "https://res.cloudinary.com/dd3hmuucq/image/upload/v1625511189/friendsFX/IMG20201223191703_wnindo.jpg",
    "https://res.cloudinary.com/dd3hmuucq/image/upload/v1625511184/friendsFX/IMG20201223182912_er8kil.jpg"

]
Step 2:
// fetches all <img> tags on the webpage
const imageTags = document.getElementsByTagName("img")
Final Step:
// Loops through each of the <img> tags on the webpage
// Replaces the 'src' attribute with a random link from the imageLinks array
// Do this every 4 seconds

setInterval(() => {
    for (let i = 0; i < imageTags.length; i++) {
        let randomArrayIndex = Math.floor(Math.random() * imagesLinks.length)
        imageTags[i].src = imagesLinks[randomArrayIndex]
    }
}, 4000);
...
1) Upload the extension to your browser extension library.
Type this 👉🏼 chrome://extensions/ in your browser

2) Activate "Developer mode" at the top right corner

3) Click "Load unpacked" and select the project folder.
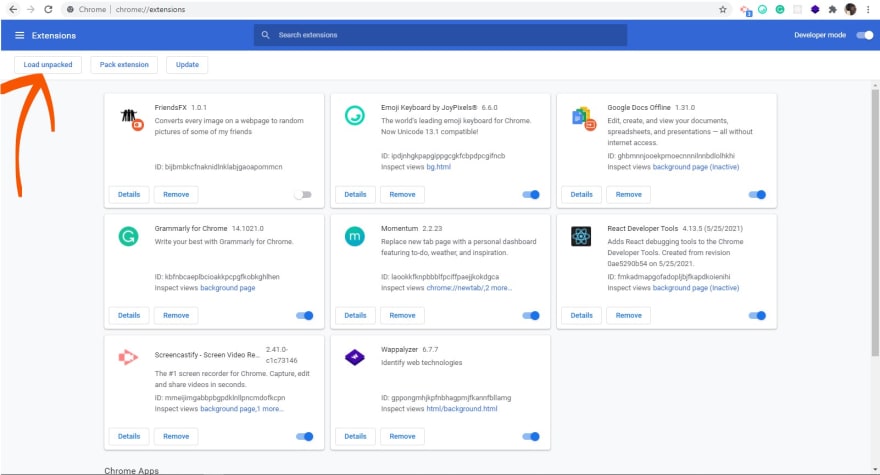
4) The extension gets added and is immediately activated.
5) Now go to any webpage, hold on for about 4 seconds and watch the selected pictures appear.
...
...
Let me know if you found this helpful.
You can also get the code on GitHub.
30