24
How to test file uploads with Selenium
I work as a Solutions Architect at Endtest.
In this article, we're going to learn how to perform a file upload with Selenium.
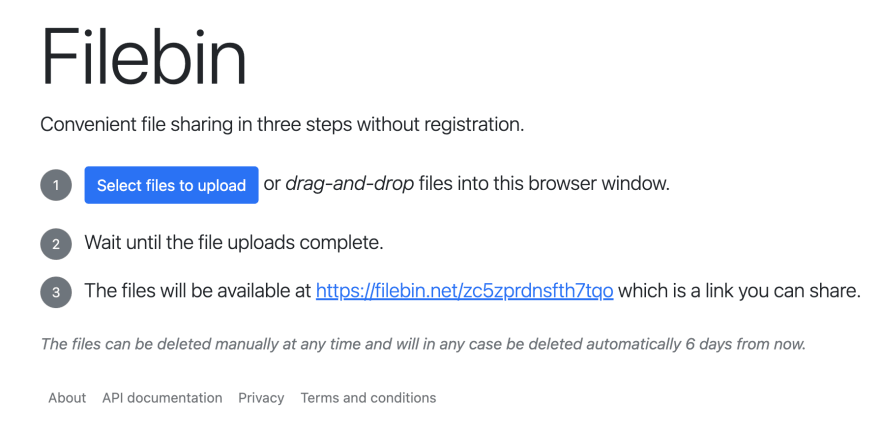
Here is a basic example on Filebin:

Behind each file upload section, you will find an <input type="file"> element:

When I click the Select files to upload button, the native file explorer window from my OS will open and I can select a file:

And after I select the file and click on the Open button, the local path of the file will be written in the <input type="file"> element.
In my situation, this will be the local path of the file:
/Users/liviulupei/Desktop/rabbit.png
The browser is the one writing that local file path, not the JavaScript.
Browsers do not allow JavaScript to write in <input type="file"> elements, due to Security reasons.
If that restriction wouldn't exist, a website could potentially upload files from your computer, without your knowledge or permission.
As an experiment, let's try to write in that input with JavaScript:
document.querySelector("#fileField").value="/Users/liviulupei/Desktop/rabbit.png"
As you can see, we're getting an error.
The first instinct might be to automate the exact steps that a real user performs.
But there's a major challenge in that approach.
Selenium can only interact with elements from the DOM, it cannot interact with elements from the OS, such as that File Explorer window.
A possible workaround for that would be to call an external script that can handle that part, such as AutoIT, SikuliX or pywinauto.
But that could introduce flakiness in your test, since things might not always look the same in that file explorer window.
The correct approach is to skip the file explorer window part and to write the local file path directly in the <input type="file"> element.
JavaScript can't do that, but Selenium can, since the commands go directly through the webdriver.
Let's write that Selenium command with Python:
file_local_path = "/Users/liviulupei/Desktop/rabbit.png"
file_input = driver.find_element_by_id("fileField")
file_input.send_keys(file_local_path)
Easy, right?
There are situations where the <input type="file"> element might be hidden.
That is the case with most modern website designs.
Selenium won't be able to interact with that element, because it can only interact with visible elements.
In that situation, you would get an Element not interactable error.
The workaround is to execute some JavaScript code in the browser that will make the element visible:
document.querySelector("#fileField").style.visibility="visible";
document.querySelector("#fileField").style.display="block";
That JavaScript code will actually be executed from your Python Selenium code, with the execute_script method.
javascript_code = "document.querySelector..."
driver.execute_script(javascript_code)Relying on a hardcoded local file path works well only if you're testing on your own machine.
But most teams have their tests plugged into their CI/CD pipelines.
You could implement a script that downloads the file from a repository and places it on the machine that is running the test.
It's a bit easier to perform a file upload test with Endtest.
Details are provided in the How to test file uploads chapter.
The file needs to be stored in the Endtest Drive (or any other system that provides a direct download link).
And when the test execution starts, the file will be downloaded from the Drive onto the machine or device that the test is running on.
That means it's really easy to plug the test into your CI/CD system.
24

