
29
How to use AWS Cognito to access AWS Services
This article will explore how to block access to AWS S3 storage and allow only Cognito authenticated users to access their own directory.
AWS provides many services, and many times developers tend to not use the right architecture to securely access these services. The fastest and easiest way was to use an IAM user access key and secret to access. To do this, a developer needs to expose these access keys. Fortunately, there is a better way to securely access AWS services without exposing client secrets (see diagram below).

A user will need to authenticate first with Cognito to get his own access tokens that have an expiry. With this token, it exchanges with the Identity pool for AWS credentials. Only then, with these AWS credentials can the user gain access to AWS services. It's a long tour, but definitely, a more secure way than to use client secrets exposed to the front end.
- Add a Cognito domain name prefix
- Create an app client (save the user pool, client ID)
- Update the callback URL in the app settings
- Enable client Identity Providers
- Leave all as default
- Update CORS
- Update bucket name in policy
- Attach policy to Cognito Auth role
- Clone this repository, https://github.com/nazmifeeroz/simple-aws-upload
- Update .env variables
You're done! Authenticate, upload a file and see it listed on your page!
Let's start by creating a Cognito User Pool. This service will manage our user registration and user tokens. Go to https://console.aws.amazon.com/cognito/home and click on Manage User Pools.
Click on Create a user pool, enter your desired Pool name and click on Review Defaults. Leave all fields as default and click on Create Pool. It should direct you to the General Settings page.
We are going to use Cognito's default hosted UI for users to register and sign in. We will need to set the Cognito domain name for users to be redirected and sign in to their Cognito account. On the left sidebar, click on Domain Name. Enter a domain prefix and check that it's available. Once you have found an available Domain prefix, click on Save changes.
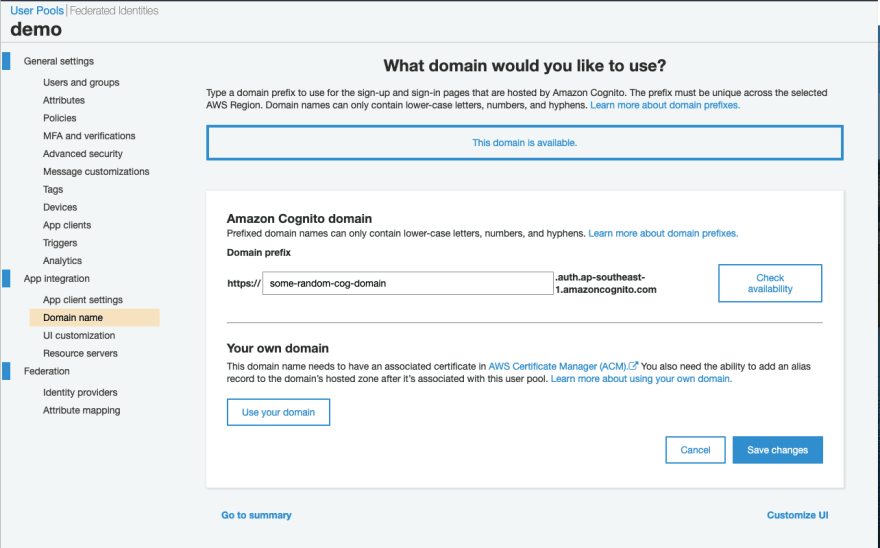
Take note of the Cognito Domain URL, as we will use it to redirect the login page.
Next, we need to add an app client. On the left sidebar, click on App Clients > Add an app client. Here we need to insert an App client name on the client-side when calling the Cognito user pool. Leave other fields as default. Click on Create app client.

On the next screen, take note of the App client ID.
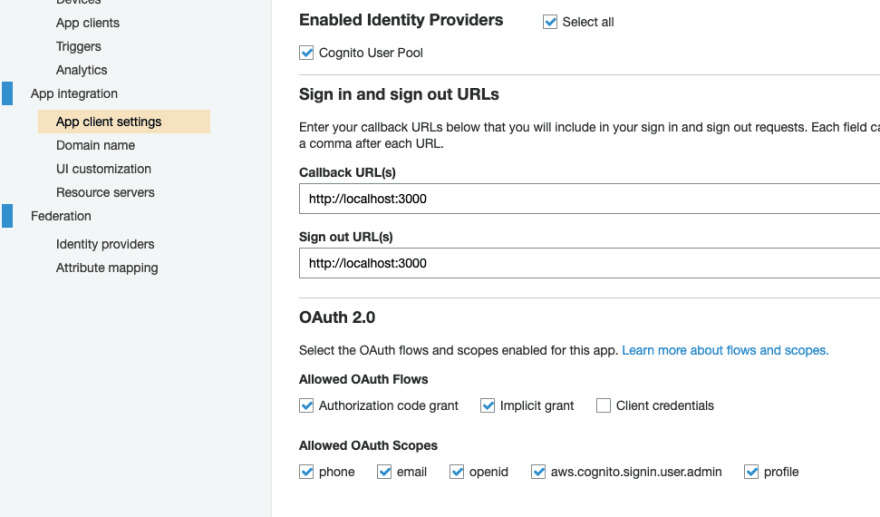
Lastly, we need to add a Callback URL and a Sign out URL in App Client Settings,select Cognito User Pool for Enabled Identity Providers, and select all under OAuth 2.0 section. Don't forget to Save Changes.
Now, we can register a user into our User Pool. Go to,
https://<DOMAIN_PREFIX>.auth.<REGION>.amazoncognito.com/login?response_type=token&client_id=<CLIENT_ID>&redirect_uri=http://localhost:3000Replace DOMAIN_PREFIX, REGION and CLIENT_ID with the values that you've created previously. You should see the sign-in page.

With an identity pool, you can obtain temporary, limited-privilege AWS credentials to access other AWS services - AWS Docs
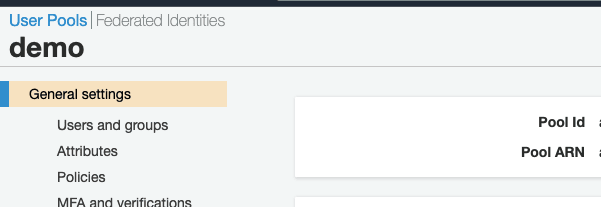
We will now create an Identity Pool to allow our users to access AWS services. Before we create one, we need to note the User Pool ID and App Client ID. These can be found under General Settings > Pool Id field and App Client Settings > ID.

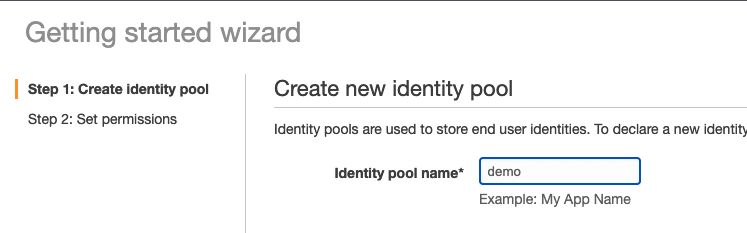
Once you have noted down the values for User Pool ID and App Client ID, go to the home page of AWS Cognito, console.aws.amazon.com/cognito/home and click on Manage Identity Pools. Click on Create new Identity Pool and enter an Identity pool name.
Expand the Authentication providers accordion and select the Cognito tab. Enter the User Pool ID and App client ID you have previously noted and click on Create Pool. On the next screen, the wizard will prompt you to create IAM roles for creating the identity pool. These roles are crucial to define what an authenticated or unauthenticated user is allowed to access.

Leave it as default and click on Allow. Take note of the Role names. Now we are done setting up Cognito!
To test out our Cognito Identity Pool, we will create an S3 bucket that only allows an authenticated user to access his own directory to perform all the CRUD actions. Go to the S3 home page, https://s3.console.aws.amazon.com/s3/home and click on Create bucket.
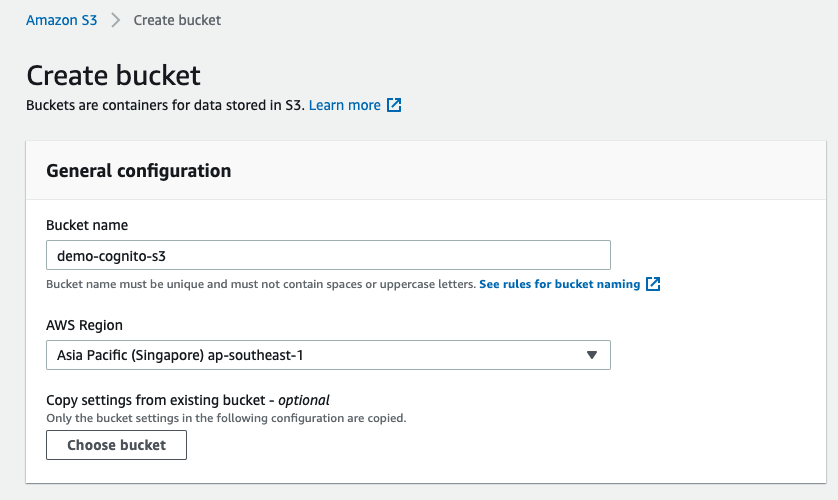
Give your bucket a unique name, leave all the fields as default and click on Create Bucket. Click on the bucket you've just created and click on the Permissions tab. Scroll down to the Cross-origin resource sharing (CORS) section and click on Edit. Paste this JSON code into the text area,
[
  {
    "AllowedHeaders": ["*"],
    "AllowedMethods": ["GET", "PUT", "POST", "DELETE"],
    "AllowedOrigins": ["http://localhost:3000"],
    "ExposeHeaders": []
  }
]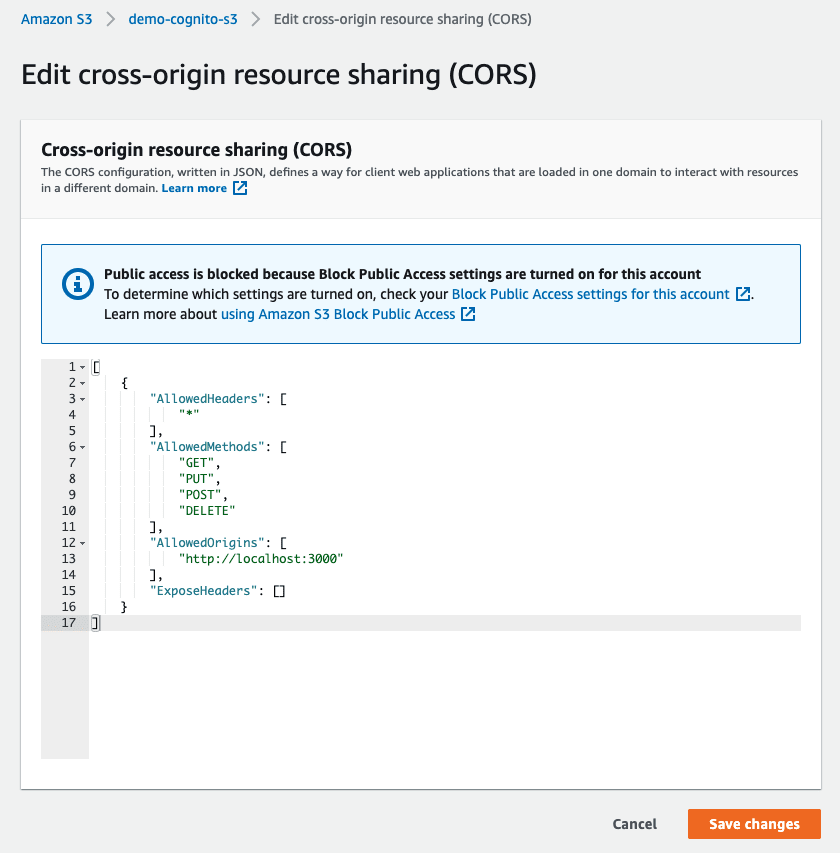
Click on Save Changes. These CORS settings will only allow our client app to access our bucket. That's all for the S3 setup. Do take note of the Bucket name to be used on the client-side.
We need to create a policy that allows our Cognito authenticated users to access our S3 bucket. Go to IAM service, https://console.aws.amazon.com/iam/home, select Policies on the left sidebar and click on Create policy. Click on the JSON tab and paste this policy,
{
  "Version": "2012-10-17",
  "Statement": [
    {
      "Effect": "Allow",
      "Action": ["s3:ListAllMyBuckets", "s3:GetBucketLocation"],
      "Resource": "*"
    },
    {
      "Effect": "Allow",
      "Action": "s3:ListBucket",
      "Resource": "arn:aws:s3:::bucket-name",
      "Condition": {
        "StringLike": {
          "s3:prefix": ["", "/", "${cognito-identity.amazonaws.com:sub}/*"]
        }
      }
    },
    {
      "Effect": "Allow",
      "Action": "s3:*",
      "Resource": [
        "arn:aws:s3:::bucket-name/${cognito-identity.amazonaws.com:sub}",
        "arn:aws:s3:::bucket-name/${cognito-identity.amazonaws.com:sub}/*"
      ]
    }
  ]
}
Update the bucket name to the S3 bucket you've created above.
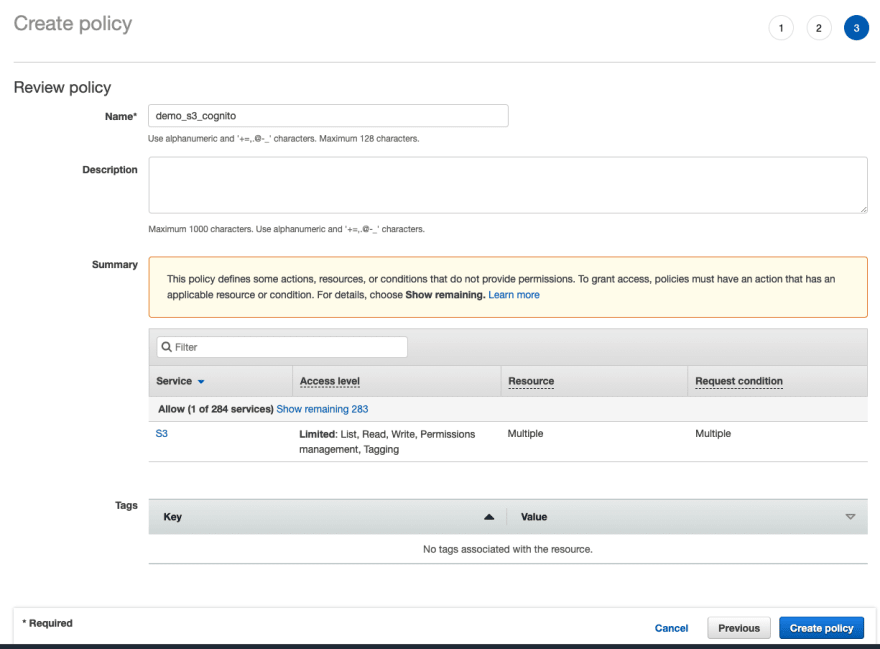
Click on the next screen until you reach the Review policy screen. Give a name to your policy and click on Create policy.
Click on Roles on the left sidebar. Select the Auth_Role that you have created from the previous step in Create a new identity. Select Attach policies. Find the policy that we've just created above. Select it and click on Attach policy.

Now our authenticated Cognito user can access the S3.
It may take a while for the policy to take effect.
Clone this repository (https://github.com/nazmifeeroz/simple-aws-upload) to test out if your AWS setup works! You simply need to add your AWS config variables into a .env file at the root of the project folder.
Create a .env file at the root of the project folder with these variables.
VITE_APP_S3_BUCKET=<YOUR_S3_BUCKET>
VITE_APP_COGNITO_LOGIN_URL=https://<COGNITO_DOMAIN_PREFIX>.auth.<COGNITO_REGION>.amazoncognito.com/login?response_type=token&client_id=<USER_POOL_ID>&redirect_uri=http://localhost:3000
VITE_APP_COGNITO_LOGOUT_URL=https://<COGNITO_DOMAIN_PREFIX>.auth.<COGNITO_REGION>.amazoncognito.com/logout?client_id=<USER_POOL_ID>&logout_uri=http://localhost:3000
VITE_APP_BUCKET_REGION=<BUCKET_REGION>
VITE_APP_COGNITO_REGION=<REGION>
VITE_APP_COGNITO_IDENTITY_POOL_ID=<IDENTITY_POOL_ID>
VITE_APP_COGNITO_IDENTITY_PROVIDER=cognito-idp.<REGION>.amazonaws.com/<IDENTITY_PROVIDER>Install dependencies by running,
# if you have yarn installed
yarn install

# or if you use npm
npm install
Run the app,
yarn dev
# OR
npm run dev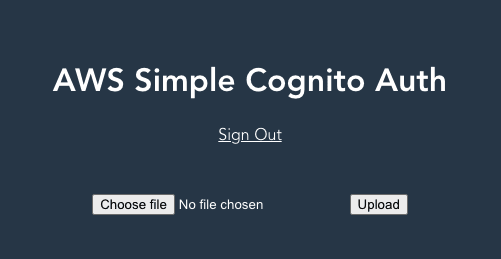
Once you sign in, you should be able to see this screen. Choose a file and upload it. If all works well, you should see a success alert, and your file name should be listed on the page! 😃
29