
29
Getting started with GitHub Actions for Rust
TL;DR: Create an Action on GitHub so your code gets built and tested after every push, and do all this with nothing more than a "next-next-finish".
You never used GitHub Actions and you want do do it with your Rust project; if that's the case, this might help you.
So, which workflow are we going to automatize? Test and build. In other words, this:
$ cargo test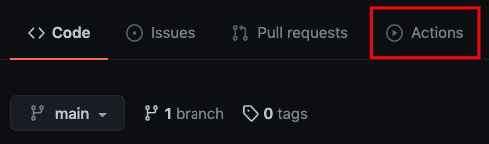
$ cargo buildFirst, open your GitHub repository and go to Actions.
The example is from this repository that I wrote about here.
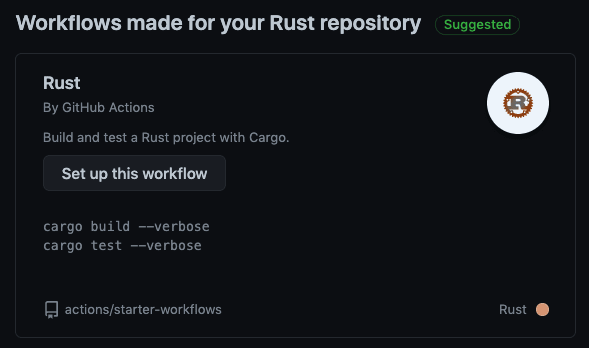
This will lead you to this GitHub proposal, which will do exactly what we're set to do here, i.e., build and test:
GitHub will preview the
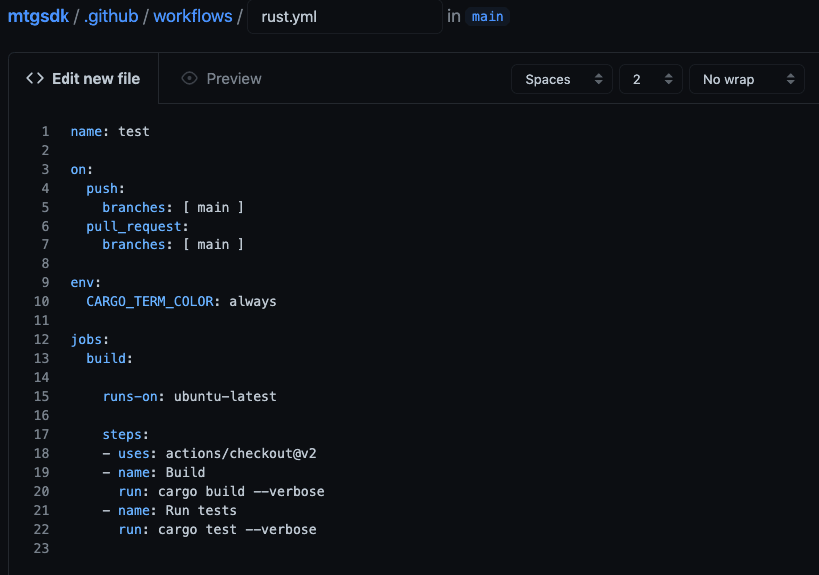
.yml file it will create. For this scope, you don't have to change anything (except maybe the name from "Rust" to something else — I used "test").Commit the change clicking on the button that will appear on the right and the file will be created:
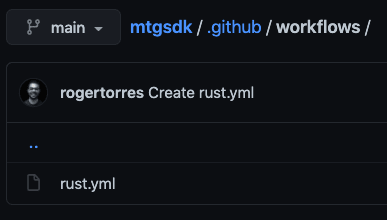
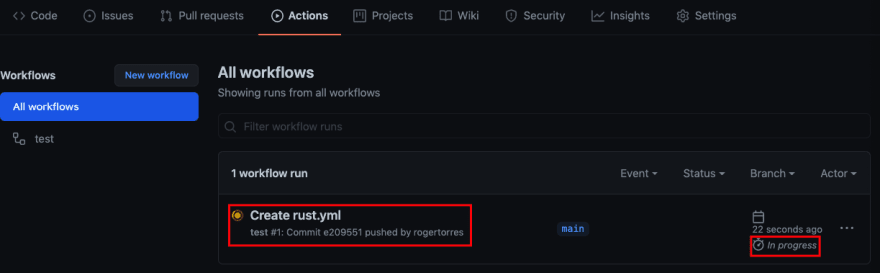
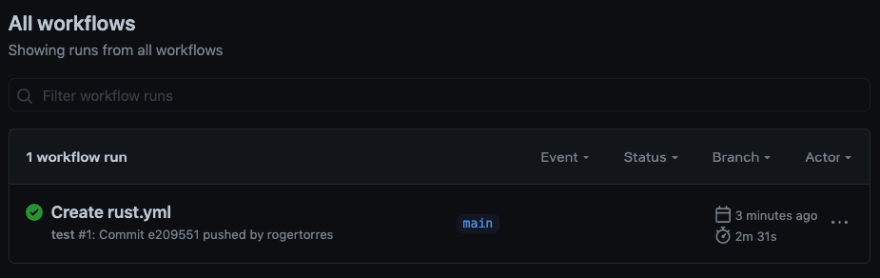
Now, if you go to Actions again, you will see GitHub creating your .yml file. For me, it took around 2 minutes.
And that's it. From now on, every time you
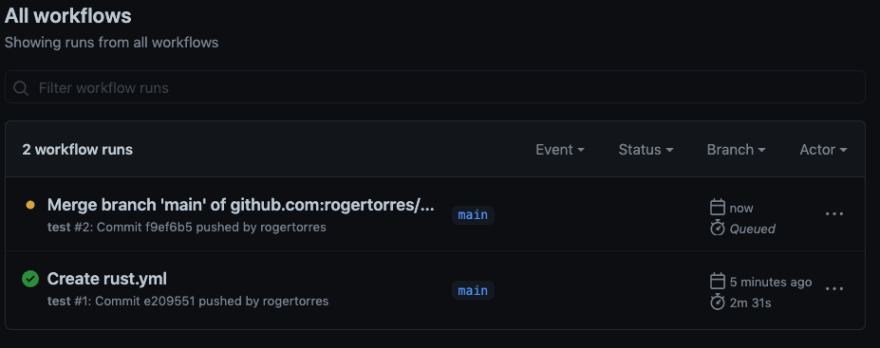
push against the repository, GitHub will run the tests for you.To see the result of the commit above, see the Build log here.
And that's all for today.
See ya 🙃
Cover image by Susan Q Yin
29