
15
How To Use Fauna And Serverless Framework To Build Serverless Application.
Written in connection with the Write With Fauna program.
Quick summary—We’ll explore the different parts/tools needed to build a serverless application with Fauna and serverless framework. We’ll cover the different working parts of an application that makes it serverless.
To begin, we’ll start with the underlying concept of serverless, serverless applications, and what makes them different from our regular applications. We will cover the roles Fauna and serverless framework play within serverless applications.
When developers unfamiliar with serverless hear the term, their first thought is that it doesn't require servers. However, your application still requires servers to function. A simple explanation to serverless is:
Serverless computing is a method of providing backend services on an as-used basis. The servers are still used, but the developer(s) or the company that gets backend services from a serverless vendor is charged based on his/her or their computation—usage, not as a fixed amount of bandwidth or number of servers.
This allows the serverless provider to provide the services needed by the users to write and deploy code without the hassle of worrying about the underlying infrastructure needed for the application.
Within this tutorial, we’ll discuss serverless as function-as-a-service, a serverless backend service allowing developers to write and update modular pieces of code on the fly. These pieces of code are executed in response to certain events within the application. The approach would be to write our code in the form of functions that would handle different tasks or requests within the application. So when we deploy our functions, we’ll invoke them in the format of an event.
This function-as-a-service gives serverless applications the ability to scale dynamically per request, and won’t require any capacity planning or provisioning for the application.
That brings us to a common issue that we face when building serverless applications. Available popular cloud databases are yet to have this support level of elasticity—you have to pay for capacity you don’t use. Then there’s also the lack of operations like joins, indexes, authentication, and other capabilities necessary to build a rich application. This brings Fauna into the picture.
Serverless Framework is an open source software that builds, compiles, and packages code for serverless deployment and then deploys the package to the cloud. Serverless Framework helps develop, deploy, troubleshoot and secure our serverless applications with radically less overhead and cost by using the Serverless Framework. The Serverless Framework consists of an open-source CLI and a hosted dashboard. Together, they provide you with full serverless application lifecycle management.
Let’s dive into exploring the different parts of serverless application with Fauna and Serverless Framework.
Our first approach would be the installation of Serverless framework globally on our local machine to quickly set up and provision serverless functions on multiple cloud providers.
We can install Serverless framework as a standalone binary or with npm. We’ll cover both installations for preference’s sake.
Install as a standalone binary:
curl -o- -L https://slss.io/install | bashThe above command will install the latest version, just run the command in your terminal.
curl -o- -L https://slss.io/install | VERSION=2.21.1 bashWe’ll use one of the Windows’ package manager, Chocolatey.
choco install serverlessInstall through npm:
npm install -g serverlessThe above command installs the serverless CLI through the node package manager, npm.
Once the installation is through, it will look for AWS keys in the normal environment variables.
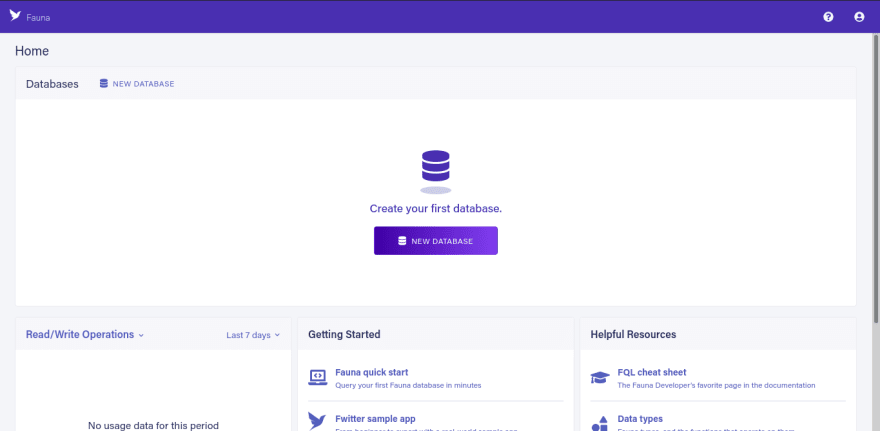
We’ll start by signing in into our existing Fauna account to get started with Fauna, or register for a new account as a new user using either email credentials or using an existing Github account. Register for a new account here. Once the account is created or signed in, you will see the dashboard. There’s also Fauna shell if you love the shell environment. It allows you to create and/or modify resources on Fauna through the terminal.
To use fauna shell, follow the below command:
npm install --global fauna-shell
fauna cloud-login
Now we’re ready to start exploring our data and experiment with queries in the Fauna dashboard. Open the dashboard, it will look something like this:
Now we’ll learn the different working parts of building a serverless application so that you can easily go ahead and build a full application from the simple code units demonstrated within this tutorial.
Let’s start by cloning the
serverless-crud project that would easily help us with a demo code template to perform CRUD functions with our application.serverless install --url https://github.com/faunadb/serverless-crudSide note: please rename some of the files to represent the name of the application you’re building. Within this tutorial, the base name will change from
todos to debt_tracker.Once done with the cloning, we’ll change directory, cd into the service, the cloned folder, and then install all the dependencies needed within the folder.
cd serverless-crud
npm install
Once all the packages are fully installed, we will navigate into the
serverless.yml file and then look for the field with the name MY_FAUNADB_SERVER_SECRET and replace the value with our API key we’ve copied and saved previously. Also, do the same as above for the package.json file. The
serverless.yml file, which simply is a config file that is specific to Serverless framework, contains metadata of the utilities that will be looked into soon. Our focus will be mainly on the functions field and all its values. This contains the necessary information on how our serverless functions are structured to perform:functions:
create:
handler: handler.create
events:
- http:
path: debt_tracker
method: post
cors: true
readAll:
handler: handler.readAll
events:
- http:
path: debt_tracker
method: get
cors: true
readOne:
handler: handler.readOne
events:
- http:
path: debt_tracker/{id}
method: get
cors: true
update:
handler: handler.update
events:
- http:
path: debt_tracker/{id}
method: put
cors: true
delete:
handler: handler.delete
events:
- http:
path: debt_tracker/{id}
method: delete
cors: trueThe above code, easily explained, means look for folder
functions that contain a file: handler.js. Within this file are defined utilities, functions, that are defined and exported for specific actions. We've five serverless functions from the above code that will perform the CRUD operation to our database that we had set up earlier within this tutorial. So let's navigate into the handler.js file to explore the functions.Within the
handler.js file is where our serverless functions, defined within the same working directory with the handler.js are imported to make different specific requests to the database.("use strict");
const debt_trackerCreate = require("./todos-create.js");
const debt_trackerReadAll = require("./todos-read-all.js");
const debt_trackerReadOne = require("./todos-read-one.js");
const debt_trackerUpdate = require("./todos-update.js");
const debt_trackerDelete = require("./todos-delete.js");
module.exports.create = (event, context, callback) => {
debt_trackerCreate(event, (error, result) => {
const response = {
statusCode: 200,
headers: {
"Access-Control-Allow-Origin": "*"
},
body: JSON.stringify(result)
};
context.succeed(response);
});
};
module.exports.readAll = (event, context, callback) => {
debt_trackerReadAll(event, (error, result) => {
const response = {
statusCode: 200,
headers: {
"Access-Control-Allow-Origin": "*"
},
body: JSON.stringify(result)
};
context.succeed(response);
});
};
module.exports.readOne = (event, context, callback) => {
debt_trackerReadOne(event, (error, result) => {
const response = {
statusCode: 200,
headers: {
"Access-Control-Allow-Origin": "*"
},
body: JSON.stringify(result)
};
context.succeed(response);
});
};
module.exports.update = (event, context, callback) => {
debt_trackerUpdate(event, (error, result) => {
const response = {
statusCode: 200,
headers: {
"Access-Control-Allow-Origin": "*"
},
body: JSON.stringify(result)
};
context.succeed(response);
});
};
module.exports.delete = (event, context, callback) => {
debt_trackerDelete(event, (error, result) => {
const response = {
statusCode: 200,
headers: {
"Access-Control-Allow-Origin": "*"
},
body: JSON.stringify(result)
};
context.succeed(response);
});
};The first function will automatically take object data and create a debt document within our database. The second function reaches out to the database and fetches all the debt documents we have created. While for the third, fourth, and fifth functions will fetch, update or delete a particular debt document with the ID provided for it.
Now we have made all these available, and the next would be to deploy our application to any cloud provider of your choice. And simply perform API requests against the exposed endpoints within our application.
To create a debt document, run the command:
curl -X POST https://XXXX.execute-api.region.amazonaws.com/dev/debt_tracker --data '{ "debt" : "Owing the UN a visit" }'To read all the debt documents, run the command:
curl https://XXXX.execute-api.region.amazonaws.com/dev/debt_trackerTo read one of the debt documents, run the command with an ID provided:
curl https://XXXX.execute-api.region.amazonaws.com/dev/debt_tracker/<id>To update one of the debt documents, run the command with an ID provided:
curl -X PUT https://XXXX.execute-api.region.amazonaws.com/dev/debt_tracker/<id> --data '{ "debt" : "Owing my travel agency" }'To delete one of the debt documents, run the command with an ID provided:
curl -X DELETE https://XXXX.execute-api.region.amazonaws.com/dev/debt_tracker/<id>This covers the samples to what our request to the endpoints would look like.
Congrats, you’ve made it to the end of this tutorial. As we’ve built this project, and look forward to building more projects using a serverless architecture, the choice of what tools/framework to use will always fall to Fauna and Serverless Framework with any cloud services provider. We can always look forward to the endless benefits, like the example of serverless code dynamically provisioning resources using FauanDB's multi-tenant QoS features and the easy integration of Fauna with other serverless components.