
66
Tasmota IR Bridge, integrated to Home Assistant (transmitter part)
As a beginner in this IoT world, I read quite a lot of tutorials, and articles, but I could not find articles dedicated to beginners.
Thus, here is a short tutorial on how I did it.
Not covered in this tutorial, and assuming it's done.
Check my dedicated article
Check my dedicated article
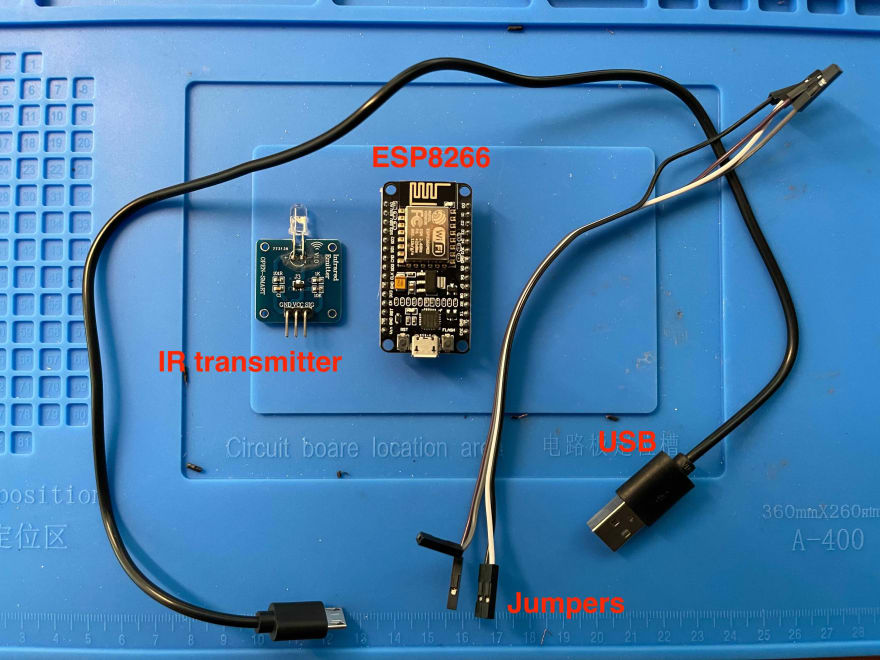
Here are the required connections (from ESP8266 to IR Transmitter)


(If it's not already the case, go to Configuration > Integrations > Add Integration > Tasmota)
Before final integration, let's test the communication between MQTT, and our Tasmota device.
On a new tab of your favorite browser, open the Tasmota panel (192.168.1.62), and go to Console.
Open a new tab with Home Assistant, and go to Configuration > Integrations, and click on the MQTT Configure button.
In the "Publish a Packet" part, we will add the topic (i.e. the name of our Tasmota), and the Payload (the code we want to execute).
On the Tasmota tab, go to the Information menu, and find the "MQTT Full Topic". In our case, we have:
cmnd/tasmota_E30D62/Add this topic name to our Home Assistant MQTT Configure panel, with IRsend at the end.
As previously explained, in this case, we assume having already the code, and protocol.
Payload:
{"Protocol":"NEC","Bits":32,"Data":16753245}And now click publish.
You should see the Tasmota's console displaying the below message:
MQT: stat/tasmota_E30D62/RESULT = {"IRSend":"Done"}Open your configuration.yaml file and add the following lines:
switch:
  - platform: mqtt
    name: "TEST ESP8266 LED LIGHT" #the entity name
    command_topic: "cmnd/tasmota_E30D62/IRsend"
    payload_on: '{"Protocol":"NEC","Bits":32,"Data":16712445}'
    payload_off: '{"Protocol":"NEC","Bits":32,"Data":16712445}'
Save and close the configuration.yaml file.
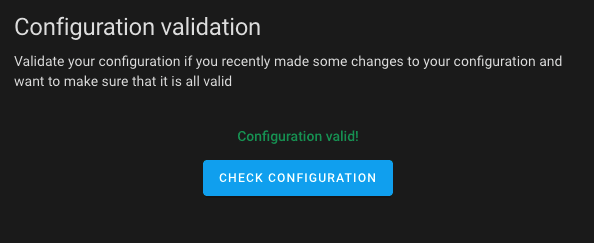
Check the configuration within Home Assistant. Go to Configurations > Server Controls > Configuration Validation > Check Configuration. You must have the Configuration Valid! message.
Check the configuration within Home Assistant. Go to Configurations > Server Controls > Configuration Validation > Check Configuration. You must have the Configuration Valid! message.
Once the configuration valid message appears, you can restart Home Assistant server.
Now, create a new view, and click the add card button.
Select the Button card type.
Find the Entity we just created, and save.
Select the Button card type.
Find the Entity we just created, and save.

Now, you have an IR Bridge working.
I hope you enjoyed this small tutorial. Do not hesitate to ask questions, or give improvements. I'm always open to improve and share :-).
66