
25
Setting up a Python Virtual Environment on Windows For Absolute Beginners
Technical documentation online tends to focus on Mac or Linux users, with Windows users put on the back burner. As Windows users, we wanted to create a guide for a simple workflow for Python programmers that would work with Windows interfaces.
Python applications often require additional packages and libraries as dependencies. Different applications might require different versions of these dependencies, creating a conundrum if we just install one version globally. A Python virtual environment is a solution to this problem -- it’s a siloed directory containing a particular version of Python along with particular versions of associated packages. Different applications can then use different virtual environments.
In order to create and run our virtual environments, we need to use Windows Terminal. It's a command-line frontend that sits on top of a number of Windows command-line applications like Command Prompt and Powershell.
Quick side note: you will likely already have either Command Prompt or Powershell applications installed, but you should go ahead and install Windows Terminal anyways. It’s a modern multi-tabbed frontend with lots of nice extras. We will be using it with Powershell, which has syntax that’s closer to the Linux/Mac Terminals. Note that Command Prompt uses different command syntax than Powershell does. If you find yourself in a situation where you're getting error messages despite following the instructions, double check and make sure that you're using Windows Terminal with Powershell.
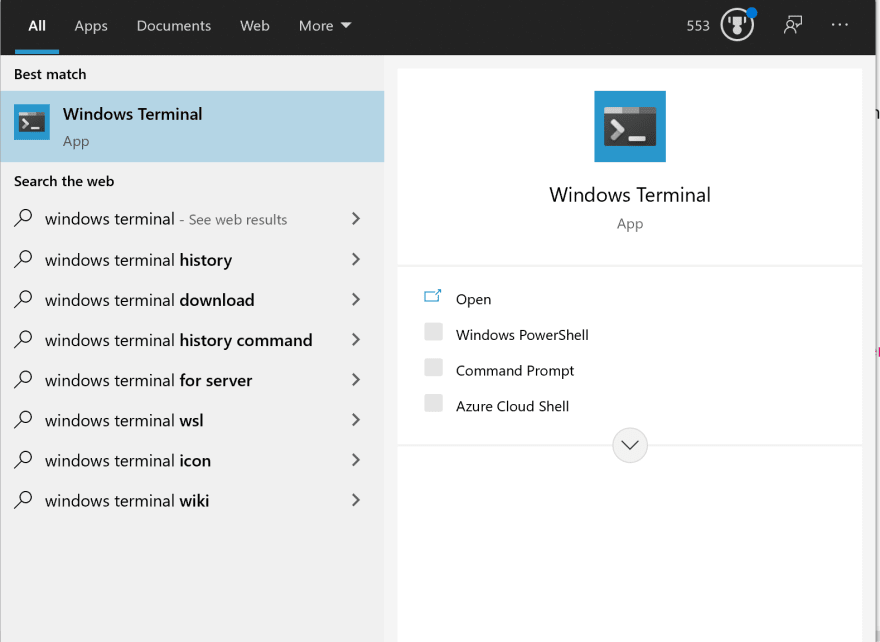
You'll start by installing Windows Terminal. This is where you'll be typing in the text commands to interact with your file system and run your code. To install, go to the Microsoft Store and type terminal in the search bar.

It should take you to a page with a bunch of different apps, one of them being Windows Terminal. Click on that app and download it.
While Terminal is downloading, you can download Python as well.
To download Python, you'll first go to the Python Website
Once you're at the website, you'll click Downloads, which is at the top center of the screen.

Once you see that the download is complete, you'll double click on the download itself. This should initiate the installation process.
Open up Windows Terminal in Administrator Mode and allow Windows to Run Scripts
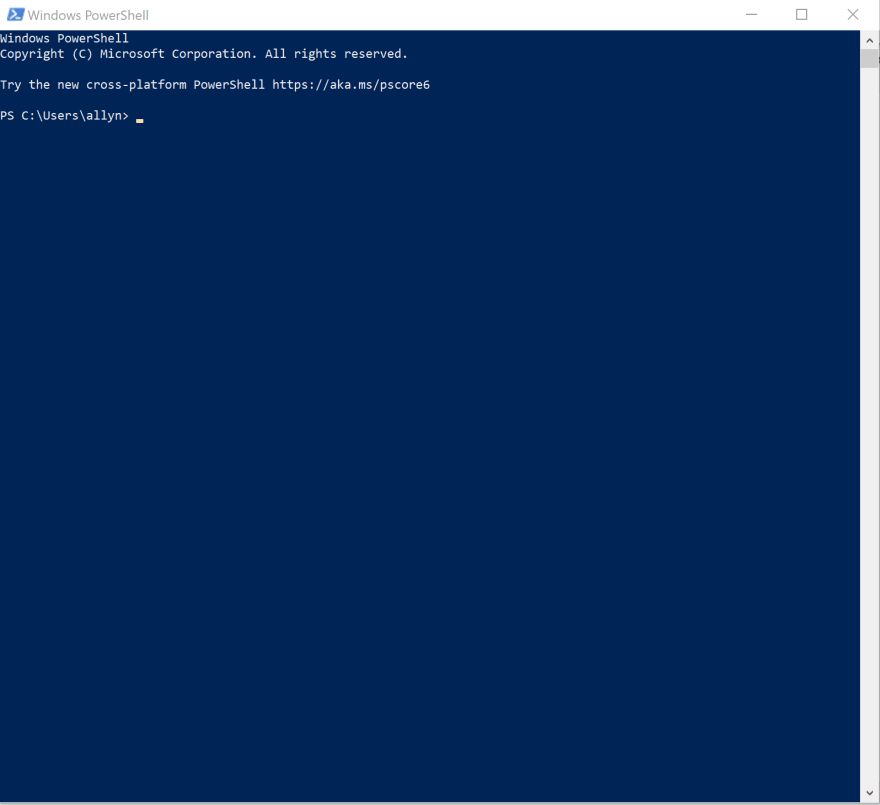
The next few steps will be completed within Windows Terminal. Go to your Windows search bar and type in terminal. You should see a screen pop up from the search bar, and Windows Terminal underneath the Apps section.
Click on the arrow right next to Windows Terminal. You’ll see a bunch of different programs, including Command Prompt, Azure Cloud Shell, and PowerShell. For today’s exercise, you’ll be using PowerShell, which is the most modern version. Right click PowerShell and choose Run as Administrator. This is because Windows will often prevent its terminals from running scripts. When you run as administrator, we can change that setting. You should now see a ready-to-go Terminal window like this:
On Windows 10, the Execution Policy is set to restricted by default. This means that Powershell cannot execute any script, so the first thing you want to do is to change that. You can type
set-executionpolicy remotesignedinto the terminal. From there, Windows will ask us a long sentence that culminates in,
Do you want to change the execution policy?. Type Yand hit enter. Windows will now allow you to run scripts without any trouble.
A quick note: I found that after doing this once, Windows did not prevent me from running scripts again. I continued running Powershell in Administrator mode just so I could bypass any other issues that came up, but you probably shouldn't have issues with running scripts outside of Administrator mode, as well.
You usually want to create one virtual environment per new Python application, so let's create a directory for our application, say
flask_demoDo that by typing in:
mkdir flask_demoLet's go into that directory by inputting:
cd flask_demoCreate a virtual environment called
env by writing:python3 -m venv envAnd hitting the Enter button.
You can do that by writing
.env\Scripts\activateAnd hitting the Enter button again.
Great, you have now created and activated your own Python virtual environment.
From here, you can install Python packages in such a way that it won't interfere with your other applications that might need conflicting versions!
Leave me a message and tell me what you think of my tutorial!
25