34
Creating Angular Component
Today we will learn how to create Angular Component from scratch as well as using the CLI command.
If you are not familiar with Angular components I would highly suggest you to read the linked document Understanding-Angular-Component
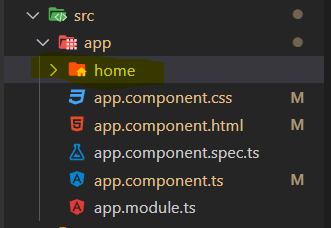
Once we create a project we have the following files under our app folder
If you are not familiar with Angular components I would highly suggest you to read the linked document Understanding-Angular-Component
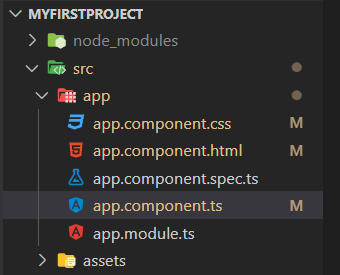
Once we create a project we have the following files under our app folder

Step-2 Create a typescript file named
home.component.tsand a html file named home.component.html under the home folder (just created)Step-3 Write the below code in the
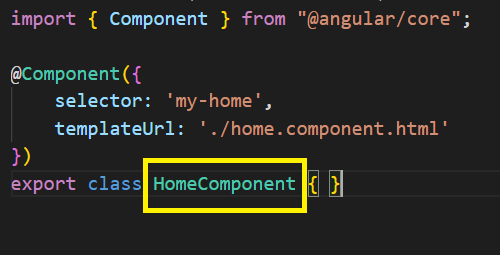
home.component.ts fileimport { Component } from "@angular/core";
@Component({
selector: 'my-home',
templateUrl: './home.component.html'
})
export class HomeComponent { }Already we know what each line means. If you feel you are not aware of the above code please go through the above mentioned link.
Step-4 Write the below code in the
home.component.html file<h2>My First Component</h2>Step-5 Register Component in Module
Now we are done creating our component. In order to use the component we need to add/ register the component in a module. I will talk about modules in greater details later point. As of now you can consider module is a logical block where components needs to be added in order to use.
So we register our newly created component in
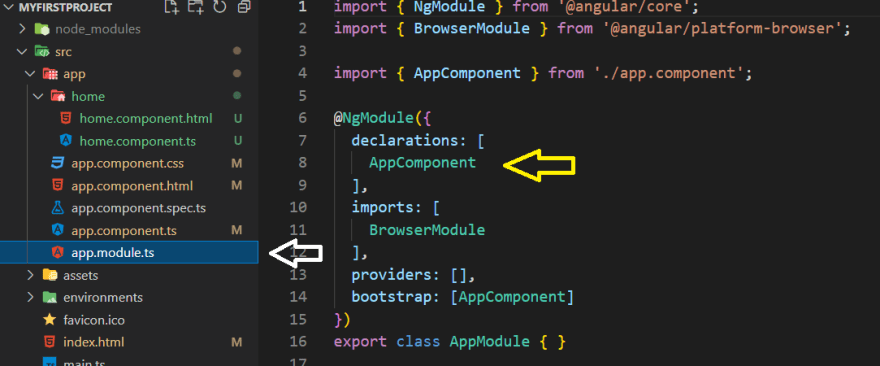
Arrow marked in white is the file you should be looking for.
We will add our HomeComponent in the
At this point you must be wondering what should I add???
So we should add the class name of our component. Remember what we gave? Correct
So we put a comma , after
No need to worry. We just need to add the path of this file. On the top you must have seen few lines written whose starting word is
Now we are done creating our component. In order to use the component we need to add/ register the component in a module. I will talk about modules in greater details later point. As of now you can consider module is a logical block where components needs to be added in order to use.
So we register our newly created component in
app.module.ts (this module is provided by the Angular team along with the first component).
Arrow marked in white is the file you should be looking for.
We will add our HomeComponent in the
declarationsarray marked with yellow arrow.At this point you must be wondering what should I add???
So we should add the class name of our component. Remember what we gave? Correct
HomeComponent!!!
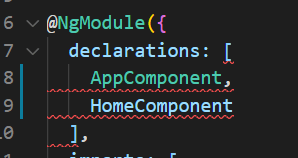
So we put a comma , after
AppComponentand write HomeComponent. You might get a red squiggly line like below - 
No need to worry. We just need to add the path of this file. On the top you must have seen few lines written whose starting word is
import. Like that you need to add another line after AppComponent providing the HomeComponent path, like below -import { HomeComponent } from './home/home.component';Once you add this line the error must go away.
Step-6 Use the component
So we are done with component creation, registering the component. Now the last step is using the component.
lets use the component in
Open the file app.component.html and write the selector name we gave in the form of tag/ element.
So we are done with component creation, registering the component. Now the last step is using the component.
lets use the component in
app.component.htmlOpen the file app.component.html and write the selector name we gave in the form of tag/ element.
<my-home></my-home>Now the above process is really longggggg. If you miss any single step you will get an error. So the Angular team provided us with a command (CLI - Command Line Interface) that helps us creating the component at ease.
Open your command prompt at the project root level. Type in the command

Open your command prompt at the project root level. Type in the command
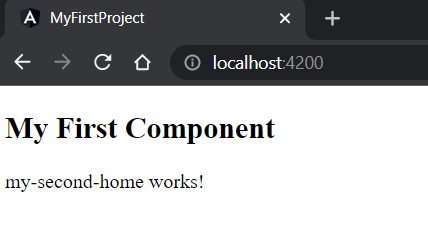
ng generate component <component-name> EG. ng generate component my-second-home and hit enter. Also there is another shorter command. It is ng g c <component-name> where g stands for generate and c stands for component. Once you hit enter Angular will create four files
import { Component, OnInit } from '@angular/core';

@Component({
  selector: 'app-my-second-home',
  templateUrl: './my-second-home.component.html',
  styleUrls: ['./my-second-home.component.css']
})
export class MySecondHomeComponent implements OnInit {

  constructor() { }

  ngOnInit(): void {
  }

}
As of now lets concentrate on the selector name. Copy the selector name and lets again move to the app.component.html file and paste the below code -
<app-my-second-home></app-my-second-home>Challenge Section
Hope you enjoyed reading the post.
If yes, do like and leave a comment.
Your feedback is very precious!!!
If yes, do like and leave a comment.
Your feedback is very precious!!!
Cheers!!!
Happy Coding
Happy Coding
34

