
20
Understanding Built In Angular Directives - Part 4
Today we will continue our journey in understanding the other built in Angular directives mainly the Structural Directives.
The directives which are used to change the structure of the DOM are called structural directives.
On a high level a structural directive adds or removes element in the DOM.
The directives which are used to change the structure of the DOM are called structural directives.
On a high level a structural directive adds or removes element in the DOM.
The first directive which we will understand is the
ngIf directive.The structural directives always starts with an asterisk
* *ngIfngIf directive is used to show or hide an element on which it is added conditionally. If the condition executes to true the element will be shown else the element will be hidden.
A point to note
The element is completely removed from the DOM if the condition executes to false. It will not occupy any space in the DOM.
Now lets see in practice-
Lets create a fresh component. Name it
If you are not aware of what is a component or how to create and use it I would highly recommend to read through the post.
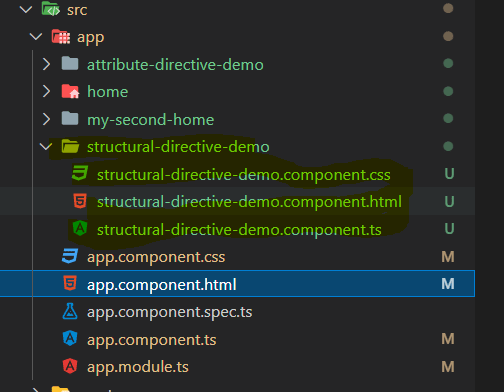
Once the component is created our project would look like -
Lets open the component.ts file and write the below code-
Lets create a fresh component. Name it
structural-directive-demo.If you are not aware of what is a component or how to create and use it I would highly recommend to read through the post.
Once the component is created our project would look like -
Lets open the component.ts file and write the below code-
To be precise add the variable
myAge and assign the value 18 to it.export class StructuralDirectiveDemoComponent implements OnInit {
myAge = 18;
constructor() { }
ngOnInit(): void { }
}Now open the corresponding html template file and paste in the below code-
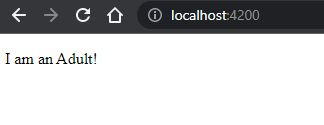
<p *ngIf="myAge >= 18">I am an Adult!</p>
<p *ngIf="myAge < 18">I am a CHILD</p>
Now lets start the application and open the browser and open localhost:4200.
You should see an output like below -
Lets understand what is happening under the hood.
You should see an output like below -
Lets understand what is happening under the hood.
The variable
In the template when we write the below code say-
the variable myAge points to the model or we can say it holds the value present in the model. The condition
Now lets change the
myAge is holding the value 18 (the model).In the template when we write the below code say-
<p *ngIf="myAge >= 18">I am an Adult!</p>the variable myAge points to the model or we can say it holds the value present in the model. The condition
myAge >= 18 returns true which is assigned to the directive ngIf. Since true is assigned to the directive ngIf the p tag is visible.Now lets change the
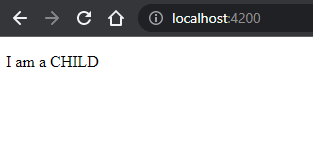
myAge variable value to say 17 so that the above condition is false but the second line of code <p *ngIf="myAge < 18">I am a CHILD</p> returns true.Now if you open the browser you will see that the output changes.
The first
So that's the power of ngIf directive. If you have to conditionally show/ hide some data in the template you can easily use it.
Also to add to the above stuff you can also assign a function to the ngIf directive which returns a Boolean value. Something like below -
In component.ts file you have a function like below -
The first
p tag is not shown/ hidden while the second p tag is shown which was hidden when the model value was 18.So that's the power of ngIf directive. If you have to conditionally show/ hide some data in the template you can easily use it.
Also to add to the above stuff you can also assign a function to the ngIf directive which returns a Boolean value. Something like below -
In component.ts file you have a function like below -
checkAge() {
    if (this.myAge >= 18) {
      return true;
    } else {
      return false;
    }
  }
and in html template file you can call the function inside ngIf like below -
<p *ngIf="checkAge()">I am an Adult!</p>Note
Any values like
Any values like
false, null, undefined, empty string when assigned to ngIf will result in hiding the element.Hope you enjoyed the post.
Do like comment and share the post.
Do like comment and share the post.
Cheers!!!
Happy Coding
Happy Coding
20