25
Set up TalkBack like a pro! In just a few minutes!
You'll learn how to set up TalkBack for the best developer experience.
TalkBack is part of the Android Accessibility Suite. You can check if You have it installed in the GooglePlay store.
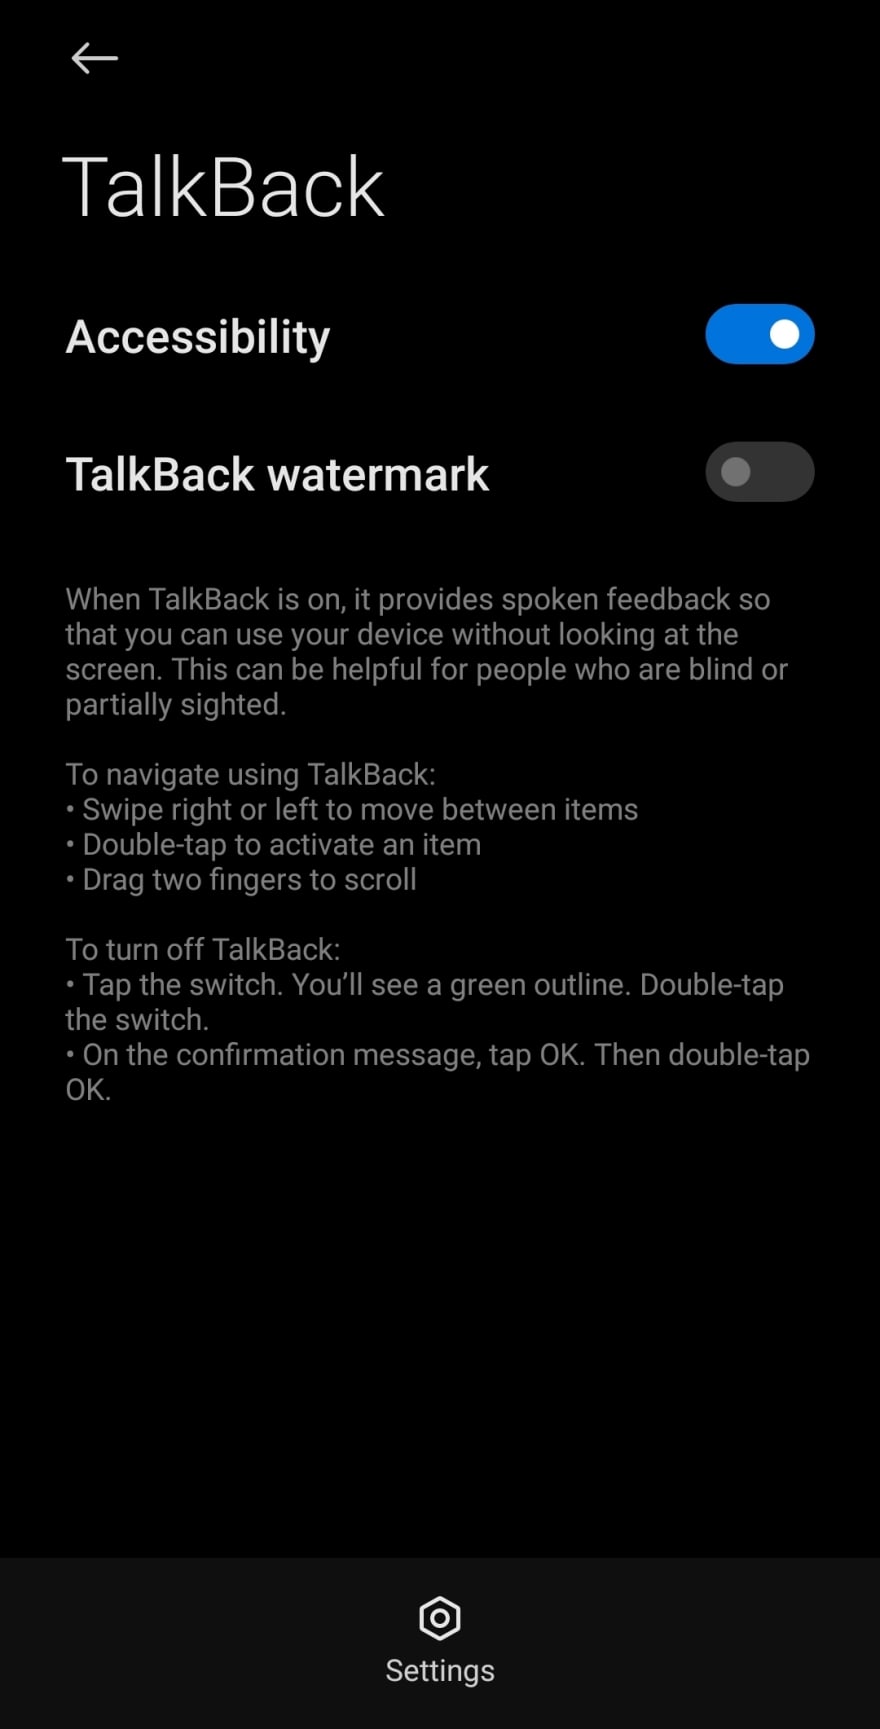
Go to your phone settings and search for TalkBack. Turn TalkBack on by toggling the Accessibility switch.

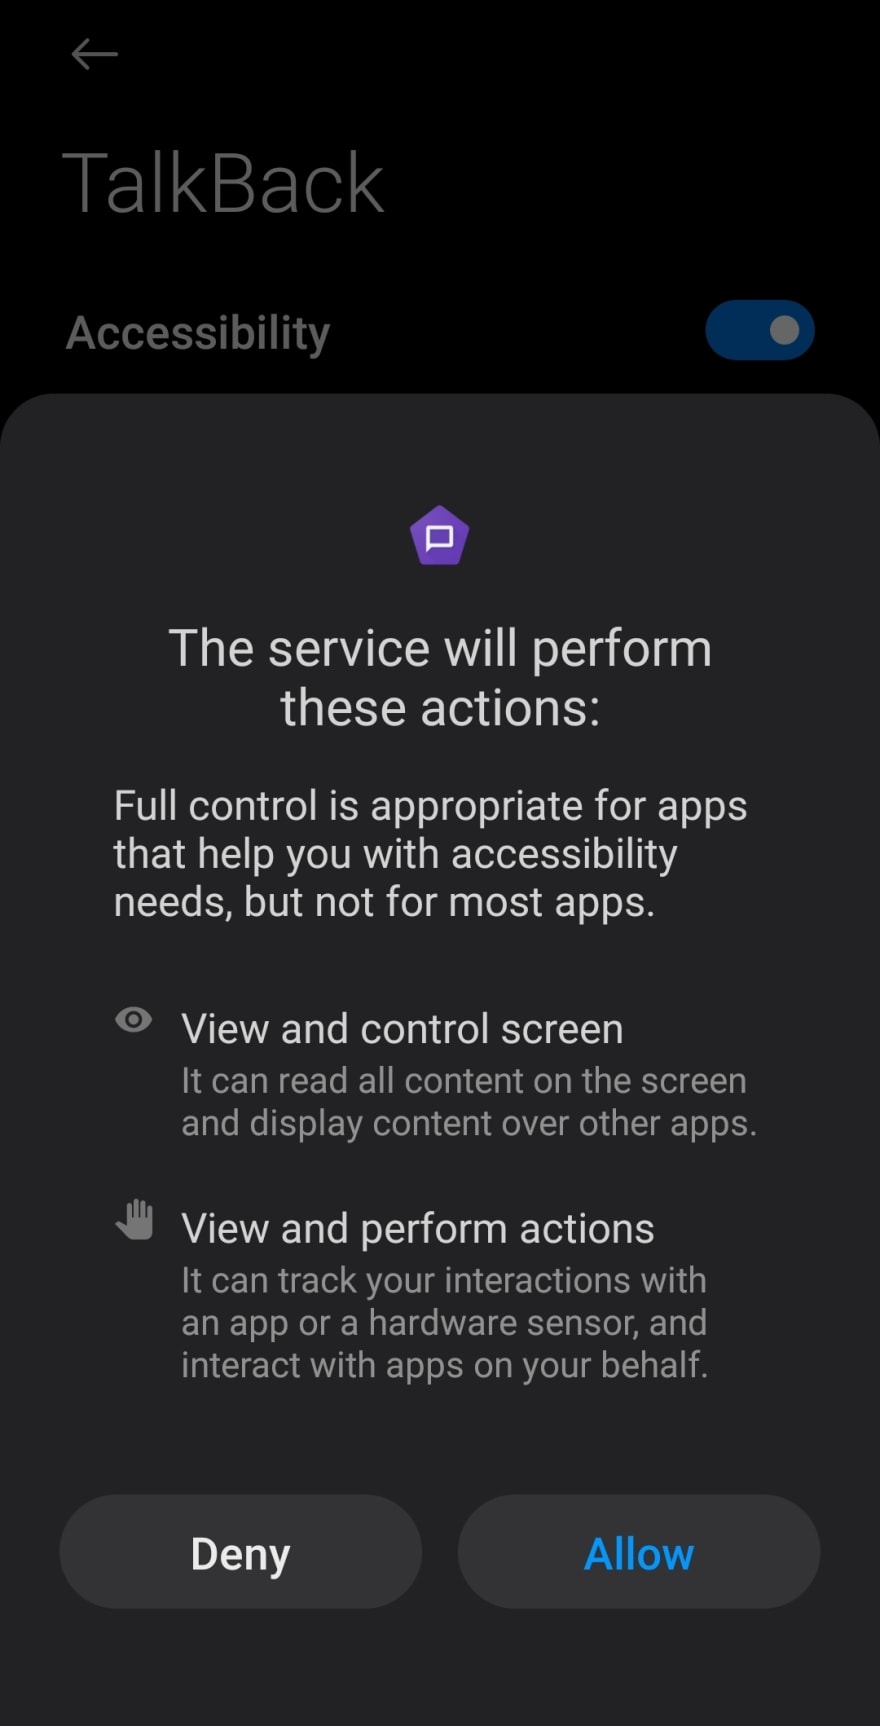
Allow TalkBack all of those permissions. Don't worry. TalkBack is easy to turn on and off by holding volume up and down buttons at the same time for a few seconds.

Now TalkBack will show You a quick interactive tutorial. Feel free to do it. After that, we'll get to the next step.
Firstly You can now turn TalkBack off, so it will be a bit easier. You can also disable TalkBack watermark — it only says how to disable TalkBack with volume buttons shortcut. Now go to TalkBack's settings by pressing the button on the bottom of the screen.

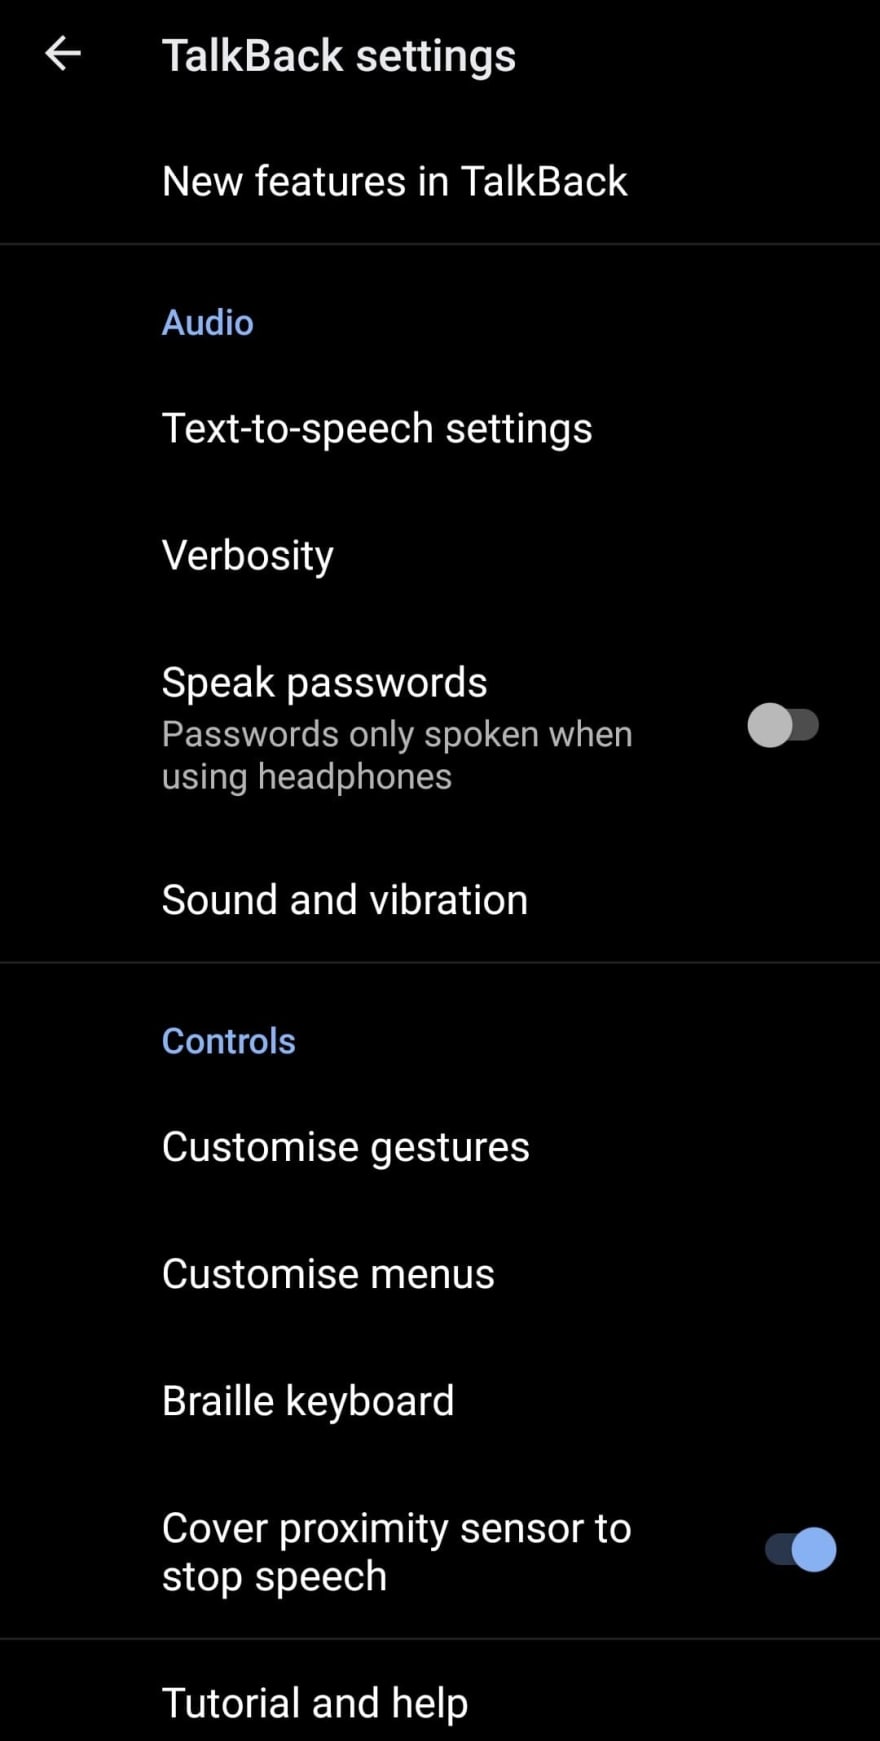
You can choose Your preferred text-to-speech engine. If You use the Google Text-to-speech engine, You can go to its settings and install voice data for languages You usually use. You can also change to Your favourite voice for every language from there. Additionally, if You develop multilingual websites changing Language detection to Aggressive might improve audio quality.

Go back to TalkBack audio settings.
You probably want to disable that so You don't accidentally give away your password.
From here, You can change how You'll interact with TalkBack.
Gestures are the most crucial part of TalkBack. They allow You to perform all TalkBack actions. We'll go deeper into them in the next part of this series.
Change Swipe left then right and swipe right then left to Read from next item. This shortcut will help You quickly read the whole article without the hassle of swiping right for every next paragraph.

Go back to TalkBack controls settings.
If You don't use TalkBack as Your main user interface, You may remove some redundant features from quick menus.
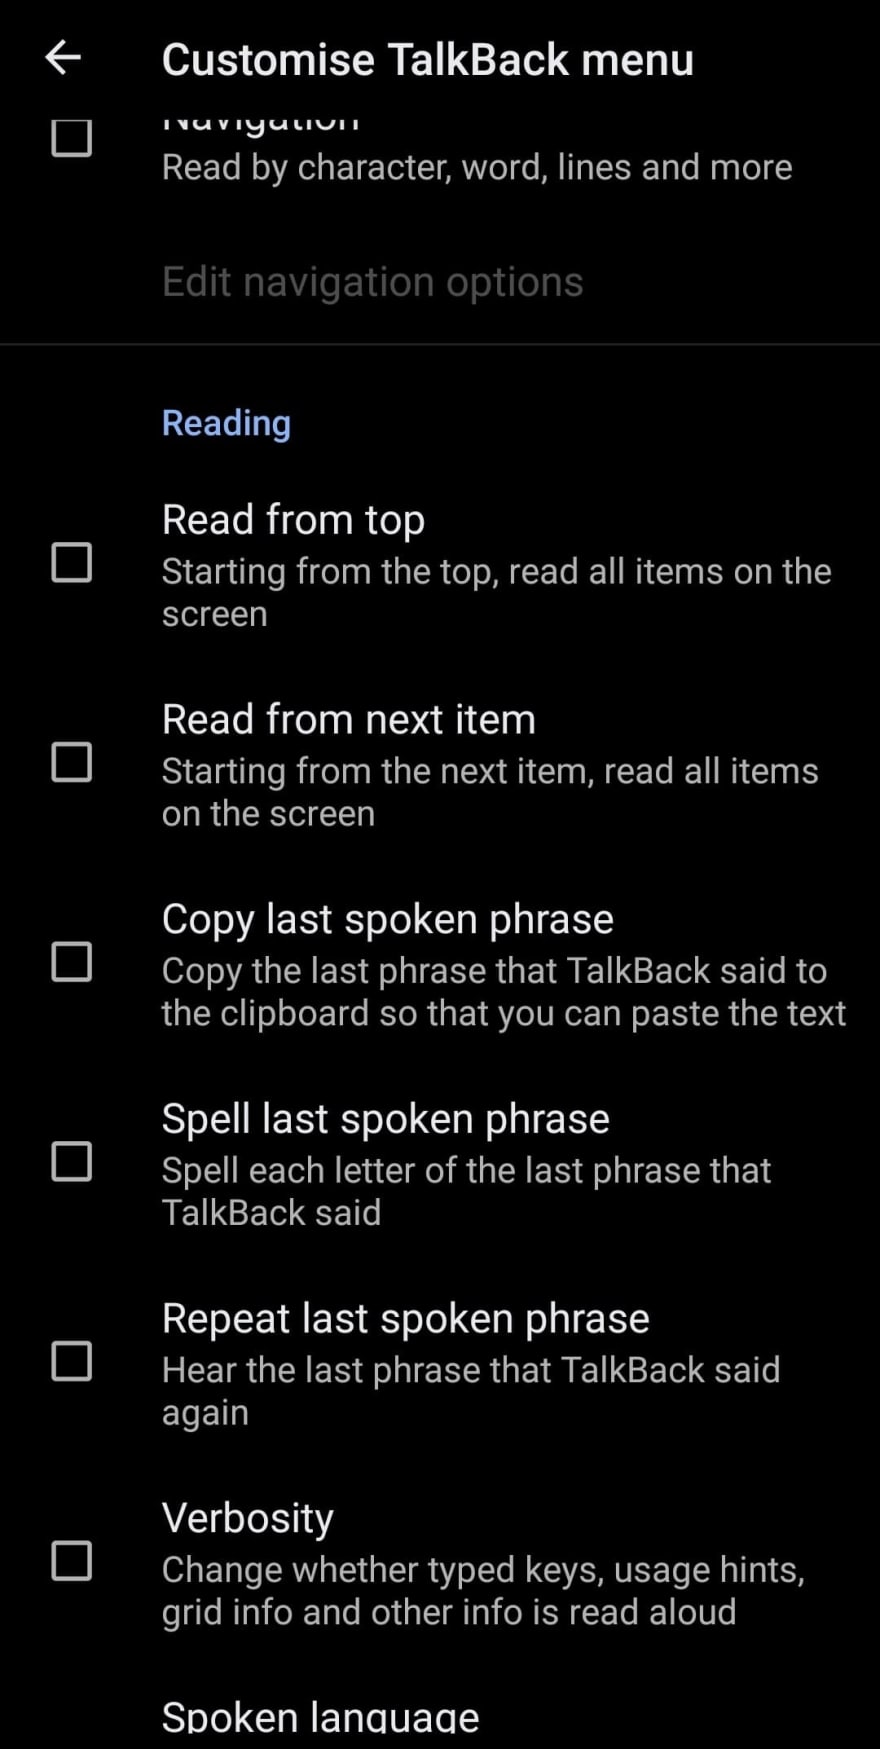
Here You can change what will be in the TalkBack menu popup.
Disable read from next item — We've already added it as a swipe left then right gesture.

Reading controls change what happens on swipe down and swipe up gestures.
Disable reading by Characters, Words and Lines — They're a bit redundant if You use TalkBack with Your screen turn on.
Enable reading by Landmarks for testing a website's landmarks. Landmarks are sections of the website. Think of them as HTML5 header, main, footer etc. They'll help You quickly jump to any part of the website. You can learn more about them from Use landmarks by Rob Dodson.

Inside of Developer settings, You'll find some helpful debugging tools.
Enable Display speech output and Echo recognised speech. Displaying speech output will help You debug the accessibility tree of an application. Echo recognised speech will tell You about problems with Your voice command.

That's all set up! Let's learn how to use it in the next part of this series. Available soon.
25

