63
Swapping Tokens on MetaMask
MetaMask, one of the most popular Ethereum based crypto wallets, offers the ability to swap one crypto token with another—seamlessly. We can do that either by using the built-in Swaps feature within the wallet app/extension, or manually by using any Decentralized Exchange (DEX), such as Uniswap.
If you don't have MetaMask installed on your device, you can do so by following this guide.
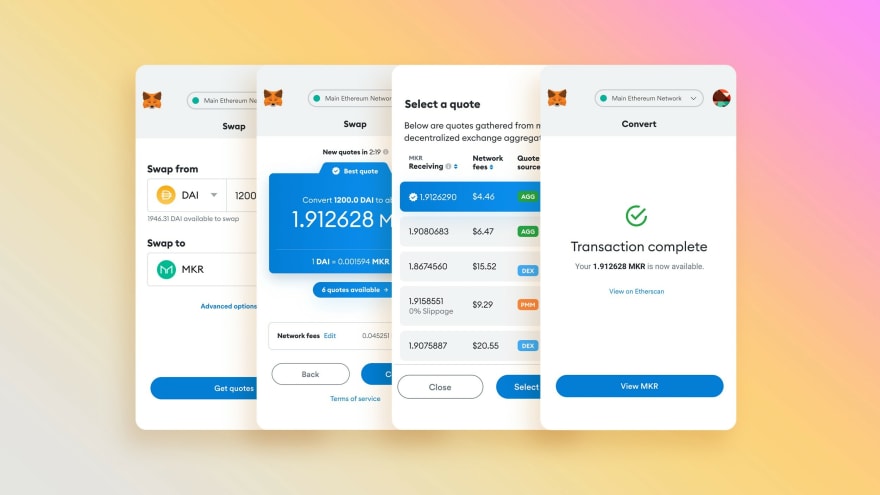
To swap a token using the Swaps feature on MetaMask, we'll need to follow these simple steps:

With an availability of tons of DEX platforms in the market, this is the easiest and fastest way to swap tokens on MetaMask, as it
✅ Finds the best prices everytime
✅ Reduces number of token approvals
✅ Protects slippage
✅ Reduces gas costs and shortens the path to executing each swap
✅ Finds the best prices everytime
✅ Reduces number of token approvals
✅ Protects slippage
✅ Reduces gas costs and shortens the path to executing each swap
To manually swap tokens using MetaMask, we can use a DEX such as Uniswap, SushiSwap, 1inch, ParaSwap or any other leading platform. Let's walk down the steps on how to do it with Uniswap. These steps would be pretty much the same on other DEX platforms as well.
1. Fire up your browser and visit uniswap.org
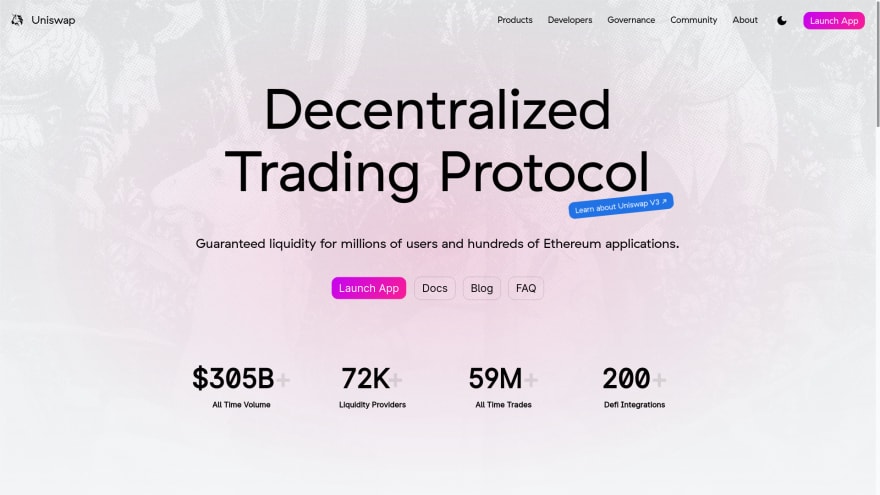
Then click on the ‘Launch App’ button in the top left corner. The swapping interface will be launched and you’ll see an option to select the tokens you want to swap.
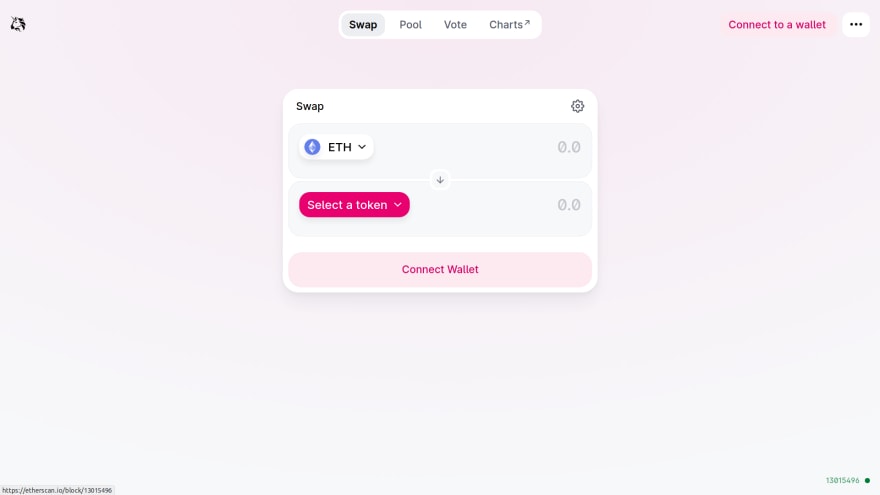
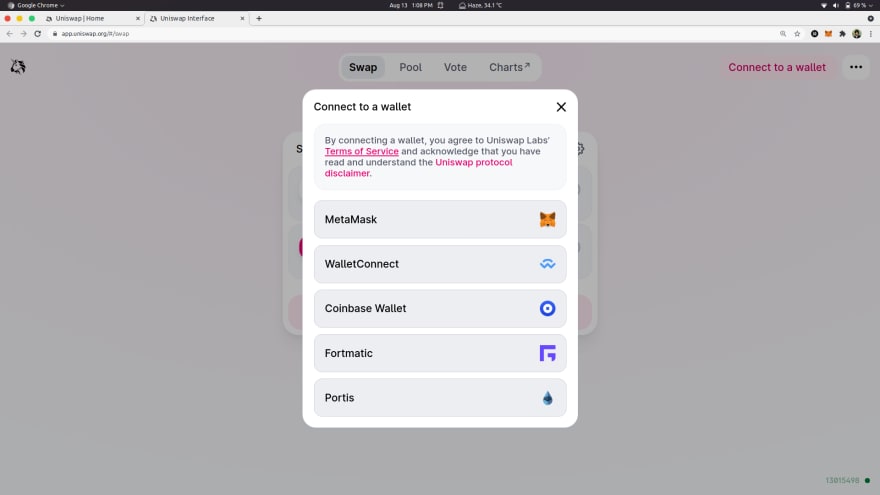
Ensure that you're signed into your MetaMask wallet. Then select MetaMask from the list of supported wallets.
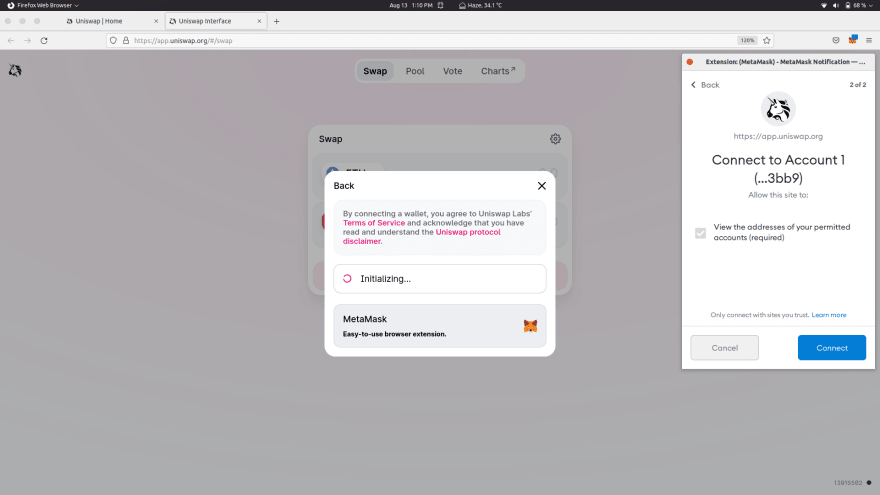
You might need to approve the selected token first to let Uniswap access your existing tokens.

Your MetaMask wallet will show the estimated gas fees to be paid. To proceed, simply sign the transaction by clicking 'Confirm'. And voila! 🎉 Your transaction is submitted. You can view the status of your transaction on EtherScan.
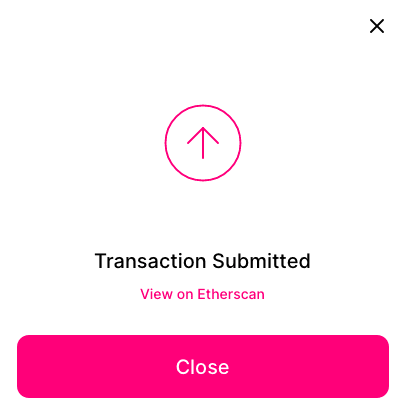
Make sure that you've added the token's contract in your MetaMask wallet so that it shows up after the swap. Cheers! 🥂
Disclaimer: This blog is meant for educational purposes only and nothing from this blog should be taken as financial advice. Please DYOR before investing.
63
