
27
Deploy React App on Hostinger
Today, I'll show you the steps needed to deploy a react app to Hostinger. The tutorial will be broken down into the following steps:
- Create and Build React app
- Configure Hostinger account for deployment
- Troubleshooting
The point of this tutorial is to mainly focus on the deployment of a React app onto Hostinger, so the app we'll create will be the default app created for a new app.
Open your terminal and in the directory that you wish to create the app, type npx create-react-app hostinger-react-app for a new app called "hostinger-react-app" (or whatever you choose to call your app). Once it has finished installing, you should be able to run npm start in the terminal and see the following in your browser at localhost:3000:
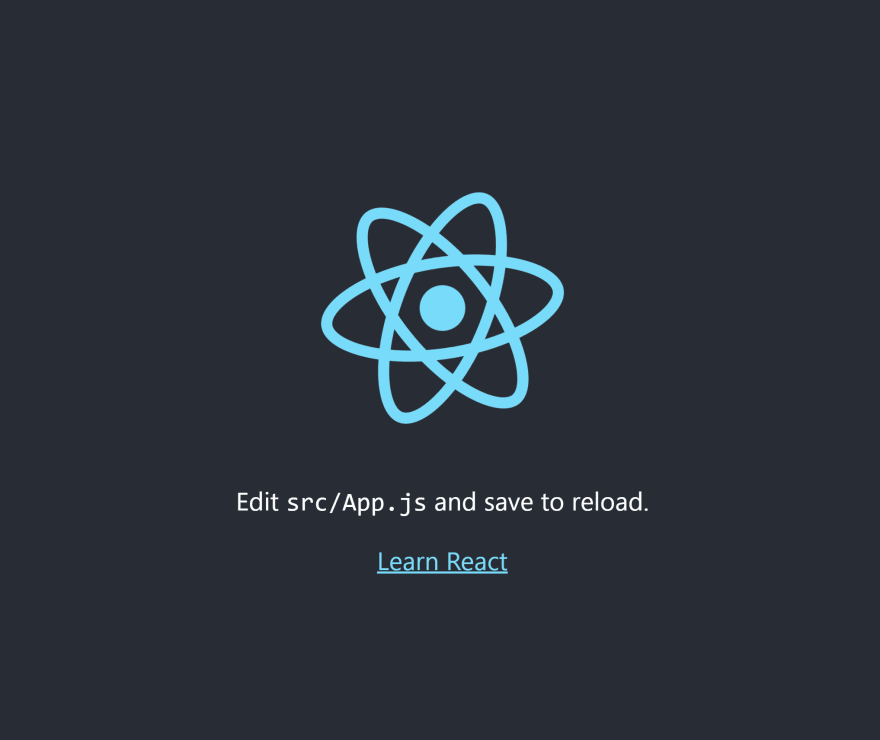
If you're able to see the above, then you are all set to build.
For your app to deploy correctly on Hostinger, you will need to have your app point to your domain.
Add "homepage": "https://hostinger-react-app.com" to the package.json file, so it will look like:
{
  "name": "hostinger-react-app",
  "version": "0.1.0",
  "homepage": "https://hostinger-react-app.com",
  "private": true,
  "dependencies": {
  ...
Now run npm run build in your terminal to create the production build of your app, that will be used to deploy to Hostinger. When the build completes, you should see a build folder and this in the terminal:

If you do not see The project was built assuming it is hosted at https://hostinger-react-app.com/. (a problem that I had when first built my app), then you can configure the homepage another way. If you do see this line, you can skip to the Compress section.
Add a new file called .env at the root level of your project, so that it's at the same level of your package.json. Inside the file, add PUBLIC_URL=https://hostinger-react-app.com. Now, when you run npm run build, you should see it points the domain.
Lastly, go to you build folder and compress all the files into a zip folder. This will be needed when we add the files to Hostinger.
At this point, your app is ready to be deployed to Hostinger.
In your Hostinger panel, navigate to the Website tab and select Import Website. Select the zipped folder to upload your files into the public_html folder. Once it's finished uploading, go to the file manager to check that your files are present.
Lastly, you'll need to add a .htaccess file inside your public_html folder with the following code:
<IfModule mod_rewrite.c>
  RewriteEngine On
  RewriteBase /
  RewriteRule ^index\.html$ - [L]
  RewriteCond %{REQUEST_FILENAME} !-f
  RewriteCond %{REQUEST_FILENAME} !-d
  RewriteCond %{REQUEST_FILENAME} !-l
  RewriteRule . /index.html [L]
</IfModule>
There are other ways to write this .htaccess file, but in my experience, this configuration makes sure that apps that use routing will work.
After that, you should be able to navigate to the domain and see your app running!
I added some troubleshooting steps in each section to make sure your on track to having your app work, but in case the app doesn't show once you're done, here's a couple more tips.
In case when you go to your domain and a page like this shows:
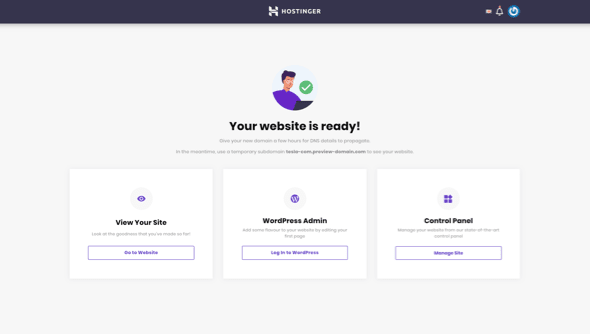
Navigate to the DNS Zone Editor and make sure the content of you A record is pointing to your account's IP Address (shown in the left panel on your home page).
If you're still having problems, I suggest reaching out to the Hostinger chat support, to make sure your account is set up and good to go!
If you have any questions or issues, please leave a comment!
27