24
Installing Doom Emacs on Windows
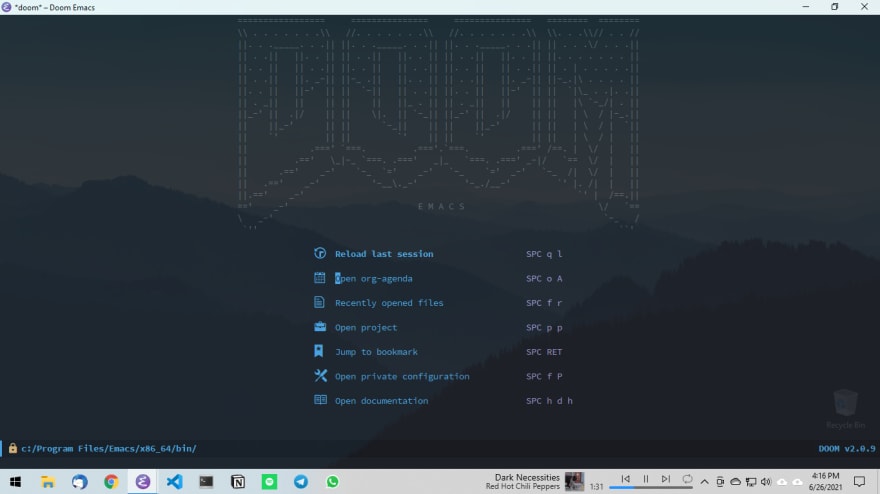
You heard about something called Emacs and a couple of searches later you decided that you were going to try Doom Emacs for the first time, but… Oh, No — Most of the guides show how to make the installation just on Linux— So you think, where do I begin?
If this is your case, let me show you how I install Doom Emacs on Windows.
To get Emacs on Windows, you have two mainly options. Through MSYS2 or with an Emacs executable (.exe).
The way that I recommend if you don't have a lot of experience working with Unix/Linux is to directly download the executable from a nearby GNU mirror and install it like an another program in windows.
If you are a MSYS2 user, in MSYS2 you have to use the follow command:
$ pacman -S mingw-w64-x86_64-emacsEmacs GUI will be at C:\msys64\mingw64\bin\runemacs.exe
If you installed emacs using the executable, in HOME directory rename the .emacs.d or if you are using MSYS2 the configuration files are in C:/Users/Scarlett/AppData/Roaming/
Renaming the .emacs.d directory:
$ mv .\.emacs.d\ .\.emacs.d.oldGo to Settings → System → About → Advanced System Settings → Advanced → Environment Variables…
- On
User Variablessection→ Click on New button… → Set HOME to the variable name and set your path userC:\Users\USERNAMEto variable value → Finally click on OK

- Also, on User Variables → Select Path Variable and click on Edit button →
- Add
C:\msys64\mingw64\bin (MSYS2)orC:\ProgramFiles\Emacs\x86_64\bin (Executable) - Add your
C:\path\to\the\ripgrepdirectory - Add your
C:\path\to\the\fddirectory
- Add

Note: You don’t need to restart the system but the console (MSYS2, git bash, powershell…)
At this point we should have a vanilla Emacs running correctly in our system, so in the next steps we are going to do a clean installation of Doom Emacs, also I will show you how to do that with both kind of Emacs installation that we have been seeing.
Open PowerShell or gitbash.exe to install Doom. Make sure that you are in your user directory, then clone doom:
$ git clone https://github.com/hlissner/doom-emacs .emacs.d
$ ~/.emacs.d/bin/doom install
Note: If the powershell or gitbash prompt: fatal: destination path 'C:/Users/Scarlett/.emacs.d' already exists and is not an empty directory.
We need to remove the.emacs.ddirectory
Once the installation is done, we need to ensure that the necessary packages are installed:
$ ~/.emacs.d/bin/doom syncInside the C:/Users/your user/AppData/Roaming/ directory, clone and install doom:
$ git clone https://github.com/hlissner/doom-emacs .emacs.d
$ .emacs.d/bin/doom install
Once the installation is done, we need to ensure that the necessary packages are installed:
$ .emacs.d/bin/doom syncNow you can start Emacs executing the emacs command, and it will display vanilla Emacs:
$ emacsAs you can see, apparently the doom installation is not working, however, we need to take one more step:
We have to remove the .emacs.d directory created when we ran Emacs:
$ rm C:\Users\USER\.emacs.d\We need to create a symbolic link. For that, run cmd as administrator and execute the following command (remember change ‘USER’ on the path):
$ mklink /j "C:\Users\USER\.emacs.d" "C:\Users\USER\AppData\Roaming\.emacs.d"Finally, if you don’t see the icons, you will need to install them, in Emacs type M-x (Alt + x) and write the following:
all-the-icons-install-fontsGo to the folder where you downloaded the fonts and install manually all the files.

As you can see, there are more than one way to install Doom Emacs on Windows. If you know others, share in the comments for everyone!
I hope this post has allowed you to start exploring the Emacs world.
Thanks For Reading, Follow Me For More
24
