17
A magical way to fetch data in React
If you have ever used React, chances are that you have had to query an API. The importance of data fetching in a website is indispensable. To build a truly delightful experience, you must get your data fetching right. It is critical.
Let me quickly run you through the traditional approach for querying in React applications. Most of this might seem trivial to you, but it is important that we go through it to see the difference react-query really makes. (it's magic, trust me😉)
We will use the JSON Placeholder API as our source of data. We will primarily be making two types of queries: a list of all posts and an individual post. Let's write a hook to fetch the list of all posts.
const baseUrl = 'https://jsonplaceholder.typicode.com';

const usePosts = () => {
  const [data, setData] = useState();

  useEffect(() => {
    const fetchData = async () => {
      const res = await fetch(`${baseUrl}/posts`);
      const posts = await res.json();
      setData(posts);
    };
    fetchData();
  }, []);

  return { data };
};
This should look familiar. You'll notice that we have not handled errors or the loading state. That's bad practice. Let's do that now.
const usePosts = () => {
  const [data, setData] = useState();
  const [isLoading, setLoading] = useState(true);
  const [error, setError] = useState();

  useEffect(() => {
    const fetchData = async () => {
      setLoading(true);

      try {
        const res = await fetch(`${baseUrl}/posts`);
        const posts = await res.json();
        setData(posts);
        setLoading(false);
      } catch (error) {
        console.log(error);
        setError(error);
        setData([]);
        setLoading(false);
      }
    };

    fetchData();
  }, []);

  return { data, isLoading, error };
};
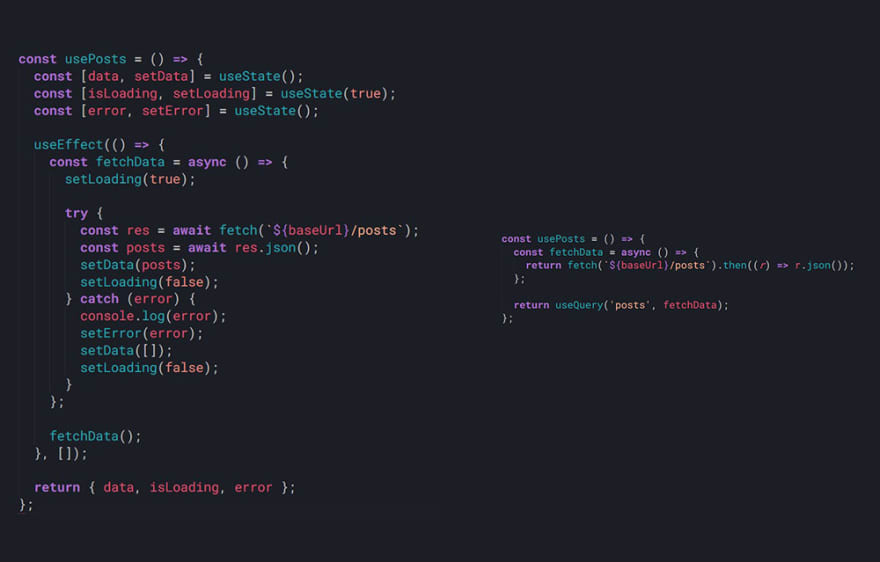
Woah... that certainly was not pleasant. 😒 We had to add a ton of code just to make our hook support two simple states. And this query runs... basically every time your component re-renders? This is far from ideal. You deserve better.
What about background updates? Stale data? Pagination? Programatically re-running queries?
Good luck with all that. 🤷♂️
This is where react-query comes to your rescue. Use this repo as boilerplate if you want to follow along.
Let's now re-factor our usePosts hook using react-query. If you haven't used react-query before, you're in for a surprise.
// hooks/hooks.js
const usePosts = () => {
  const fetchData = async () => {
    return fetch(`${baseUrl}/posts`).then((r) => r.json());
  };

  return useQuery('posts', fetchData);
};
Yeah. That's it. I told you. 😎
The same can be done for the usePost hook.
const usePost = (id) => {
  const fetchData = async () => {
    return fetch(`${baseUrl}/posts/${id}`).then((r) => r.json());
  };

  return useQuery(['post', id], fetchData);
};
This piece of code is all you need to handle everything we handled with the traditional approach — and we're barely scratching the surface. Let's dive deeper.
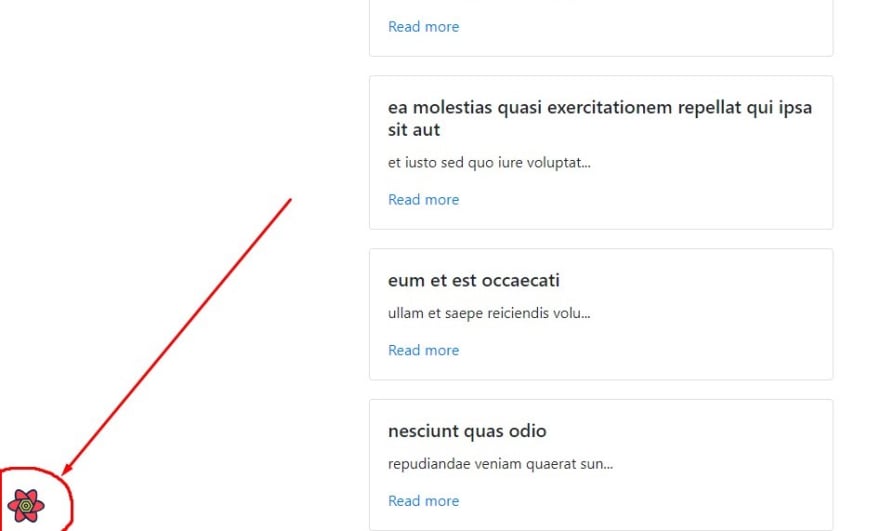
Open the react-query devtools by clicking the icon shown in the screenshot below. Keep it open.
Click around the web-app now and keep an eye out on the devtools. You will notice queries being logged as they are executed. It is pretty intuitive.
I mentioned that react-query can do much more than just manage states like loading, error, etc. Let me walk you through one of those things — query invalidation. In simple words, query invalidation is you telling react-query to consider the respective query 'stale', and re-run the query. Let's try it out.
We will be adding a re-fetch button at the top of our list of posts. Needless to say, clicking this button should make our app re-fetch the list of posts. Since we are using react-query for this, this is going to be a piece of cake for us. 😁
// pages/index.js
import { useQueryClient } from 'react-query';

export default function Home() {
  const queryClient = useQueryClient();

  const reFetchPosts = () => {
    queryClient.invalidateQueries('posts');
  };

  return (
    <Container>
      <Button onClick={reFetchPosts}>Re-fetch</Button>
      {data.map((post) => {
        //...
      })}
    </Container>
  );
}
That is all we need to add. Now try clicking our newly added re-fetch button and keep an eye out on the react-query devtools. You will notice that it re-runs the query as expected. You can also verify this by making use of the Network tab in your browser's devtools.
In conclusion, we took 27 lines of code, narrowed it down to merely 7 lines, and ended up with more functionalities to work with. That sounds like a good deal to me. 🤝

Staggering. I promised it is magical. 😊
If you like this article, please follow me here and on Twitter. I mostly tweet rants about software & brag about my tiny wins. ⚡
Please feel free to comment down below to start discussions or ask questions. I will happily answer them. 🤗
Cover photo by Simon Berger
17

