62
a first look at deno deploy
Create an index.js file for our function which will respond to all incoming HTTP requests with plain text and a 200 OK HTTP status.
touch index.jsDeno Deploy lets you listen for incoming HTTP requests using the same FetchEvent API used in Service Workers.
// index.js

addEventListener("fetch", (event) => {
  event.respondWith(
    new Response("ajcwebdev-deno", {
      status: 200,
      headers: {
        "content-type": "text/plain"
      },
    }),
  )
})
This API works by registering a listener using the global addEventListener, with the event type fetch. The second parameter provided to addEventListener is a callback that is called with a FetchEvent property for every request.
Go to repo.new and create a new repository.
git init
git add .
git commit -m "Just a denonstration"
git remote add origin https://github.com/ajcwebdev/ajcwebdev-deno.git
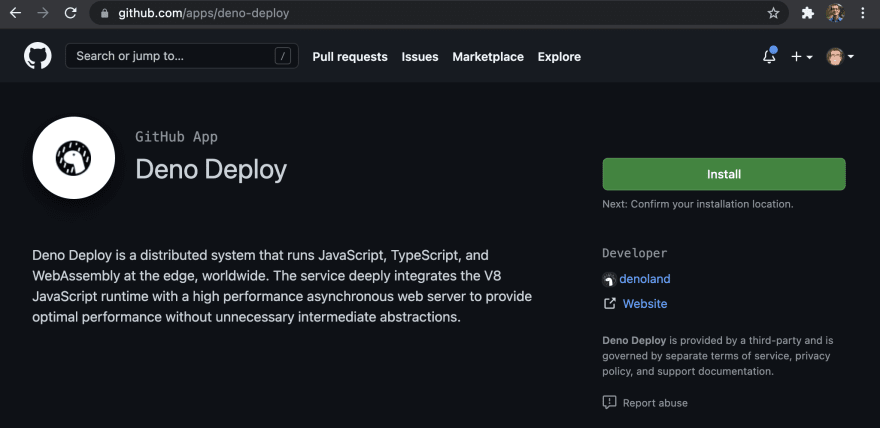
git push -u origin mainWe will be deploying this script from a URL on GitHub. Install the Deno Deploy GitHub App.


Click "New Project" and enter a name for your project.

After creating your project you can use the hello world example template or deploy a simple chat server with the BroadcastChannel API.

Scroll down to connect the GitHub repository we just created.

Paste the raw GitHub url for your function.

Go to ajcwebdev-deno.deno.dev.

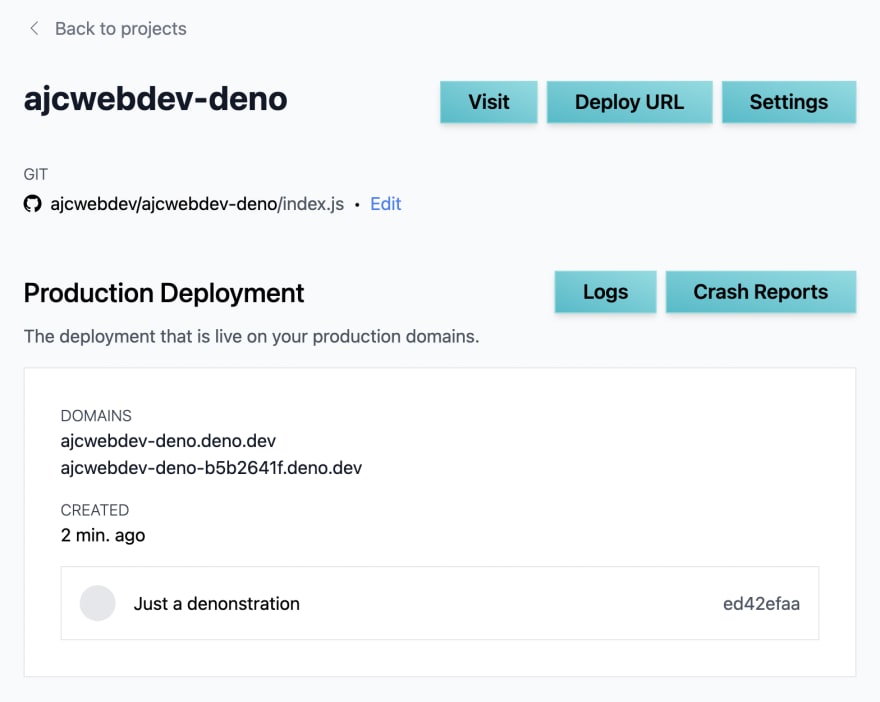
You can use the project overview page to review your project's settings, add/remove domains, or view the deployment logs.

Change content-type to text/html and include an <h2> header in the Response.
// index.js

addEventListener("fetch", (event) => {
  event.respondWith(
    new Response("<h2>ajcwebdev-deno</h2>", {
      status: 200,
      headers: {
        "content-type": "text/html"
      },
    }),
  )
})
Deno Deploy supports JSX (and TSX) out of the box so you don't need an additional transform step. It is important that you use .jsx or .tsx file extensions for Deno Deploy to transform JSX code.
mv index.js index.jsxDeno Deploy uses the h factory function instead of React.createElement. renderToString generates an html string from JSX components.
// index.jsx

import { h } from "https://x.lcas.dev/preact@10.5.12/mod.js"
import { renderToString } from "https://x.lcas.dev/preact@10.5.12/ssr.js"

function App() {
  return (
    <html>
      <head>
        <title>ajcwebdev-deno</title>
      </head>
      <body>
        <h1>ajcwebdev-deno</h1>
      </body>
    </html>
  )
}

addEventListener("fetch", (event) => {
  const response = new Response(
    renderToString(<App />), {
      headers: {
        "content-type": "text/html; charset=utf-8"
      },
    }
  )
  event.respondWith(response)
})
You will need to unlink and link the GitHub URL in your project since we changed the file name.

With deployctl you can run your Deno Deploy scripts on your local machine. Your scripts are run in the Deno CLI, with the correct TypeScript types for Deno Deploy.
If you already have Deno installed then deployctl can be installed using the following command.
deno install \
  --allow-read \
  --allow-write \
  --allow-env \
  --allow-net \
  --allow-run \
  --no-check \
  --force \
  https://deno.land/x/deploy/deployctl.ts
You may need to set the PATH variable as seen below but with your own path to the deno excecutable in place of /Users/ajcwebdev.
export PATH="/Users/ajcwebdev/.deno/bin:$PATH"You can run your script like it would run on Deno Deploy. Include --no-check so TypeScript doesn't explode in a giant fireball of errors.
deployctl run \
  https://raw.githubusercontent.com/ajcwebdev/ajcwebdev-deno/master/index.jsx \
  --no-check
Listening on http://0.0.0.0:8080
For local development, you can also add the --watch flag to automatically restart the script when any modules in the module graph change.
deployctl run \
  https://raw.githubusercontent.com/ajcwebdev/ajcwebdev-deno/master/index.jsx \
  --no-check \
  --watch
62
