18
Playing With Tuya API: An API for Pythonistas
Hello, buddies! Recently, I found an interesting API to play with. It's Tuya! Even though Tuya is known for IoT development, there's a hidden side: the Tuya Cloud Development platform, which can help developers in many ways— especially in marketing your product or whatever.
Tuya APIs has many services including Email service and SMS service which can be used effectively for marketing and many things. So today we're going to explore how we can use them with Python easily with a few lines of code.
Tuya Smart is a global IoT development platform that builds interconnectivity standards to bridge the intelligent needs of brands, OEMs, developers, and retail chains across a broad range of smart devices and industries.
Based on the global public cloud, Tuya connects different intelligent scenarios and smart devices by providing hardware development tools, integrating public cloud services, and offering an intelligent business development platform.
Great, let's go ahead!
- Tuya Developer Account. Get it here - https://developer.tuya.com/en/
- TuyaOpenAPI. To install,
pip install tuya-iot-py-sdk- Some basic Python knowledge.
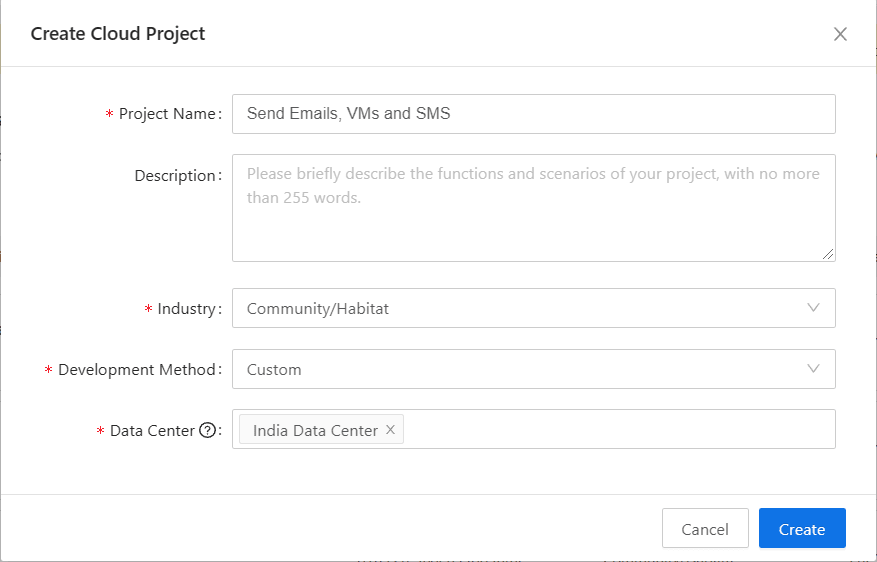
After signing up, you will head over to the dashboard. From there, go to 'Cloud' and create a project inserting the following information.
Use your Data Center Correctly or it will give bugs as a gift!
Next, you will be asked to Authorize APIs. They give some APIs by default but we don't need them. So you will have to remove most of them and keep only these five. (You should add the Email service and Short Message Service from the other part)

Finally, it will be a configuration wizard. Follow the given instructions and fill in that too!
Done, next, it is,
Great! Now we have set up everything. First, we have to import TuyaOpenAPI from Tuya Connecter that we installed before.
from tuya_connector import (
TuyaOpenAPI
)
Next, we have to authorize.
ACCESS_ID = "*************123"
ACCESS_KEY = "*************56565"
API_ENDPOINT = "https://openapi.tuyain.com"
MQ_ENDPOINT = "wss://mqe.tuyacn.com:8285/"
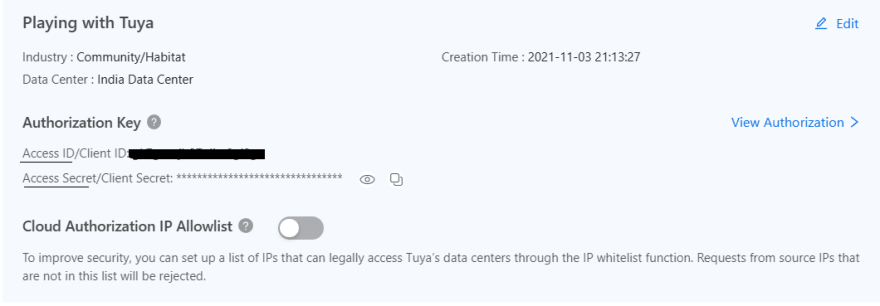
Wait, you can give stars as Input! Your ACCESS_ID and ACCESS_KEY are on your Tuya project.

Also, make sure that your API_ENDPOINT is set to your location.

Great! Now we have Init OpenAPI and connect.
openapi = TuyaOpenAPI(API_ENDPOINT, ACCESS_ID, ACCESS_KEY)
openapi.connect()
That's the foundation for all 3 services. Now let's play with them one by one.
sent = openapi.post("/v1.0/iot-03/messages/mails/actions/push", dict({  "to_address": "[email protected]",
  "template_id": "MAIL_1624531323",
  "reply_to_address": "[email protected]"}))
Don't get confused, lemme explain this.
- First line of this code is the Request Parameter. Request parameters are used in API operations of the Cloud Development Platform. Tuya supports the following request methods.
-
POST: Requires the server to perform specified operations. -
GET: Requests the server to return specified resources. -
PUT: Requests the server to update specified resources. -
DELETE: Requires the server to delete specified resources.
-
Every action has its specific Request parameters. When sending emails, we use the above.
- Next, we give the email address we need to send the email to.
-
template_idis the ID of an email template. You can make them yourself(I will show you later) or use a public one. Tuya gives 2 public default templates,MAIL_1624531323MAIL_1624531338
reply_to_addressmeans the address that the user will send replies to.
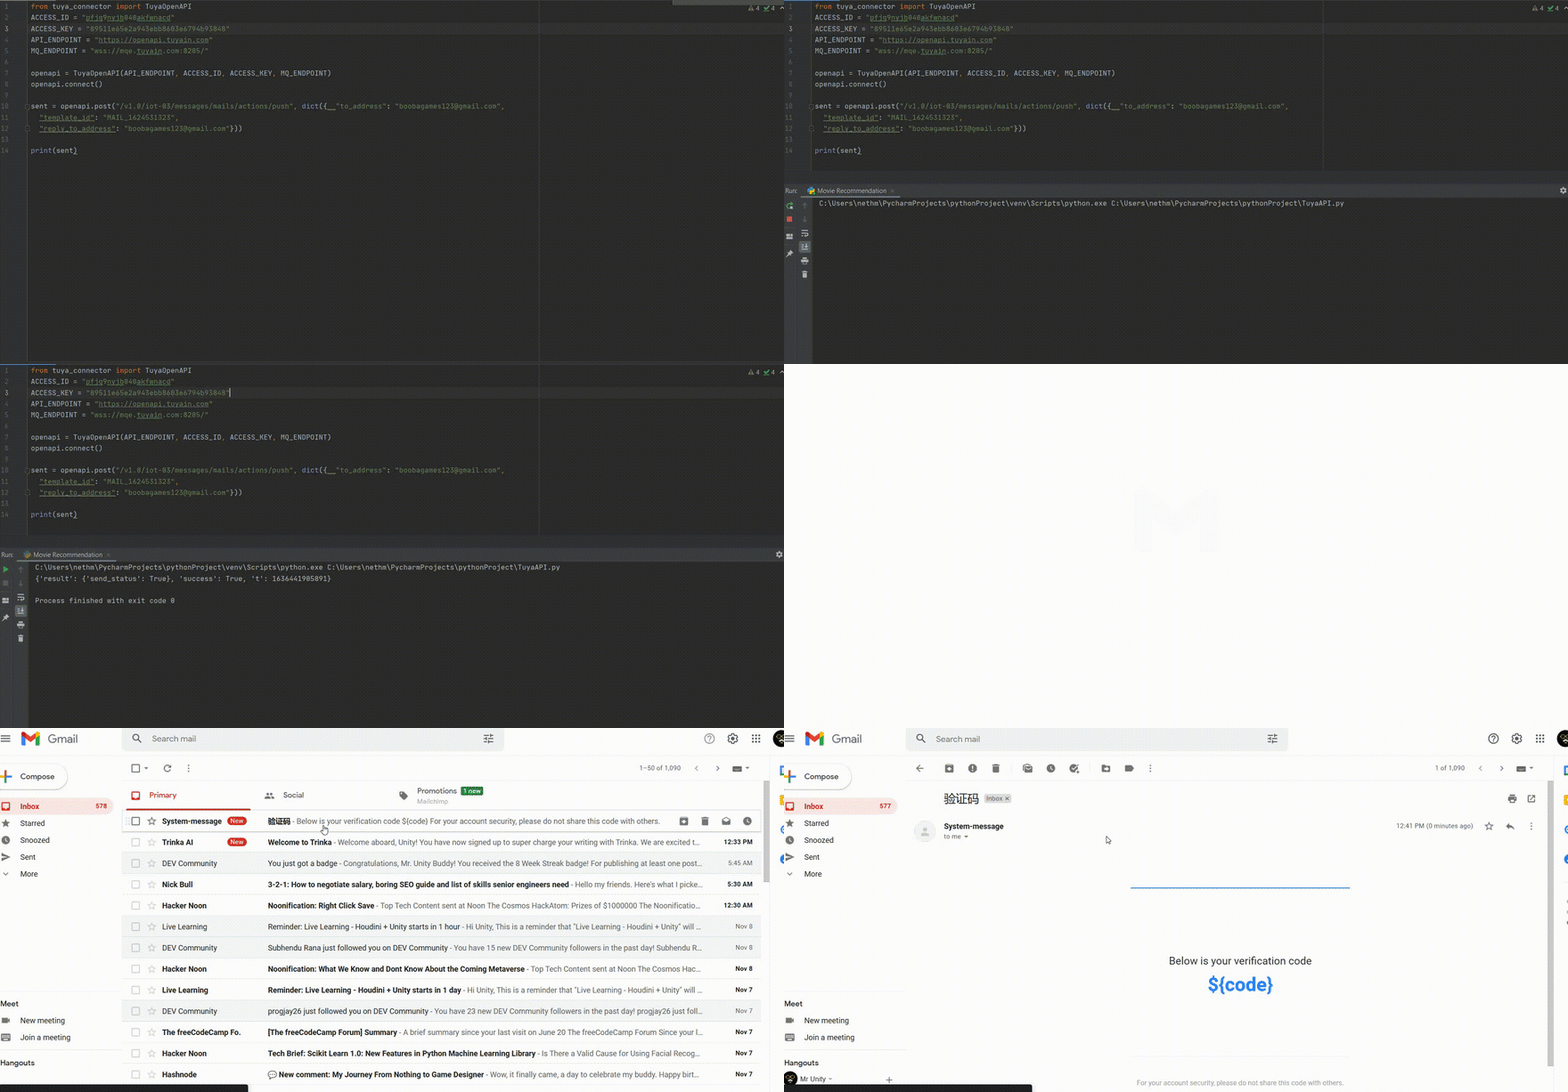
And then you will just have to run the program. If it is a success, the result would be,
{'result': {'send_status': True}, 'success': True, 't': 1634215134788}If you want to be sure, check your inbox(If you add your email address to the program).
But it's not possible to use Tuya's default email templates, we should create one for ourselves too. This code will do it, for sure!
temp = openapi.post("/v1.0/iot-03/msg-templates/mails",dict ( {"name": "Here's your code!",
  "title": "Hello!",
  "sender_name": "Booba",
  "content": "Hey! You're so pretty btw",
  "type": 2,
  "remark": "Isn't it?"}

))
As you can see, the first line is the request parameter. name stands for the template name. And the title is the template title.
-
sender_nameis the sender name with 1 to 30 characters. For example, if you set the sender to Buddy, and the sender’s email address to [email protected]. The receiver will see the sender’s address as “Buddy” [email protected]. -
contentis the content, which means the HTML format and Text! -
typestands for email type. It will handle whether the email should be in the 'Primary' tab or 'Promotions'. There are 3 valid email types,-
0: verification code. -
1: email notification. -
2: promotional email.
-
-
remarkis remarks of the application for the email template. Describe your application scenario here!
And yeah, now you can run this code and see the result as well. If it is successful, the result is gonna be like this,
{'result': {'template_id': 'MAIL_0769019106'}, 'success': True, 't': 1634216025543}Result:

Tuya's SMS service allows you to deploy the messaging service for application-to-user communication worldwide. There are 3 types of SMS you can send to users by Tuya,
-
0: Verification code. -
1: Notification -2: Promotional messages
Not like in Emails, first, we have to create an SMS template as below as Tuya doesn't have any default SMS templates.
result = openapi.post("/v1.0/iot-03/msg-templates/sms", dict({ "name": "The template of the message verification code",
  "content": "You are registering with your phone number. The verification code is: ${code}, valid for 5 minutes.",
  "type": 0}))

print(result)
This is the same as we created the Email template. the first string is a request parameter. And the dict is for content.
-
nameis the name of your template. -
contentstands for the message content. -
typeis for the type of the message— verification code, notification, or promotional.
At the end, we print the result and it would be something like this,
{'result': {'template_id': 'SMS_6195054734'}, 'success': True, 't': 1635956558065}Not the ned, we just created a template. Kindly note that you won't be able to use this template until it is reviewed and allowed. Don't worry, that process will only take 2 days. After that, you can query the details of the SMS template with the below request parameter
openapi.get("/v1.0/iot-03/msg-templates/sms/{template_id}")After this, you can continue the process!
So now we have to send messages by this code,
send = openapi.post("/v1.0/iot-03/messages/sms/actions/push", dict({ "country_code": "94",
  "phone": "945555555",
  "template_id": "SMS_3746838509"}))

print(send)
Let's break this.
-
country_codeis for your country code and don't use the+mark in that. -
phonestands for the phone number(s) that you need to send messages. The same rule, no symbols. -
template_idis the Template ID that you made before, which has been approved.
Result:
{'result': 'send_status': True, 'success': True, 't': 1634216025543}Many things! Tuya is for Smart home applications. But we can do a lot with Tuya's cloud development platform as well! Just like,
Discover more here
Almost all of these APIs are used in almost the same manner. Request Parameter and the dict containing everything required. 🕺🕺
What I love about Tuya is its documentation. They are really clear and easy to understand. Besides, it provides examples and explanations which helps everyone to use it easily! Remember to check them out whenever you're stuck
So, buddies, that's it! Thanks for reading and Happy Pythoneering!

18

