24
The steps to auto-publish posts using the Facebook Graph API
I'm writing this post because when i wanted to create an app that auto-share posts on Facebook pages, I could not find any other resources except the official Facebook graph API, which is vast and a little bit complicated.
And i don't want those who want to build something similar to suffer, so I'm offering this blog post to help , and to share how i did it , you can also suggest some new ideas, and improvements if possible.
For the sake of simplicity, our goal here is to write a cli app to share posts on Facebook, i will not add a GUI , this is left for you to do it.
You will need to create your developer account, then create your Facebook app , and do some little small extra step to be ready.
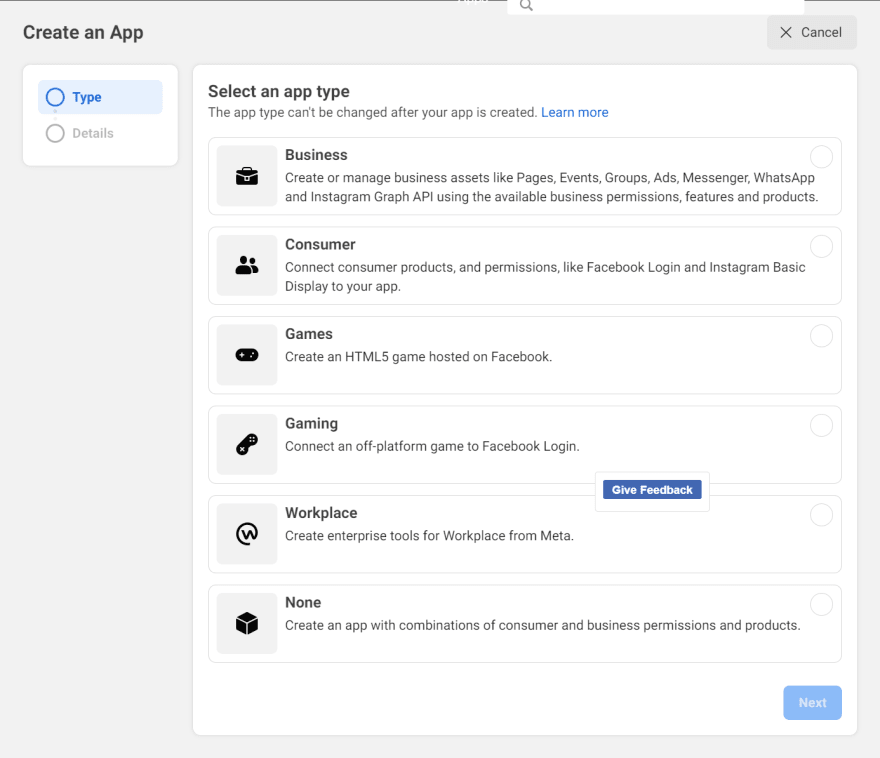
So lets dive in, in the next section i will show how you can create an app, the type of this app, the required permissions for your app, and we are going to test it using the awesome Facebook graph Api explorer.
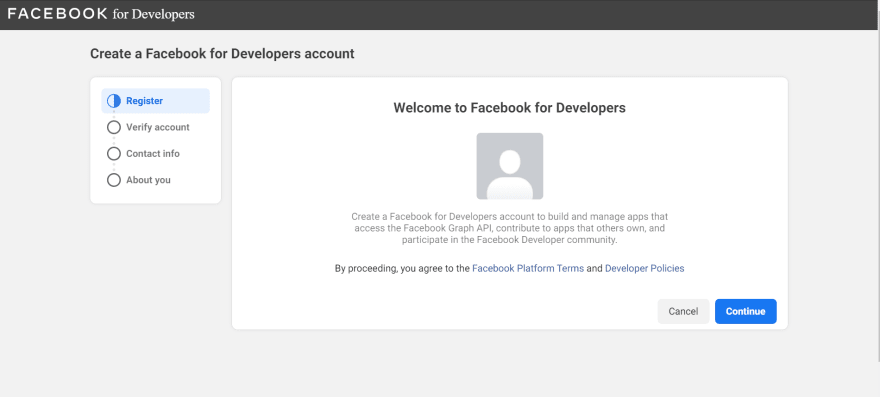
You need to create a Facebook developer account first, after this


If your done with this then click next, it is details time, choose a name for your app, an email, and a business account if exists, this last field is optional.

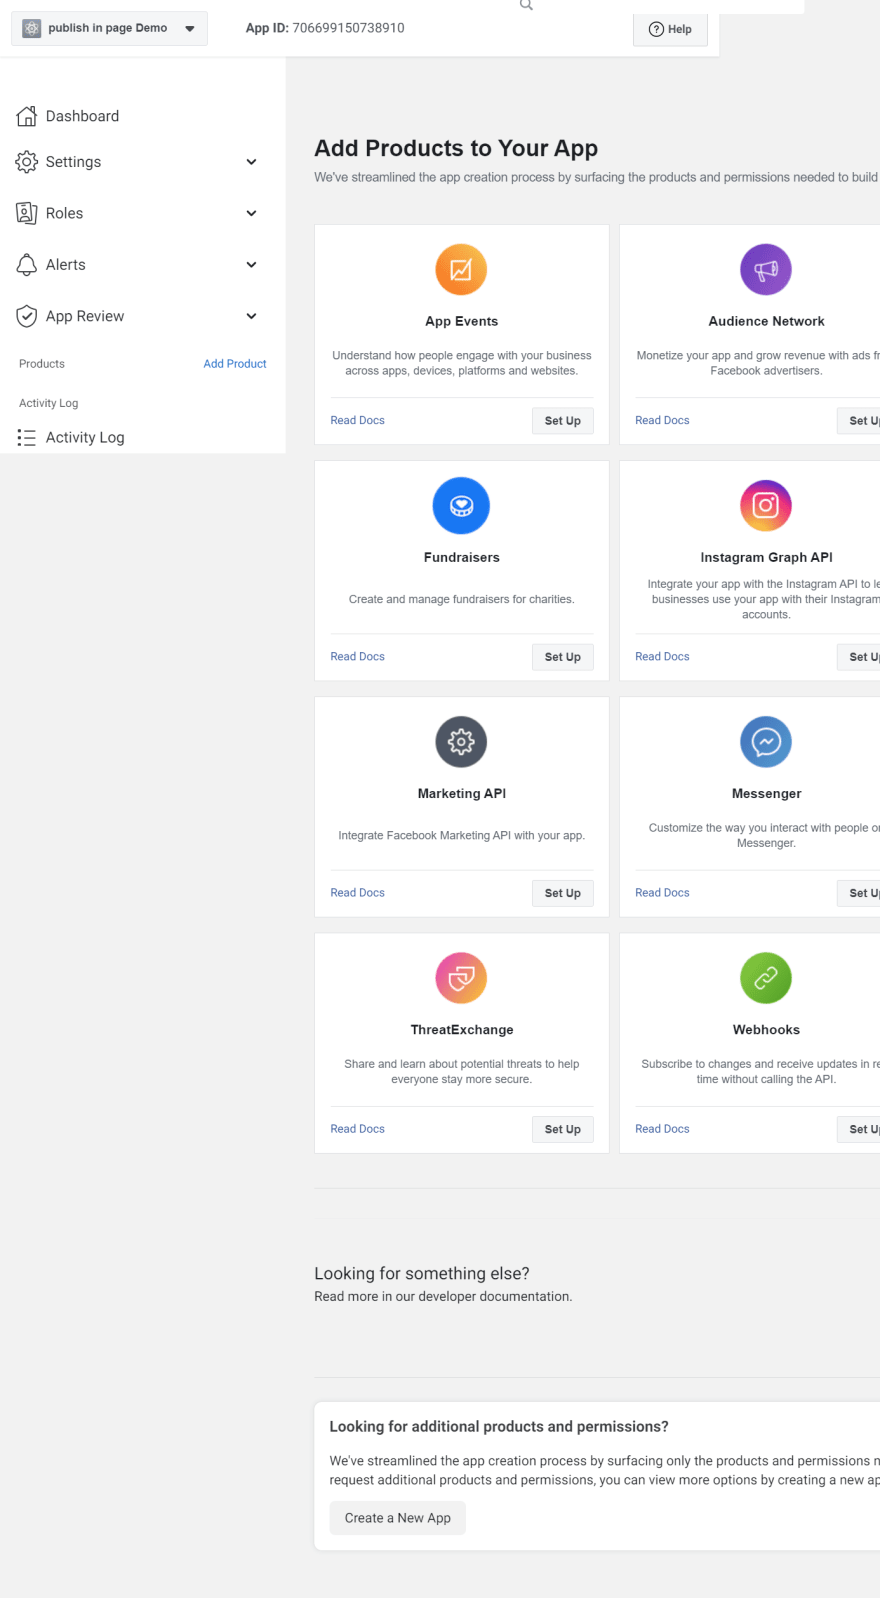
Your screen will look like this now, this is the app dashboard

We are ready to test, in the next section we will publish posts using the Facebook Graph API explorer,
First i want to inform you that i'm using the v12 of Facebook graph API, you can access the API explorer using this link, this is how your screen will look like, if your app is a new one.

We will first need to generate a page access token, note that the page access token generated in this step is a short lived one, in the api explorer, the user or page drop down that you can find in the bottom of a section in the right side of the screen as you see in the figure below.

But before doing this, you will need to add some permissions to enable your app to create posts in the page on behalf the user who generated the access token, note that the user who own the app must be the admin of the page that you want to publish posts in, we will see how to do it when we want to publish on others pages in the next post, check the photo below, to see the permissions that you need to add, then click generate token.

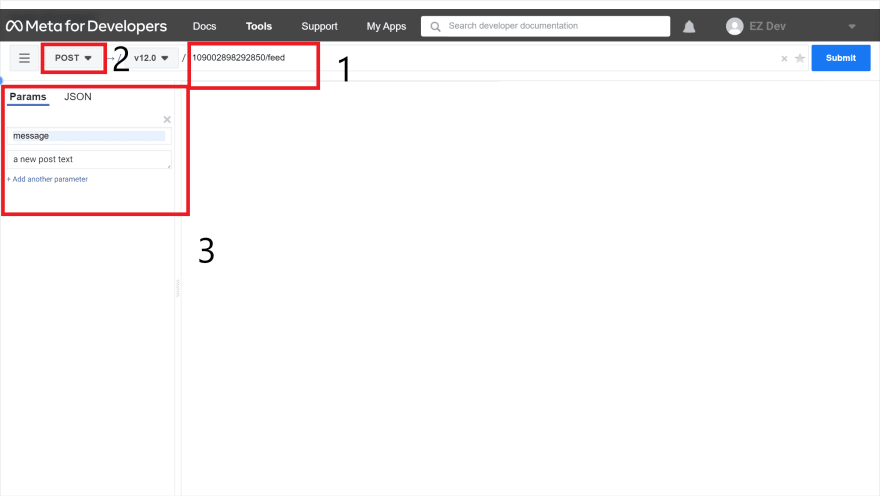
Next, we will need to copy then past our page id, you can find the page id by accessing your page on Facebook and copy the part after facebook.com/ in the url, but we will only need numbers, in my case the url is facebook.com/Ez-PZ-developement-109002898292850, and i will only copy this part 109002898292850.
Place your page id as the figure below shows, make sure to add /feed after it , and don't forget to change the type of http request from GET to POST, then add a new parameter name it message, and write something there, message is the text that we are going to publish, make sure to check this link from the official Facebook documentationif you want more details about making an app to publish posts on Facebook pages.

Now you will simply need to click on the blue submit button if you get a response that show the id of the page post created, similar to the one in the figure below, then congratulations, you just published your first post using the explorer and your new created Facebook app, the returned id is a combination of page_id and post_id separated with a _, you can access the post by replacing page_id_post_id with the generated id in facebook.com/page_id_post_id.

We are done with testing using this nice gui, in the next section we will do some coding
First of all this app is gonna be written in python and it is going to be used in the command line, to publish a new post with text and image.
Create new file publish.py, then lets write a function that can make the user pass page access token, page id , and the version of the facebook api, as an arguments from the command line, we will use the parse_args function as a decorator, then we can add another function which gonna handle publishing posts to the desired page.
Note: version is not required, if it is not specified we will use https://graph.facebook.com' which gonna point us directly to the latest version of facebook graph api)
# publish.py
import requests
import argparse

API_URL = 'https://graph.facebook.com'

def parse_args(publish_post):
   parser = argparse.ArgumentParser()

   parser.add_argument('-t', '--token', dest='token',
                       action='store',
                       required=True,
                       help='page access token')
   parser.add_argument('-id', '--pageId', dest='page_id',
                       action='store',
                       required=True,
                       help='page id')
   parser.add_argument('-v', '--version', dest='version', action='store',
                       required=False,
                       help='version of the api')

   token = parser.parse_args().token
   page_id = parser.parse_args().page_id
   version = parser.parse_args().version
   return publish_post(token, page_id, version)

@parse_args
def publish_post(token, page_id, version):
   pass
Lets create a little small function to handle the api url when the user pass the version as an argument and when not, let's name it get_api_url, this function have only a one parameter named version with a None as a it's default value, and add this function to publish_post and assign it to a variable name url.
@parse_args
def publish_post(token, page_id, version):
   url = get_api_url(version)

def get_api_url(version=None):
   if version:
      return api_url+'/v'+str(version)
   return api_url
To publish the post with a photo we need to use the following end point /{page_id}/photos, if you want read more make sure to check this link of the official Facebook documentation.
We will send the message, access token , and the file in the body of our post request as you can see in the code below
url = f'{get_api_url(version)}/{page_id}/photos'

      if message:
         payload = {
            'access_token': token,
            'message': message
         }
      else:
         payload = {
            'access_token': token,
         }

      photo = open(photo_path, 'rb')
      files = {
         'data': photo
      }
      response = requests.post(url, data=payload,
                               files=files).json()

      print(response)
Also don't forget to add the message and the photo path args to the parse_args decorator, see code below
parser.add_argument('-m', '--message', dest='message',
                     action='store',
                     required=True,
                     help='facebook post text')

   parser.add_argument('-p', '--photo', dest='photo',
                       action='store',
                       required=True,
                       help='photo path')

   token = parser.parse_args().token
   page_id = parser.parse_args().page_id
   version = parser.parse_args().version
   message = parser.parse_args().message
   photo = parser.parse_args().photo
   return publish_post(token, page_id, version, message, photo)
in the end your code will look like this
import requests
import argparse

API_URL = 'https://graph.facebook.com'

def parse_args(publish_post):
   parser = argparse.ArgumentParser()

   parser.add_argument('-t', '--token', dest='token', action='store',
                       required=True,
                       help='page access token')
   parser.add_argument('-id', '--pageId', dest='page_id', action='store',
                       required=True,
                       help='page id')
   parser.add_argument('-v', '--version', dest='version', action='store',
                       required=False,
                       help='version of the api')
   parser.add_argument('-m', '--message', dest='message', action='store',
                       required=True,
                       help='facebook post text')
   parser.add_argument('-p', '--photo', dest='photo', action='store',
                       required=True,
                       help='photo path')

   token = parser.parse_args().token
   page_id = parser.parse_args().page_id
   version = parser.parse_args().version
   message = parser.parse_args().message
   photo = parser.parse_args().photo
   return publish_post(token, page_id, version, message, photo)

def get_api_url(version=None):
   if version:
      return API_URL+'/v'+str(version)
   return API_URL

def run():
   @parse_args
   def publish_post(token, page_id, version, message, photo_path):
      url = f'{get_api_url(version)}/{page_id}/photos'

      if message:
         payload = {
            'access_token': token,
            'message': message
         }
      else:
         payload = {
            'access_token': token,
         }

      photo = open(photo_path, 'rb')
      files = {
         'data': photo
      }
      response = requests.post(url, data=payload, files=files).json()

      print(response)


run()
Now go to your terminal and run the following command, but first you need your page id, and your page access token which can be generated from the facebook api explorer, make sure that the generated token is a page access token.
python facebook_page_publish.py -t {page_access_token} -id {page_id} -m {post_text} -p {photo_path}Any response that does not look like this one {'id': 'photo_id', 'post_id': 'page_id_post_id'}, indicate that you did something wrong, try to fix it or leave a comment below maybe i can help.
It's the end, next time we will write a script to authenticate our users and generate a page access token without using the gui.
24
