
23
React + TailwindCSS + Vite.js = a Match made in Heaven?
For all of you who are fed up using create-react-app to scaffold a new React-project, this post will show you how to use Vitejs to get React and TailwindCSS up-and-running.
- What is Vitejs?
- Project Setup
- Conclusion
Vitejs aims to address some of the shortcomings that have crept in with our tooling.
Webpack, Gulp and Parcel are great for bundling our code, but are terribly slow when starting the development server, especially when you have an enormous amount of JavaScript-Code to load.
In more traditional build-tools the bundler will usually have to re-bundle the whole thing, which will take longer, the larger your application gets.
Even with something like hot-module-replacement, the build-speed can still take a significant hit, as the project increases in size.
Vitejs is blazingly fast, even when you first start your development server.
It also carries the speed advantage when you are editing a file. The changes are reflected in the browser almost instantly.
Now that you have a bit of background on Vitejs, let us get started in setting up our React project.
With this tutorial, I will be using React as my frontend-framework of choice, but you can use whatever you like.
Vitejs currently supports the following:
- vanilla
- vanilla-ts
- vue
- vue-ts
- react
- react-ts
- preact
- preact-ts
- lit-element
- lit-element-ts
- svelte
- svelte-ts
Unfortunately, Vitejs does not support Angular at the time of writing.
To setup a react project is rather easy, simply pick the directory you want to store your project in, open up a terminal there and run the following command:
npm init @vitejs/app vite-react --template react
This will download our project files we need for our React project.
Again, you can use whatever technology you like. If you wanted to create a project using vanilla JavaScript, you would use:
npm init @vitejs/app vite-vanilla --template vanilla
It is that easy!
Now we need to change into our directory and install the dependencies, this is JavaScript after all.
cd vite-react
npm install
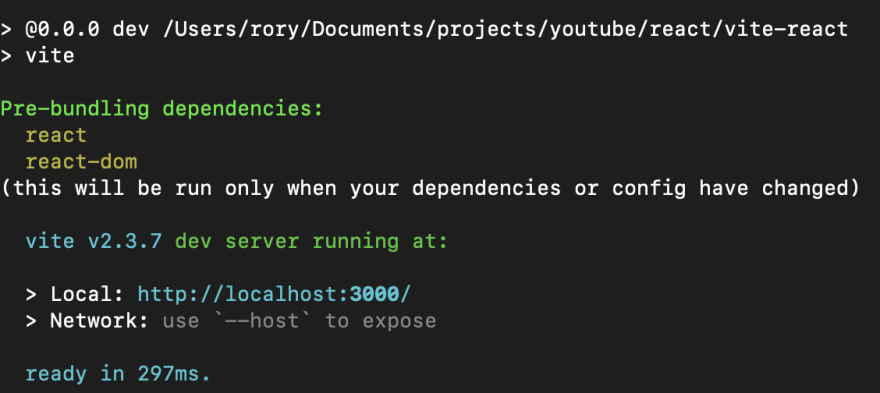
After we installed everything, we can now start our development server using the following command:
npm run serve
And in a matter of split-seconds, we can see that our terminal is showing a very pleasing sight:
Now it is time to install TailwindCSS.
This is also a very simple process.
First, we need to install the dependencies:
npm install -D tailwindcss@latest postcss@latest autoprefixer@latest
After that has installed successfully, we can create the tailwind config files using the following command:
npx tailwindcss init -p
That will create a tailwind- and a postcss-config file.
Now simply navigate into your src-directory, open up your index.css-file, remove all of the code and add these lines:
/* ./src/index.css */
@tailwind base;
@tailwind components;
@tailwind utilities;
That is it!
We now simply need to stop the development server using ctrl + C and restart it again using npm run dev.
Now to test our setup, we can remove the default jsx-code that comes pre-defined and add our own little tailwind-snippet.
My App.jsx looks like this:
/* src/App.jsx */
import React from "react";
import "./App.css";

function App() {
  return (
    <div className="flex justify-center">
      <h1 className="font-bold text-2xl text-blue-900">
        React and Tailwind with Vitejs!
      </h1>
    </div>
  );
}

export default App;
And the result looks like this:

With that we have verified that our tailwind setup works like a charm.
That is it for this week!
I hope you join me next week for another article.
If you enjoyed this article, give it a like and let me know in the comments what kind of content you would be interested in reading in the future.
23