24
4 easy steps to setup AWS WorkSpaces (Screenshot’s included)
A simple 4 steps guide to set up AWS WorkSpaces.
AWS WorkSpaces is a desktop as a service offering from AWS. Users can connect from PC, Mac Desktops computers by downloading the clients or use the web clients. AWS WorkSpaces is only available for specific regions. AWS WorkSpaces supports Amazon Linux, Windows 10 bundles with pre-installed software packages. AWS WorkSpaces contains Free Tier available as well.
Below are the steps used to setup AWS Workspaces
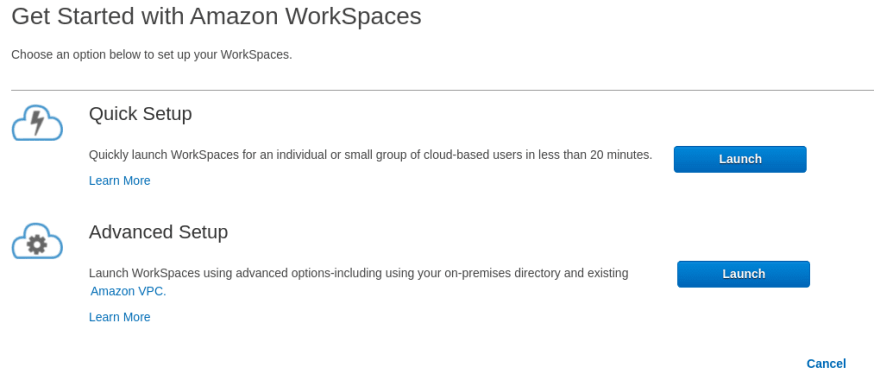
Login to your AWS Account, head over to AWS WorkSpaces

This Guide is about setting up much of the stuff automatically.

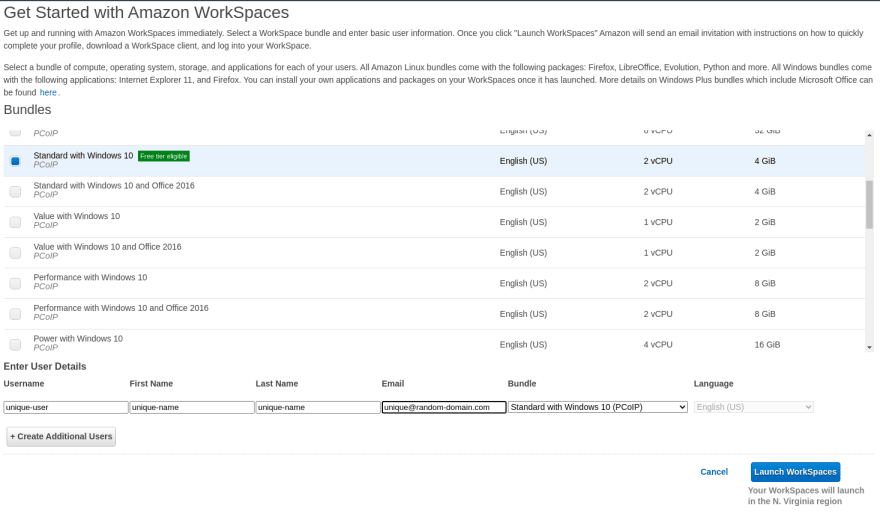
There are a couple of bundles to choose from which contain specific software packages pre-installed & provide the username and email address.

You’ll be getting an email that would contain a Registration Code (keep that handy) and click on the WorkSpaces link to set the password. -->


There are two ways to have Amazon WebSpaces client
Standalone Client → https://clients.amazonworkspaces.com/
Web Client → https://clients.amazonworkspaces.com/webclient
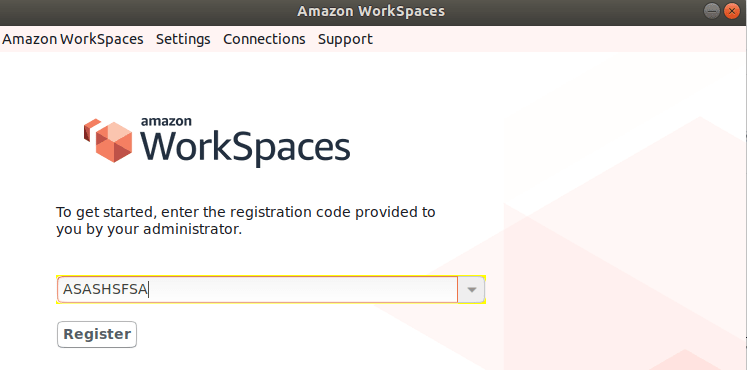
Once you have Downloaded & Installed the client, Enter the Registration code you received in the email and log in to it.

24
