19
Free Django Dashboard - MaterialPRO Lite
Hello Coders!
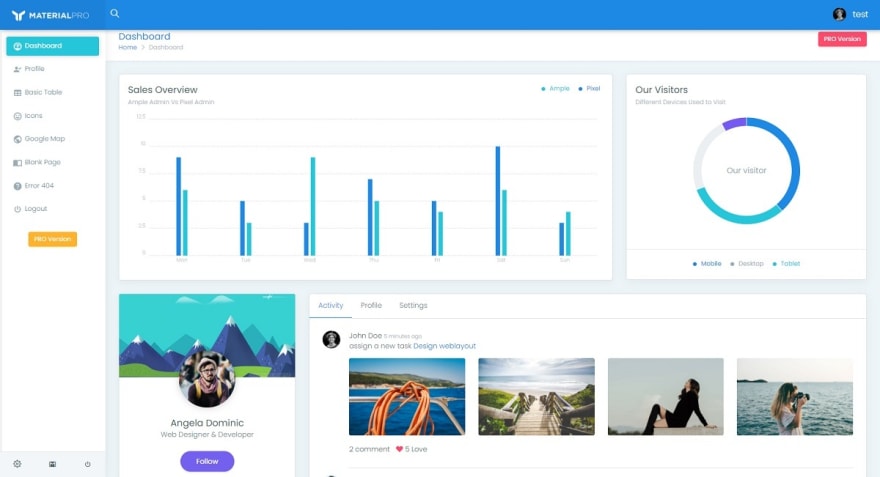
This article presents an open-source Django Dashboard crafted on top of a pixel-perfect Material-Based design. The product comes with a simple, intuitive codebase, authentication, database, and deployment scripts via Docker. For newcomers, Django is a leading web framework crafted in Python by experienced developers using a batteries-included concept and actively supported by an impressive open-source community.
Thanks for reading! - Content provided by App Generator.
- ✨Django MaterialPRO Lite - product page
- ✨Django MaterialPRO Lite - LIVE Demo
- ✨More Django Dashboards - free & commercial products

This open-source Django Dashboard comes with a few useful features that might help beginners (and not only) to code faster a new dashboard project without losing time with a few repetitive tasks like setting up the project, prepare the UI, and code the deployment scripts. Django MaterialPro Lite offers out-of-the-box a short-list with features that solve all the above case-cases:
-
Up-to-date dependencies: Django 3.2.6 LTS - SCSS compilation via Gulp
-
SQLite Database, Django Native ORM - Session-Based Authentication, Forms validation
-
Deployment scripts:
Docker, Gunicorn / Nginx
Probably the most easier way to see this seed project in action is to execute the Docker setup:
Step #1 - Clone the source code
$ git clone https://github.com/app-generator/django-dashboard-material-lite.git
$ cd django-dashboard-material-lite
Step #2 - Execute in Docker
$ docker-compose pull   # download modules
$ docker-compose build  # execute local set up
$ docker-compose up     # start the project
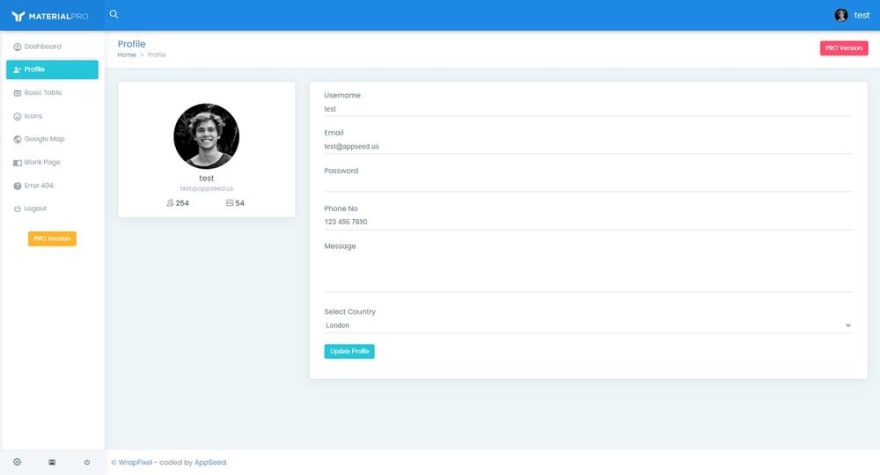
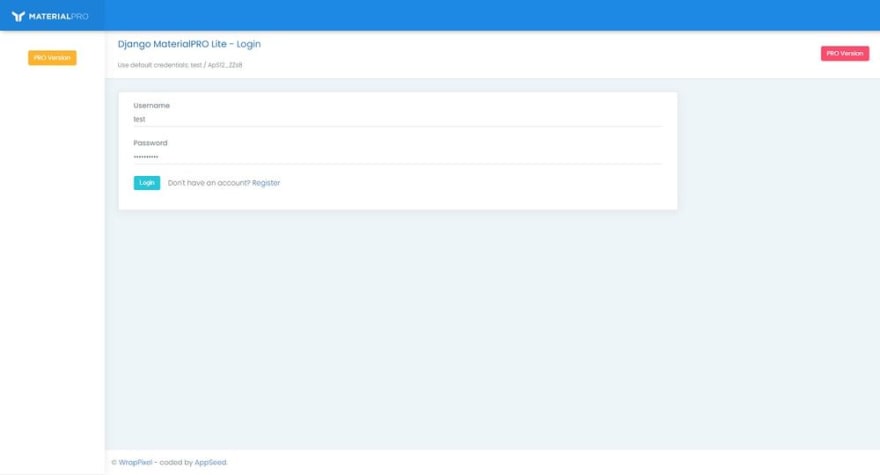
Once all the above commands are executed, the project should be visible in the browser and we should be able to interact with the UI, create users, and access the private pages.

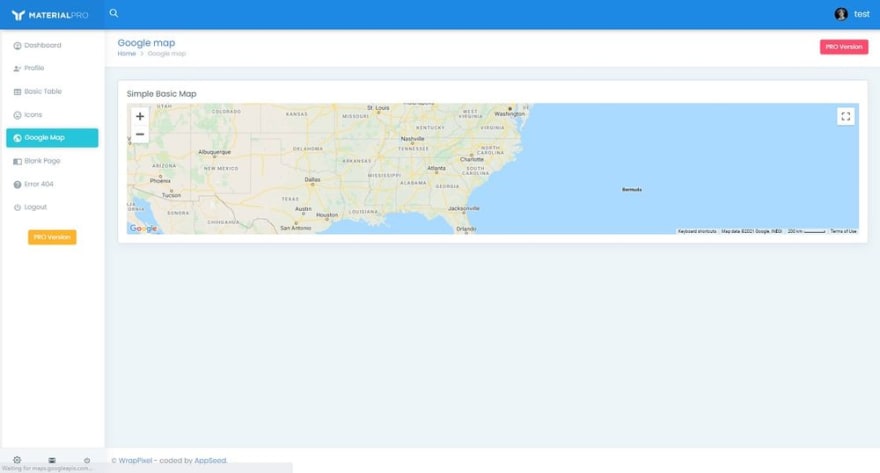
Django MaterialPro Lite - Maps Page

In case Docker is not installed in the workstation, we can build the product using the classic workflow: clone sources, install modules, set up the database, and start the app using Django WSGI embedded server. In order to complete this phase, make sure you have a minimal programming kit installed in the workstation and accessible via the terminal: Python3, GIT, and a modern code editor like Atom or VsCode.
Step #1 - Clone sources
$ git clone https://github.com/app-generator/django-dashboard-material-lite.git
$ cd django-dashboard-material-lite
Step #2 - Install dependencies
$ # Virtualenv modules installation (Unix based systems)
$ virtualenv env
$ source env/bin/activate
$
$ # Install modules - SQLite Storage
$ pip3 install -r requirements.txt
Step #3 - Set up the database
$ python manage.py makemigrations
$ python manage.py migrate
Step #4 - Start app (development mode)
$ # Start the application (development mode)
$ python manage.py runserver # default port 8000
$
$ # Access the web app in browser: http://127.0.0.1:8000/
If all goes well we should see the project running in the browser on the address http://localhost:8000:

Thanks for reading! For more resources, feel free to access:
- Open-Source Dashboards - index provided by AppSeed.
- Full-stack React Apps - free & commercial products
19
