62
Animate your Angular App using Motion One
In this blog post, I will show you how to use Motion One in an Angular application. I will walk you through the installation process, create a simple animation, and use Motion One's spring and timeline features.
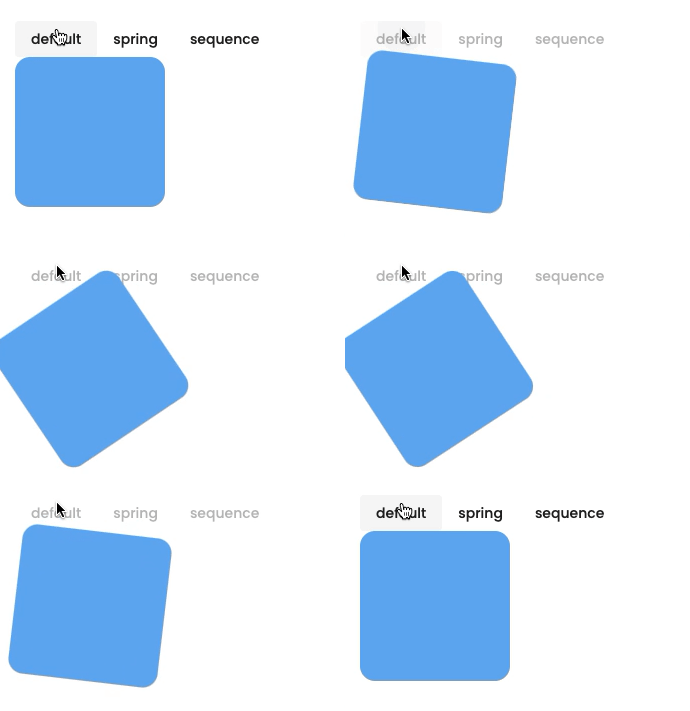
Check out a live demo I've created that you can interact with as part of my Angular Animation Explorer.
First, we will need to add Motion One's dependency via npm using the following command.
npm install --save motionIf you run into any typings issue from the library, try adding
skipLibCheck: trueto your tsconfig.json.

To animate an element from your template, you will need to give it an id so you can access them from your Typescript file.
<div #myElement>...</div>You can then use Angular's ViewChild decorator to access the element defined above.
import { Component, ViewChild, ElementRef } from '@angular/core';

@Component({
  ...
})
export class MotionOneDemoComponent {
  @ViewChild('myElement') myElement: ElementRef;

}
Now that we have access to your element, you can use Motion One's animation APIs to animate your element.
import { Component, ViewChild, ElementRef } from '@angular/core';
import { animate } from 'motion';

@Component({
  ...
})
export class MotionOneDemoComponent {
  @ViewChild('myElement') myElement: ElementRef;

  animateMyElement(): void {
    animate(
      this.myElement.nativeElement,
      { rotate: 180 },
      { duration: 0.5, easing: 'ease-in' }
    ).finished.then(() => {
        // animation completed
      })
      .catch(() => {
        // if an error happens
      });
  }
}
Motion One also comes with prebuilt easing such as spring and glide which, you can use by passing in their respective functions with any additional configurations. The snippet below is how you create a basic spring animation using Motion One:
import { Component, ViewChild, ElementRef } from '@angular/core';
import { animate, spring } from 'motion';

@Component({
  ...
})
export class MotionOneDemoComponent {
  @ViewChild('myElement') myElement: ElementRef;

  animateMyElement(): void {
    animate(
      this.myElement.nativeElement,
      { rotate: 180 },
      { duration: 0.5, easing: spring() } // 👈 modify the easing
    ).finished.then(() => {
        // animation completed
      })
      .catch(() => {
        // if an error happens
      });
  }
}
Another cool feature from Motion One is its out-of-the-box support of timeline. You can chain your animations and animate different elements all at once by creating an animations array and passing it to the timeline function.
The timeline function works similarly to Greensock's timeline feature. The code snippet below shows how you chain and sequence a translation of a box.
import { Component, ViewChild, ElementRef } from '@angular/core';
import { timeline } from 'motion';

@Component({
  ...
})
export class MotionOneDemoComponent {
  @ViewChild('myElement') myElement: ElementRef;

  animateMyElement(): void {
    const sequence = [
      [this.myElement.nativeElement, { x: 100 }, { duration: 0.5 }],
      [this.myElement.nativeElement, { y: 100 }, { duration: 0.5 }],
      [this.myElement.nativeElement, { x: 0, y: 0 }, { duration: 1 }],
    ];
    timeline(sequence)
      .finished.then(() => {
        // animation completed
      })
      .catch(() => {
        // if an error happens
      });
  }
}Motion One is a relatively new animation library compared to other animation libraries out there. However, it is feature-rich, performant, and easy to use. This blog post only covers a small percentage of the library's capabilities. I will be exploring more of Motion One's features in the future and write a follow-up blog post covering more advanced uses of this library.
If you are interested in more content like this or have any questions, let me know in the comments or tweet me at @williamjuan27
62
