44
Setting up Local MongoDB Using Mongo Compass on Windows
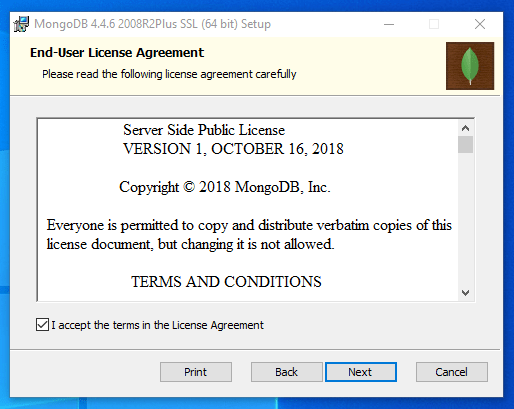
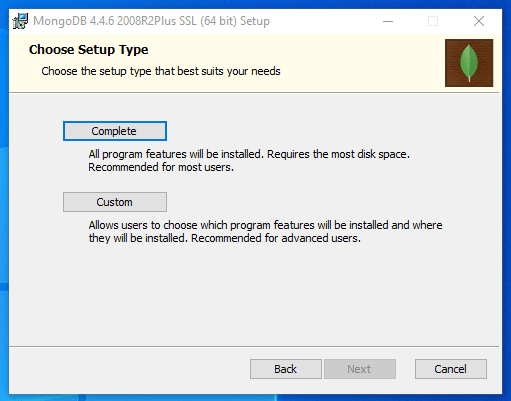
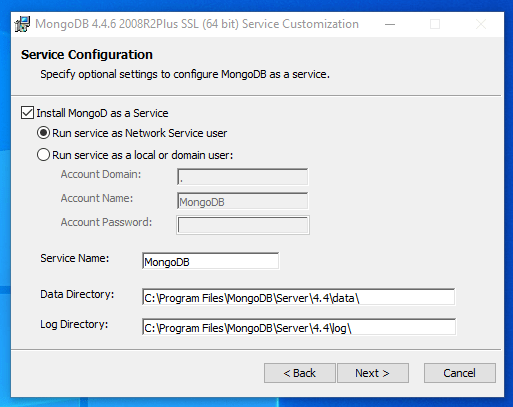
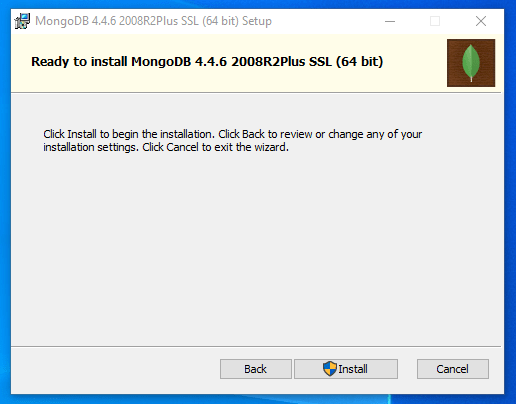
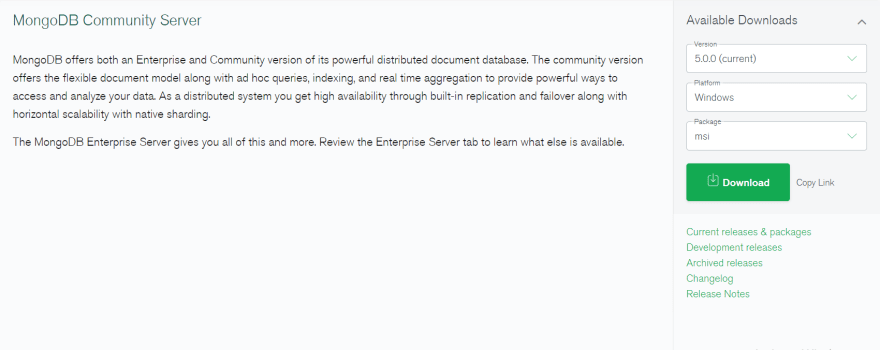
Follow this link to visit the download page for the MongoDB Community Server and and download the latest MSI installer for Windows:

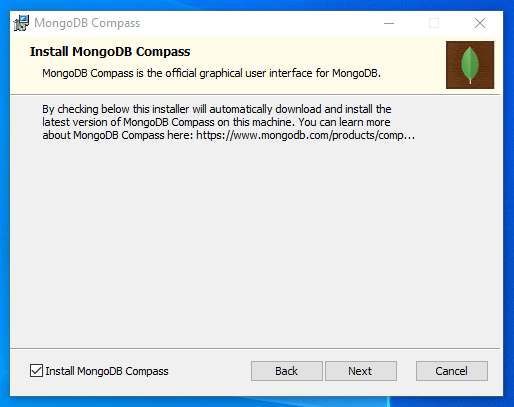
After the installation is complete, MongoDB Compass will open automatically. If it doesn't open immediately, you can open it by just searching for it from your taskbar.
The next step is to understand how to use MongoDB Compass (it is a very simple and straightforward process). Once it is open, the initial screen will give you the opportunity to connect to a running MongoDB server by providing a connection string:
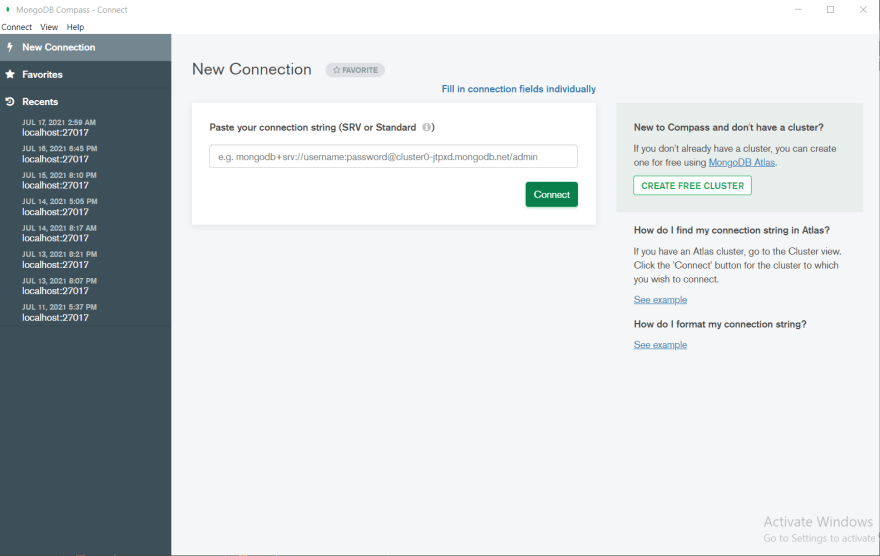
The next step is to understand how to use MongoDB Compass (it is a very simple and straightforward process). Once it is open, the initial screen will give you the opportunity to connect to a running MongoDB server by providing a connection string:

If you click connect without entering any connection string, mongo will just connect to the local database running with the default configurations.
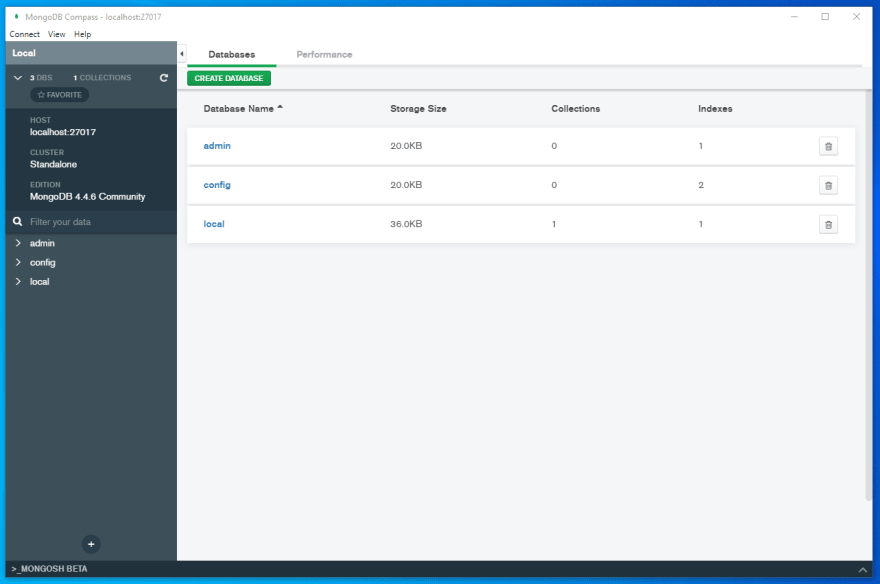
Click Connect to connect to the MongoDB server running on your machine. As soon as you click connect, Compass connects to your local server and shows information about the databases within and allow you to manage your data using the graphical user interface. The admin, config, and local are default databases and you shouldn't delete them.
When you to stop the components after you are done working, click the connect menu in the menu bar and select disconnect to stop the connection to your MongoDB server. Afterwards, you can safely close the MongoDB Compass application.

When you to stop the components after you are done working, click the connect menu in the menu bar and select disconnect to stop the connection to your MongoDB server. Afterwards, you can safely close the MongoDB Compass application.
Thank you for reading.
44


