39
Everything About Django - 1 (How To Start)
This is the first blog of the series Everything About Django.
Just Install Python3 in your system along with pip.
Django is a full stack open source web framework built on top of Python.
A virtual environment is a Python environment such that the Python interpreter, libraries and scripts installed into it are isolated from those installed in other virtual environments, and the whole system. With virtual environment, you can seperate all the packages and requirements you need for each project. It works in a similar way to package.json in Javascript.
pip install pipenv
dev and open command prompt inside it.pipenv install
pipenv shell
pip freeze to check the libraries installed. It will give no result as no python libraries are installed in this environment yet.We will be using Django 2.2.6 (3 can also be used).
This installs our Django.
pip install django==2.2.6This installs our Django.
We will create a django project named Beginner.
Once our django is installed, we get access to
Type in the same command prompt :
This creates our new Django project.
Once our django is installed, we get access to
django-admin which is a django administrator with which we initialize our new project.Type in the same command prompt :
django-admin startproject BeginnerThis creates our new Django project.
Beginner Folder : This folder has the same name as our Parent folder(Project Name). It contains all the settings and configurations of the whole project.
-
__init__.py: This file tells the interpreter that it's a python project. -
settings.py: This file contains all the configurations of this project likeSECRET_KEY,ALLOWED_HOSTS,INSTALLED_APPS,MIDDLEWARES, 'STATIC FILES CONFIG`, etc. We will discuss about all of this in detail in a seperate blog. -
urls.py: This file contains the root level url configurations. When we run our project, all the urls are checked and matched from this file. -
wsgi.py: This file is the entry point of our project for the web servers during deployment. This file actually connects the web server with our django project. From Django 3.0, we also haveasgi.pyfile. ASGI is the successor of WSGI which would need a seperate blog for discussion.
manage.py : This python file is located at the root directory. This is same as django-admin. It works like a django administrator but only works for the current project. We can control the whole project with this command like python manage.py runserver - We can run this file by giving instructions with it like runserver, createsuperuser, etc.Let's go to our same command prompt and go inside the Beginner folder
This is what our command prompt shows :
We have 17 unapplied migrations which we'll discuss in our next blog.
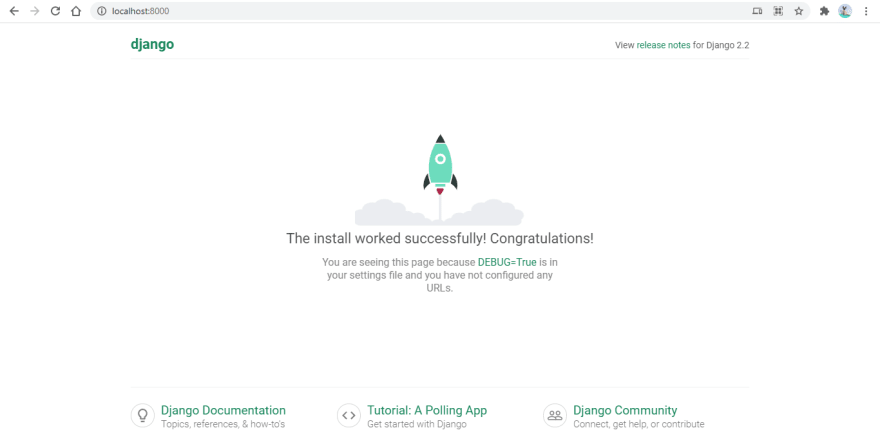
Let's go to the localhost url at 8000 port and test if our project runs.

If we see this template on the screen, our project is working and properly configured. We can start working on it now.
cd Beginner and type : python manage.py runserver. This runs our django project on our system's localhost at port 8000: http://localhost:8000/This is what our command prompt shows :

We have 17 unapplied migrations which we'll discuss in our next blog.
Let's go to the localhost url at 8000 port and test if our project runs.

If we see this template on the screen, our project is working and properly configured. We can start working on it now.
You can find me at : My Portfolio | LinkedIn
39

