54
The Right way to commit a code - Integrating Git hooks using husky(V7) with (ESLint + commitlint + SonarQube) in Angular(12+)
Here we'll be automating our commit workflow i.e when a developer commits a code it will check for lint errors, do unit testing then inspect the code using SonarQube and check whether the commit message given by developer follows the commit convention or not. Only If all above conditions are satisfied the code will be commited.
In this article we'll cover the basic set-up required to integrate husky into your Angular Application.
Husky improves your commits and more 🐶 woof!
You can use it to lint your commit messages, run tests, lint code, etc... when you commit or push. Husky supports all Git hooks.
Now, Let's get started
- First install husky
npm install husky --save-dev
This command will add husky to your packahe.json file.
- enable Git Hook:
npx husky-init
this will add following script to you package.json file
"prepare": "husky install"
and it will also create a .husky folder in your root directory.
- Next we'll be creating a file in the Husky directory for the purpose of linting commit messages
npx husky add .husky/commit-msg 'npx --no-install commitlint --edit'
this will create a file called commit-msg in .husky directory with the following data:
#!/bin/sh
. "$(dirname "$0")/_/husky.sh"

npx --no-install commitlint --edit
Now we'll install commit lint
npm install @commitlint/config-conventional @commitlint/cli --dev
now create a file commitlint.config.js in the root directory with the following data
- Now when you commit you changes using
git commit -m 'new fixes'
it will give the following error, if its not aligned with the git commit conventions (git conventions)

- again perform the commit with
git commit -m 'style(package): package upgrade'

Install following package:
npm install lint-staged --save-dev

npm install eslint
- Add linting to the application https://github.com/angular-eslint/angular-eslint
ng add @angular-eslint/schematics
ng g @angular-eslint/schematics:convert-tslint-to-eslint --remove-tslint-if-no-more-tslint-targets --ignore-existing-tslint-config
this will migrate the default tslist to esLint
Now add the following content to the pre-commit file .husky/pre-commit
#!/bin/sh
. "$(dirname "$0")/_/husky.sh"

npx pretty-quick --staged
npx lint-staged
ng test --watch=false --browsers=ChromeHeadless- Now when you run the following git commit command it will run the pre-commit script which you just defined.
git commit -m 'style(package): package upgrade'
It will run pretty-quick after that it will check lint and after that it will run test case for the project and if successful it will check for the commit message.

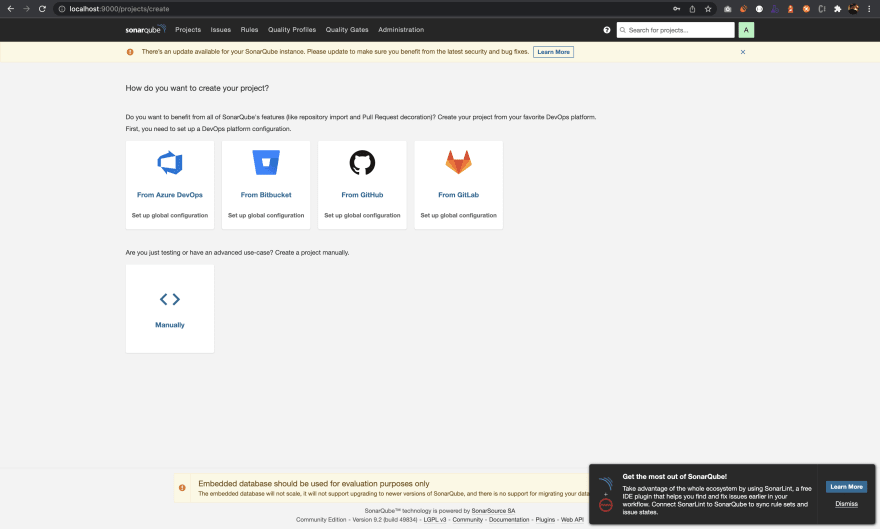
- Install SonarQube in your system:
For Mac Users:
https://techblost.com/how-to-setup-sonarqube-locally-on-mac/For Windows Users:
- Install SonarQube form https://www.sonarqube.org/downloads/
- Post download extracts the ZIP file to any folder and then run the StartSonar.bat from sonarqube\bin\windows-x86–64. Now you can access the SonarQube from your browser using the default port http://localhost:9000. You can use the default credentials i.e admin and admin.


npm install sonar-scanner --save-dev
- Create a file name sonar-project.properties in the root directory with the following data:
- Now, add following script in your package.json file:
"sonar": "sonar-scanner"- Now, run the following script using
npm run sonar
If everything goes as planned SonarQube will start inspecting your angular project
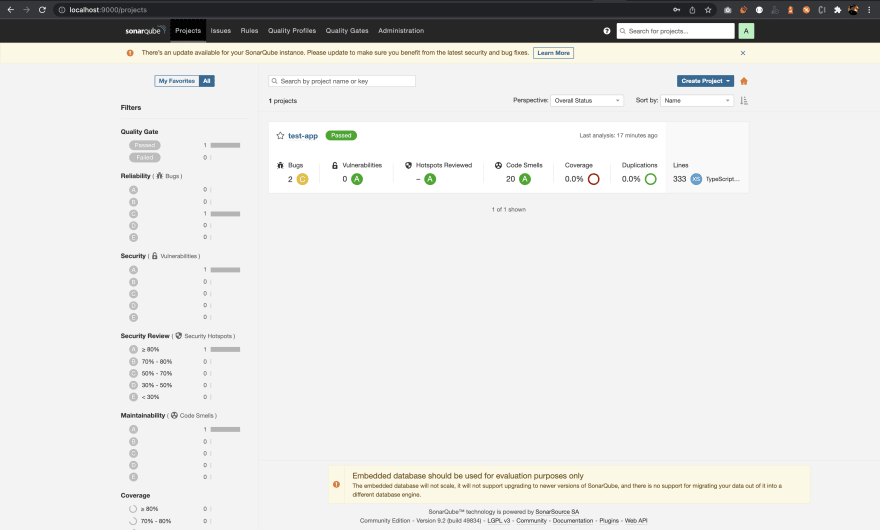
- On Successful completion you can navigate to
http://localhost:9000/projectsand see the inspection result done on the project.

- Add the following in your pre-commit file lazyloading/.husky/pre-commit
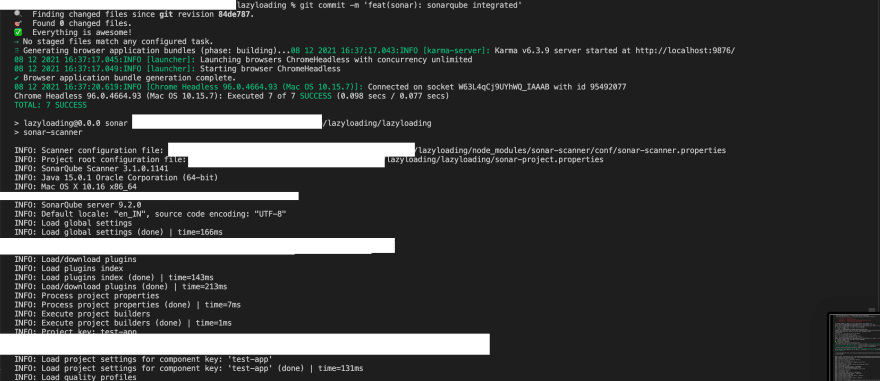
- Now run
git commit -m 'feat(sonar): sonarqube integrated'

That's all, Congratulations🥳🥳 you have successfully integrated Husky with Es-Lint, commitlint and SonarQube with your commit workflow.
You can check the sample code in https://github.com/vishnuramero/lazyloading
54
