52
Keycloak Docker setup tutorial
In this post, I will show you how to setup Keycloak using docker.
Just before we get into the tutorial, lets see what are the pre-requisites
- Docker
- Portainer (optional I prefer it personally as it will help you managing docker images/containers)
- Basics of Docker
Keycloak provides identity and access management, it is also open source. It has several deep features integrated which helps in building easier production grade application by including Keycloak for Authentication and Authorization.
First we need to install Keycloak using docker so fire up the terminal/command prompt and type in the following command
docker run -p 8080:8080 -e KEYCLOAK_USER=admin -e KEYCLOAK_PASSWORD=admin quay.io/keycloak/keycloak:14.0.0
This by default pulls up the specified keycloak version 14.0.0 image from docker and will start the container.
We are setting up the super admin account on docker run command itself using KEYCLOAK_USER and KEYCLOAK_PASSWORD parameters. By default Keycloak runs internally on docker container on port 8080 you can change the host port as you wish.
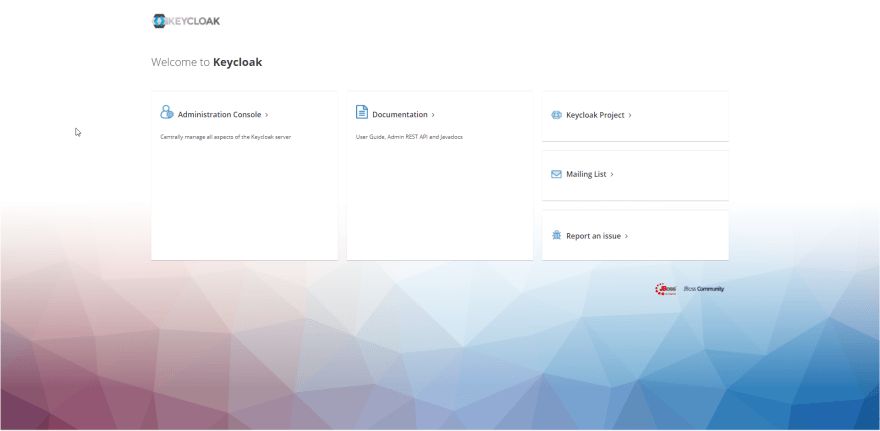
Once the docker run command executes go to http://localhost:8080/ and you will be greeted with Keycloak page.

Click on Administration Console and login using the credentials which you set for super admin previously. You will be redirected to the Master realm page.

In Keyclock there are hierarchy for segregation of projects and user level access and roles. Realm is like a project say X for which you can define the users, roles, authentication types, and obviously connect you clients/app which you are going to integrate (this may be any app spring-boot, angular, react, node.js, express.js, etc...).
One Major thing to note is that whatever you create inside a realm is only accessible on that specific realm and only account which has access is the
super adminAnother super important thing is that Keycloak uses in-memory database for storing the data used by docker container and realm settings, this is not recommended in production as it will not be stable and will delete the data after use. So I have mentioned how to overcome this at last section.
Now you can create new realm by clicking on the dropdown arrow present near Master and click on Add realm and enter a name and click on "Create"
As said earlier realm is like a project and inside it we can define users, roles, clients, etc... I just don't want to get into more details as Keyclock is a vast topic, I have referenced some links below feel free to check those.
Now that you have explored some basic settings of Keycloak, you realize that you need the data to be stored in Keycloak needs to be persistence and you shouldn't be worrying while restarting the docker container.
I have provided a gist for Docker compose file which uses PostgreSQL as persistence Database for storing all info of Keycloak.
This file contains hidden or bidirectional Unicode text that may be interpreted or compiled differently than what appears below. To review, open the file in an editor that reveals hidden Unicode characters.
Learn more about bidirectional Unicode characters
| version: '3' | |
| volumes: | |
| postgres_data: | |
| driver: local | |
| services: | |
| postgres: | |
| image: postgres | |
| volumes: | |
| - postgres_data:/var/lib/postgresql/data | |
| environment: | |
| POSTGRES_DB: keycloak | |
| POSTGRES_USER: postgres | |
| POSTGRES_PASSWORD: postgres | |
| keycloak: | |
| image: quay.io/keycloak/keycloak:latest | |
| environment: | |
| DB_VENDOR: POSTGRES | |
| DB_ADDR: postgres | |
| DB_DATABASE: keycloak | |
| DB_USER: postgres | |
| DB_SCHEMA: public | |
| DB_PASSWORD: postgres | |
| KEYCLOAK_USER: admin | |
| KEYCLOAK_PASSWORD: admin | |
| # Uncomment the line below if you want to specify JDBC parameters. The parameter below is just an example, and it shouldn't be used in production without knowledge. It is highly recommended that you read the PostgreSQL JDBC driver documentation in order to use it. | |
| #JDBC_PARAMS: "ssl=true" | |
| ports: | |
| - 8080:8080 | |
| depends_on: | |
| - postgres |
Create any file with the following code and save it as .yml and then fire up the terminal to the location where the file is present and run the command docker compose up. Now the new container will be created and you data will be stored to PostgreSQL DB with a persistence docker volume. (Don't forget to stop the existing docker container which you started earlier)

52

