
19
Django: Getting Started
First, create a directory to keep your new Django project nice and organised.
$ mkdir django_projectThen move into that created folder.
$ cd django_project/
django_project $Before installing Django and starting a project, it is good practice to create a virtual environment (venv) first. That way all package installations are locally installed, and you can then create a list of all the dependencies for the project.
Since Python 3.5 the module venv is the default way to make virtual environments, replacing pyvenv.
django_project $ python -m venv project_venvThen you can run the following command to activate your created virtual environment. And install the latest version of Django onto it.
django_project $ source project_venv/bin/activate
django_project (project_venv) $ python -m pip install Django
This will also install the required packages; sqlparse, asgiref and pytz.
You can then verify which version of Django you installed. Which can be helpful in the future when debugging your code. As the official documentation is viewable for specific major releases.
django_project (project_venv) $ python -m django --version
3.2In comparison to other Python web frameworks, such as Flask. Django comes with some very useful setup files, after you initialise the project.
django_project (project_venv) $ django-admin startproject projectThis creates the following directories and files in your root directory (django_project/):
django_project/
    project_venv/
    project/
        manage.py
        project/
            __init__.py
            asgi.py
            settings.py
            urls.py
wsgi.pyThis Python file is used to run several important project specific commands.
WSGI = Web Server Gateway Interface
ASGI = Asynchronous Server Gateway Interface
When deploying your website in the future, it's required to have either one of these files. So that you can direct an application server towards your project (e.g. gunicorn, mod_wsgi, daphne).
The settings.py file is used as a configuration file for your Django project.
With all Python packages, there needs to be an __init__.py file, to let Python know that this directory should be viewed as a package.
Now the basic initial setup of your Django project is complete. You can open up a browser and verify if your Django project works.
django_project (project_venv) $ cd project/
project (project_venv) $ python manage.py runserver

Watching for file changes with StatReloader
Performing system checks...

System check identified no issues (0 silenced).

You have 18 unapplied migration(s). Your project may not work properly until you apply the migrations for app(s): admin,
 auth, contenttypes, sessions.
Run 'python manage.py migrate' to apply them.
April 25, 2021 - 15:57:20
Django version 3.2, using settings 'project.settings'
Starting development server at http://127.0.0.1:0000/
You should then be greeted with the following web page.
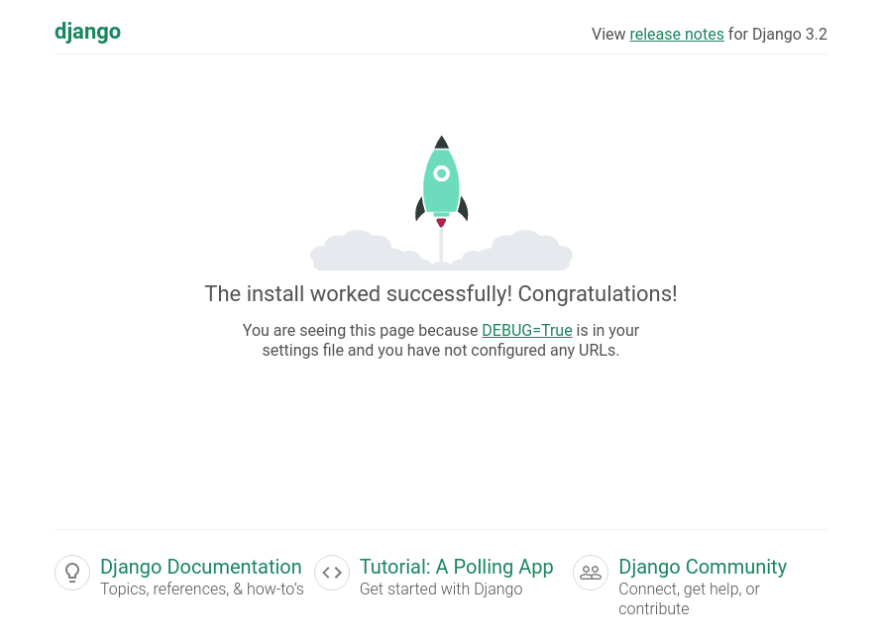
Then, when you get the success message. You can quit the server by entering Ctrl-C.
Quit the server with CONTROL-C.As you may have noticed, there was an error on "unapplied migrations" for certain Django apps. For now this can be ignored. As applying database migrations will be something you will become used to when building out your Django project.
You will also find a created "db.sqlite3" file created alongside your manage.py file and project/ directory. This will be project database, until you change it within project/settings.py.
You can change which port the development server runs on. By adding a port number argument at the end of the runserver command.
$ python manage.py runserver 1234Here, you can also change the ip address if you want to run a development server on different servers on your network.
$ python manage.py runserver 0:1234After going through this post, you should now be able to;
- Setup your Django project root directory.
- Install Django and it's dependencies onto a virtual environment.
- Create the basic Django project file structure.
- Run a development server in you browser, and know how to change which ip address and/or port to run it on.
The next advised steps to take now, would be to start creating your first Django app! And I'd always recommend to combine this guide with the many others found online (i.e. documentation, youtube, other articles). That way any knowledge gaps can be filled and preferred development techniques can be worked out.
Hopefully, you have been able to follow these first few steps for getting started with a Django web project. If you have any questions, recommendations or found any errors with this post. Please let me know, in the comments below.
Thank you! ✌
19