15
Learning Python- Intermediate course: Day 24, Summary of the week and Adding Colors
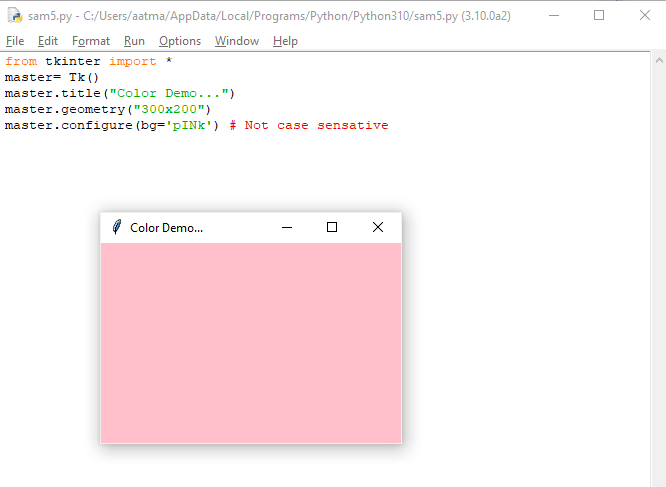
We can set the background color of the window as well as the widgets using the bg attribute.
from tkinter import *
master= Tk()
master.title("Color Demo...")
master.geometry("300x200")
master.configure(bg='pINk') # Not case sensativeWe can set the background color of the widgets in the same manner
from tkinter import *
master= Tk()
master.title("Color Demo...")
master.geometry("300x200")
master.configure(bg='pINk') # Not case sensative

a=Label(master,text="Welcome",bg="yellow")
a.pack()
master.mainloop()
The font color can be set using the fg attribute. This is just the same as the bg attribute
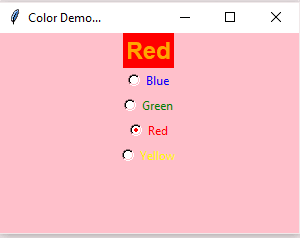
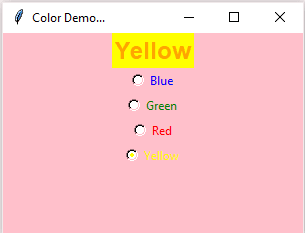
ResultLabel=Label(fg="Pink", text="...")Let us now build a program, the same one as yesterday. A color will be chosen from the radio-buttons instead of programming languages. The background color of the Label will be accordingly to the color chosen.
from tkinter import *
master= Tk()
master.title("Color Demo...")
master.configure(bg='pINk') # Not case sensative
master.geometry("300x200")


v = IntVar()
v.set(-1) #initializing the choice, i.e. no default choice
colors = ["Blue","Green","Red","Yellow"]
# making an array to choose the colors from


# text to display in the label

def showchoice(): # function to display the result
     ResultLabel.config(text=colors[v.get()],bg=colors[v.get()],fg="Orange") # set the font color to Orange.


ResultLabel=Label(master,font=('Helvetica', 18, 'bold '), bg="Pink", text="...")
# Make the label
ResultLabel.pack()

#Set the radiobuttons
Radiobutton1=Radiobutton(master,text=colors[0],variable=v,command=showchoice, fg=colors[0], bg="Pink", value=0)
Radiobutton2=Radiobutton(master,text=colors[1],variable=v,command=showchoice, fg=colors[1], bg="Pink", value=1)
Radiobutton3=Radiobutton(master,text=colors[2],variable=v,command=showchoice, fg=colors[2], bg="Pink", value=2)
Radiobutton4=Radiobutton(master,text=colors[3],variable=v,command=showchoice, fg=colors[3], bg="Pink", value=3)

Radiobutton1.pack()
Radiobutton2.pack()
Radiobutton3.pack()
Radiobutton4.pack()

master.mainloop()
Here are the snapshots-


Day 21 We learnt how to make Tkinter windows. We learnt how to set the default geometry and position of the window using the
geometry()attribute. We made our very first 'hello world' application in Tkinter using the first widget- the Label widget.Day 22 We explored checkboxes by making a program which renders text bold, italics or both. This is achieved through the font attribute in Tkinter.
Day 23 We understood the Tkinter variables
IntVar(),BooleanVar(),FloatVar()andStringVar(). They are actually object instances which hold the primitive data types. They can be accessed by using their getter and setter methods. After that we made a program using Radio buttons which takes in the favorite programming language. The users can only choose one among the available options, which is the characteristic of the radiobuttons.
We usually store the python programs with the .py extensions. But this opens up a command prompt along with the file. Hence, for GUI applications, it is a good idea to name the files with an .pyw extension instead of a .py extension. This prevents the opening of the command prompt.
More about it here
15

